Artful High School Lessons
A collection of my 2-dimensional, dynamic high school lessons.
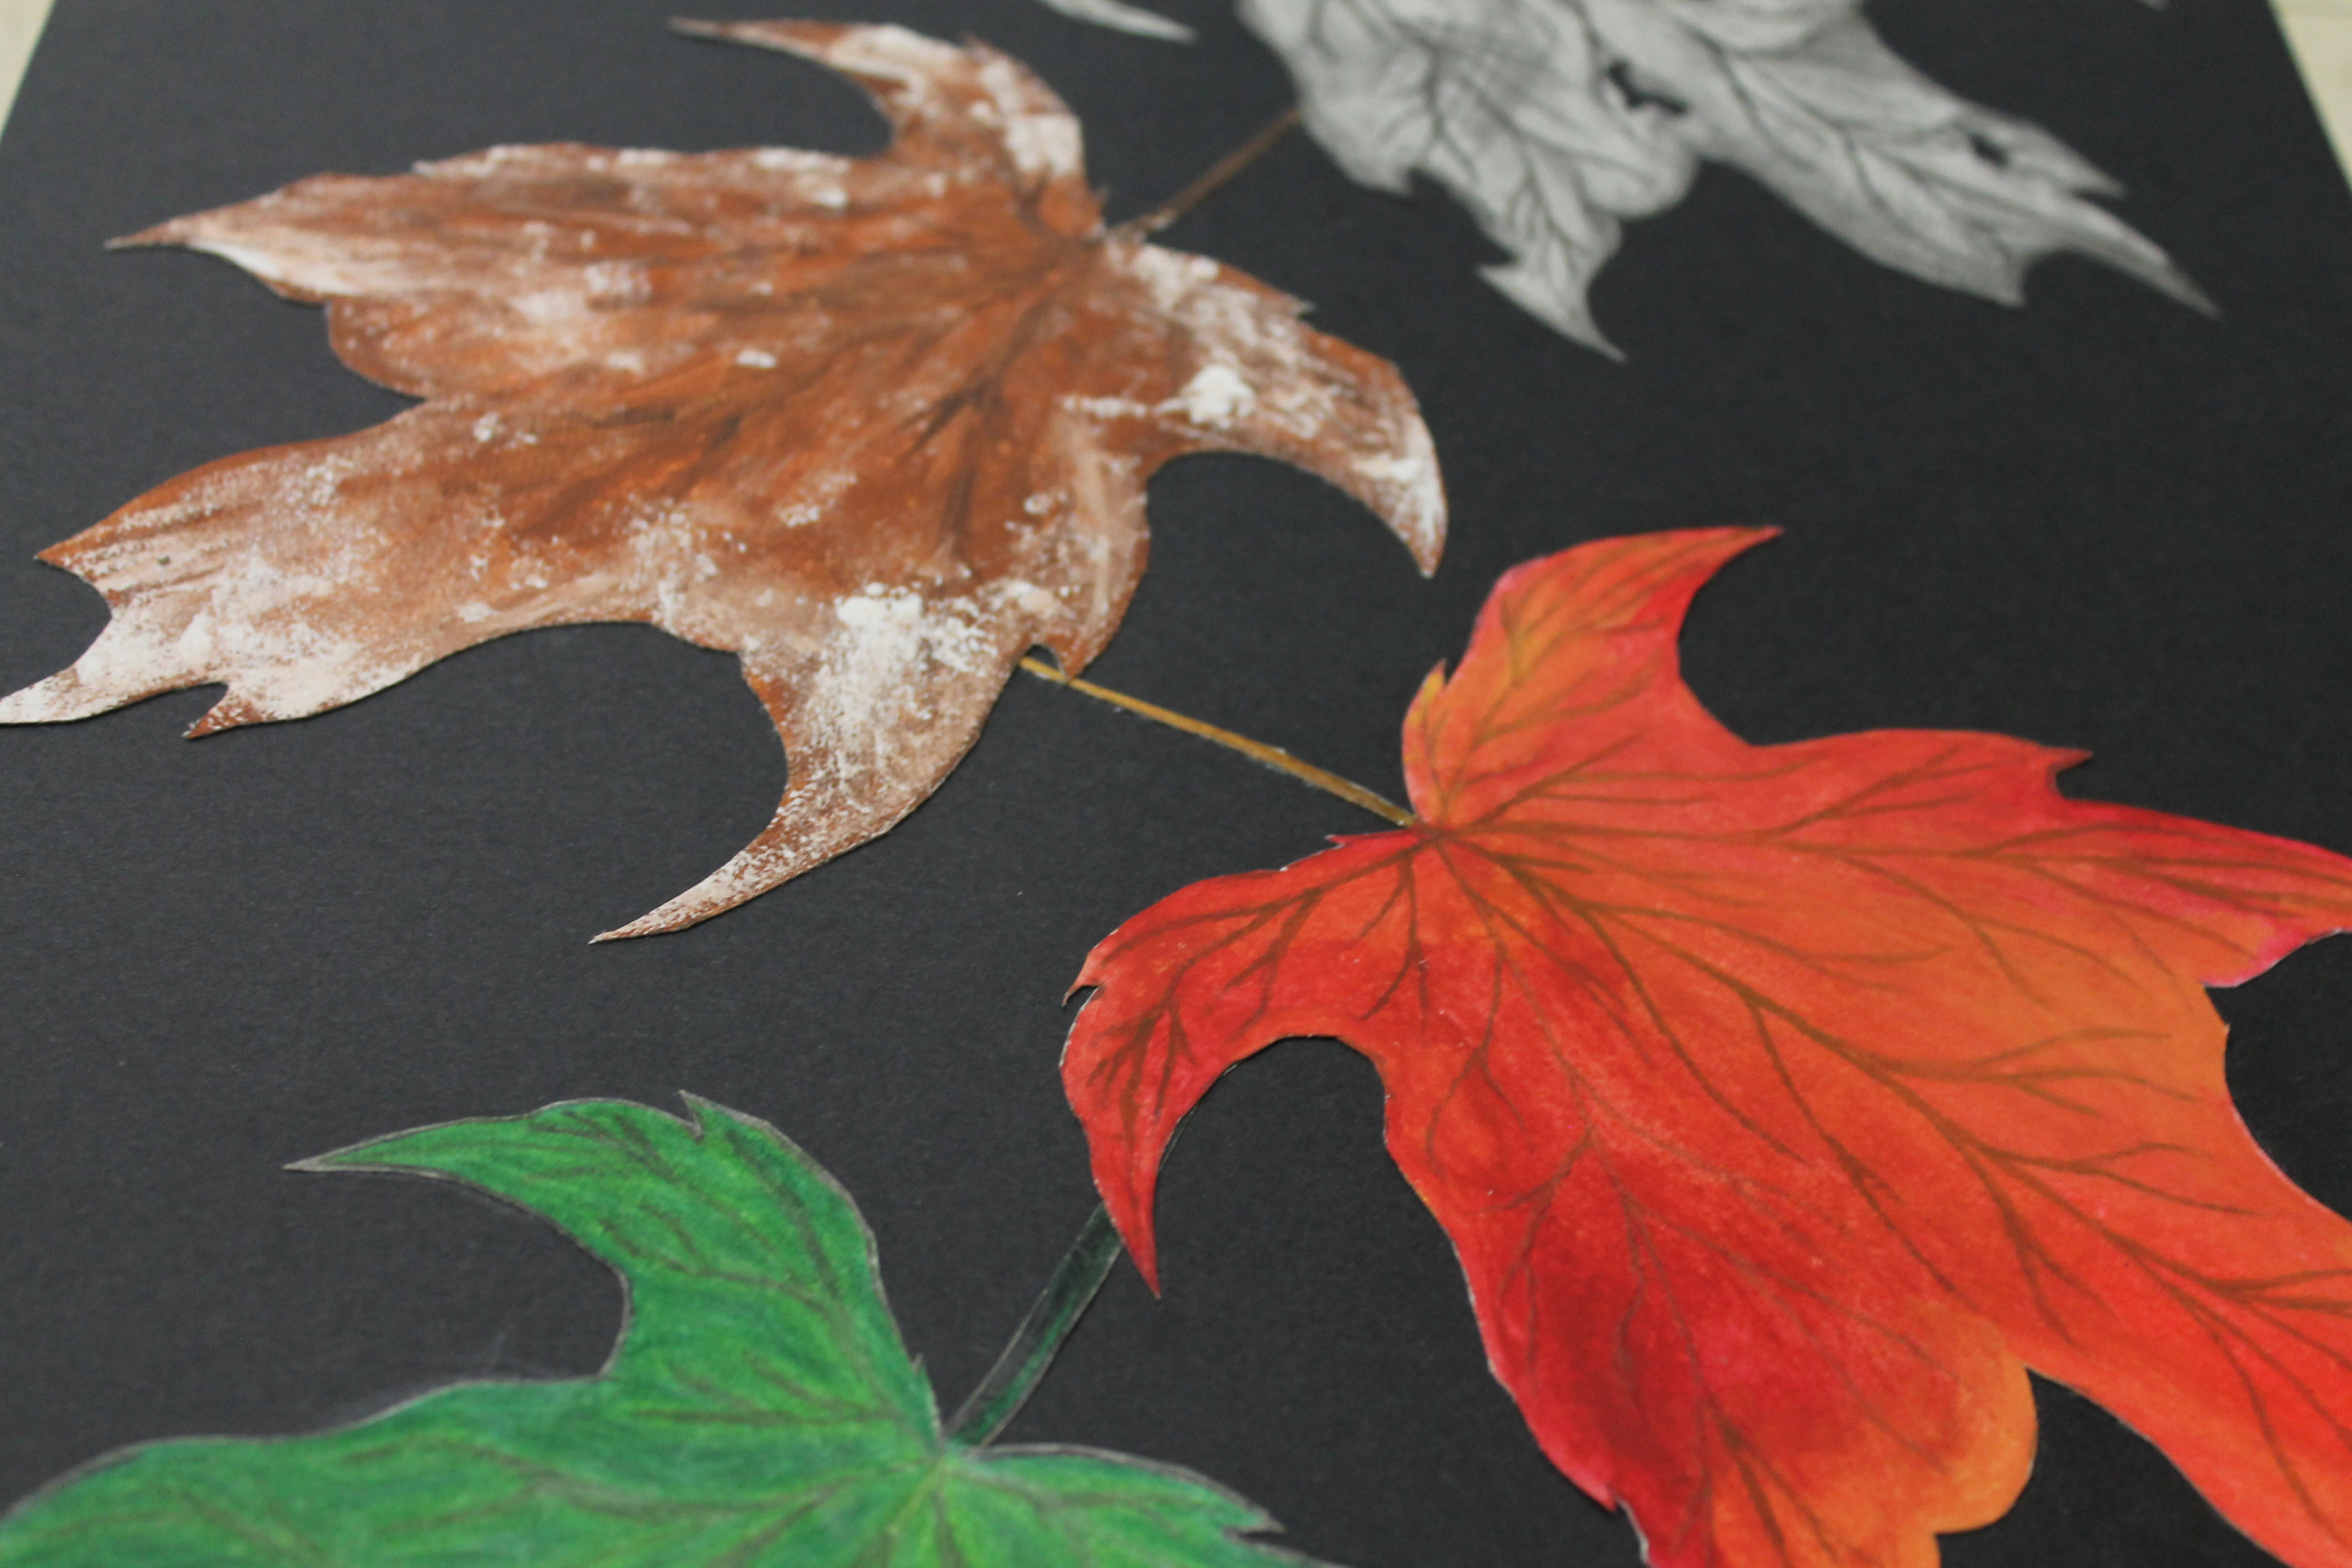
Introductory Lesson: Mixed Media
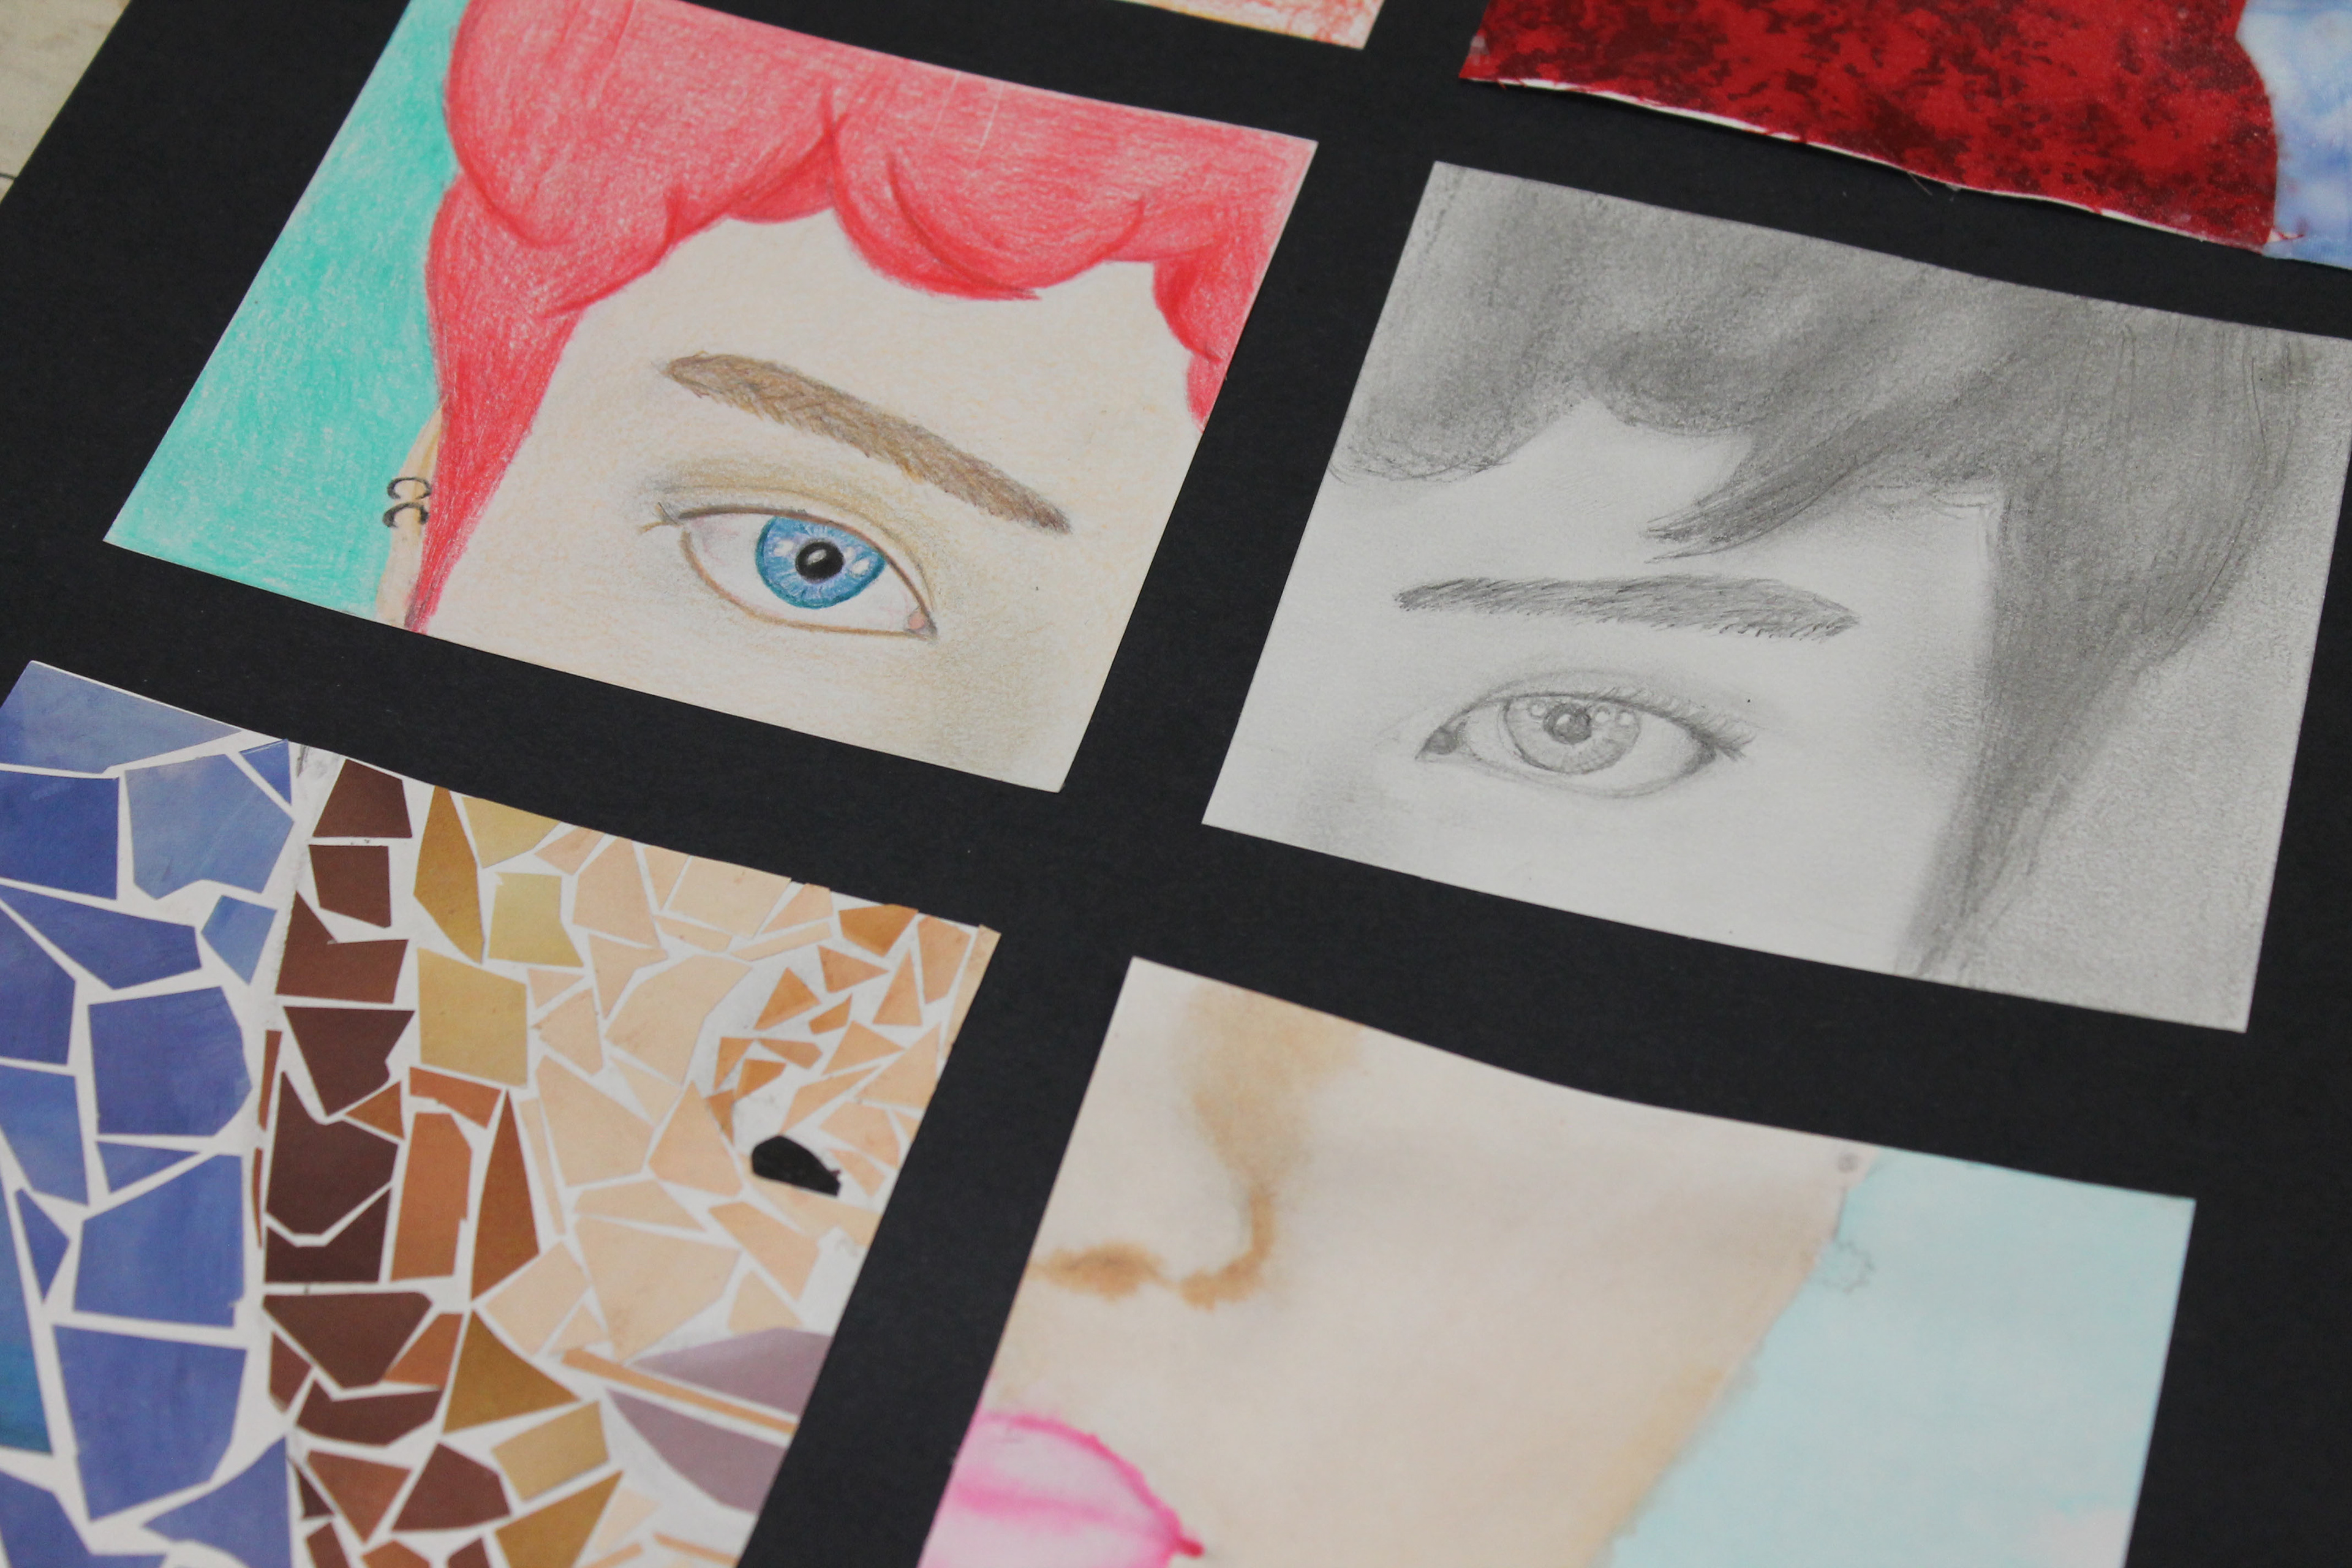
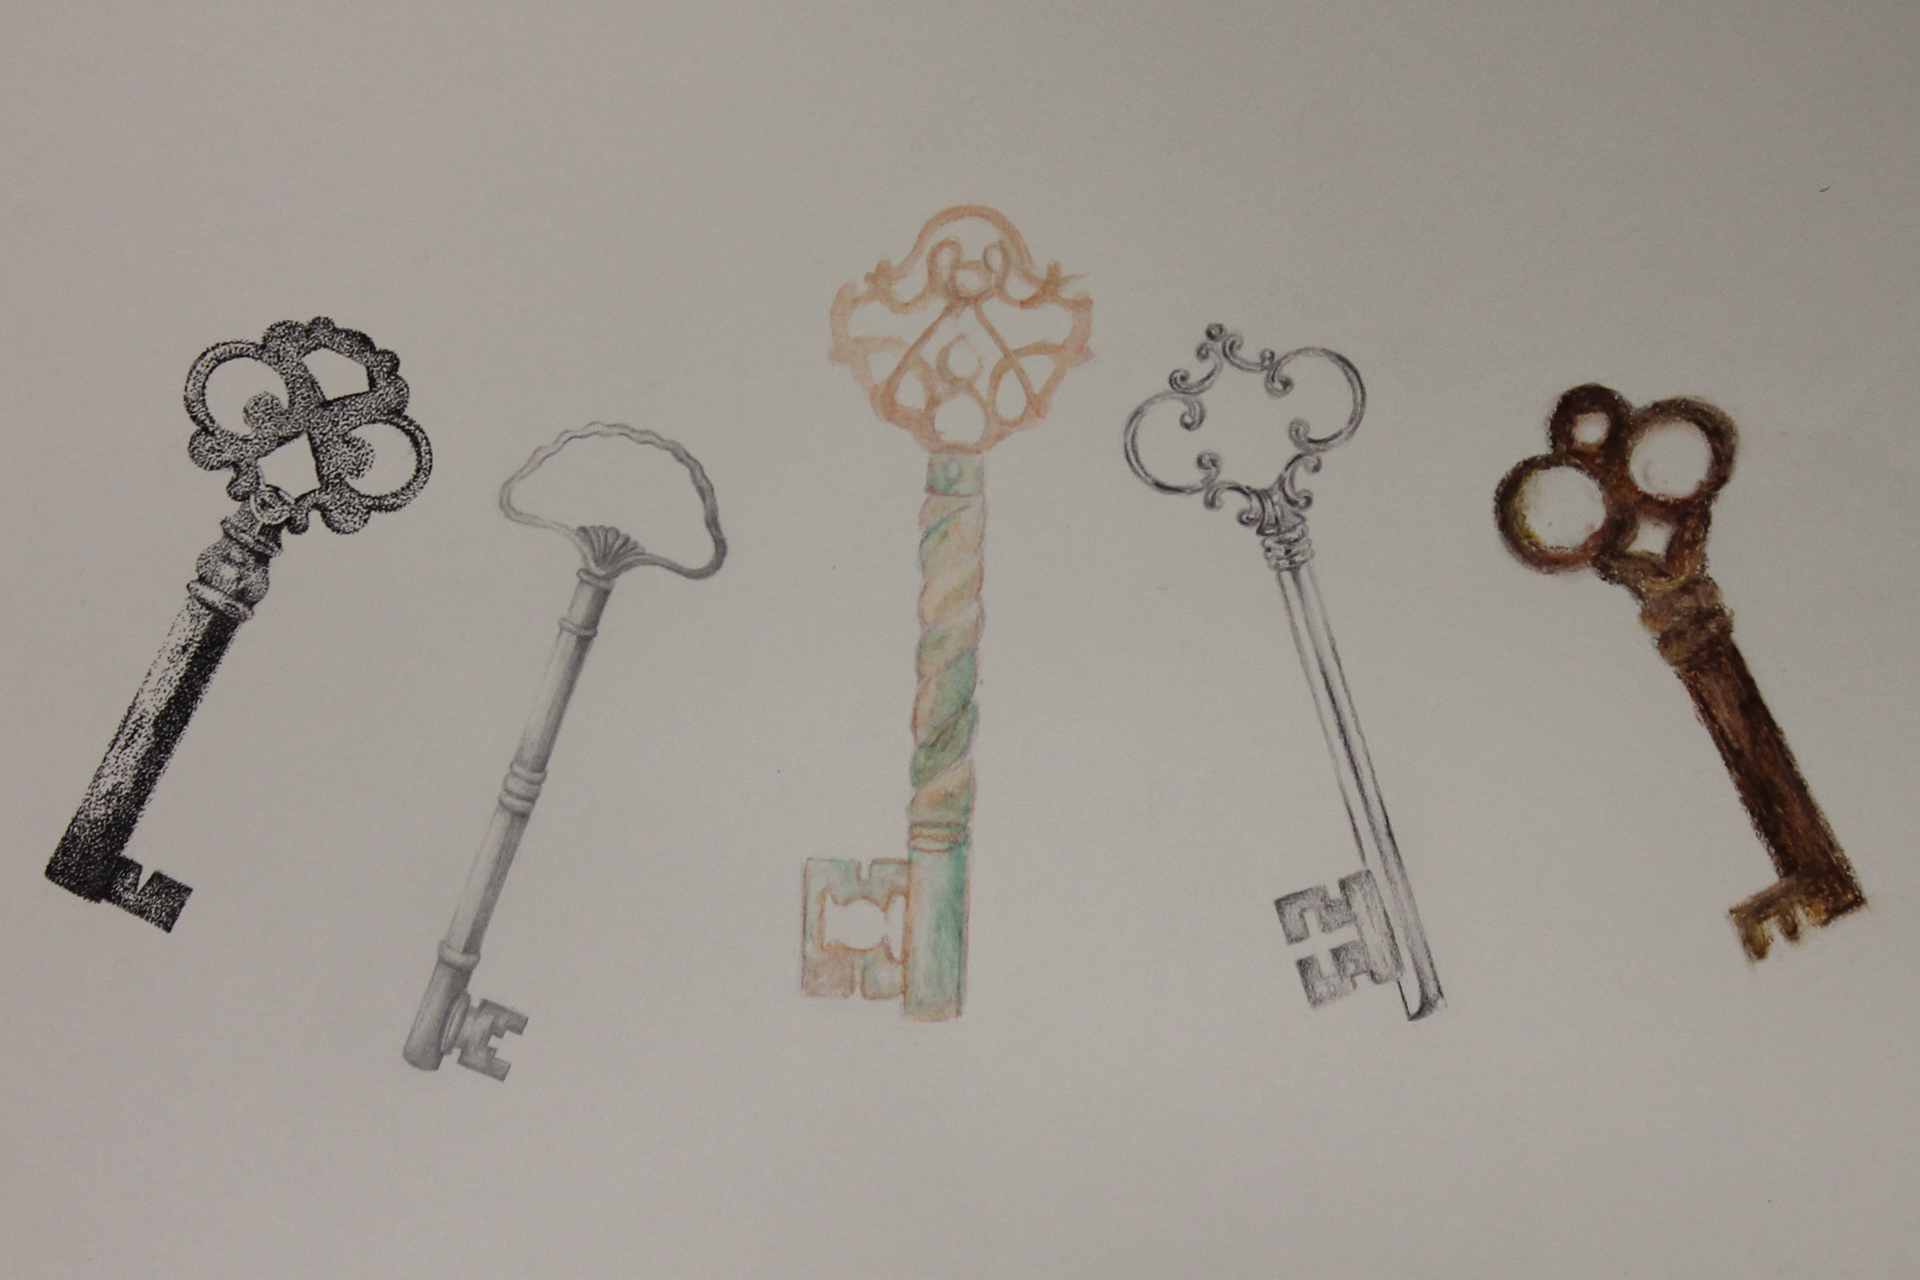
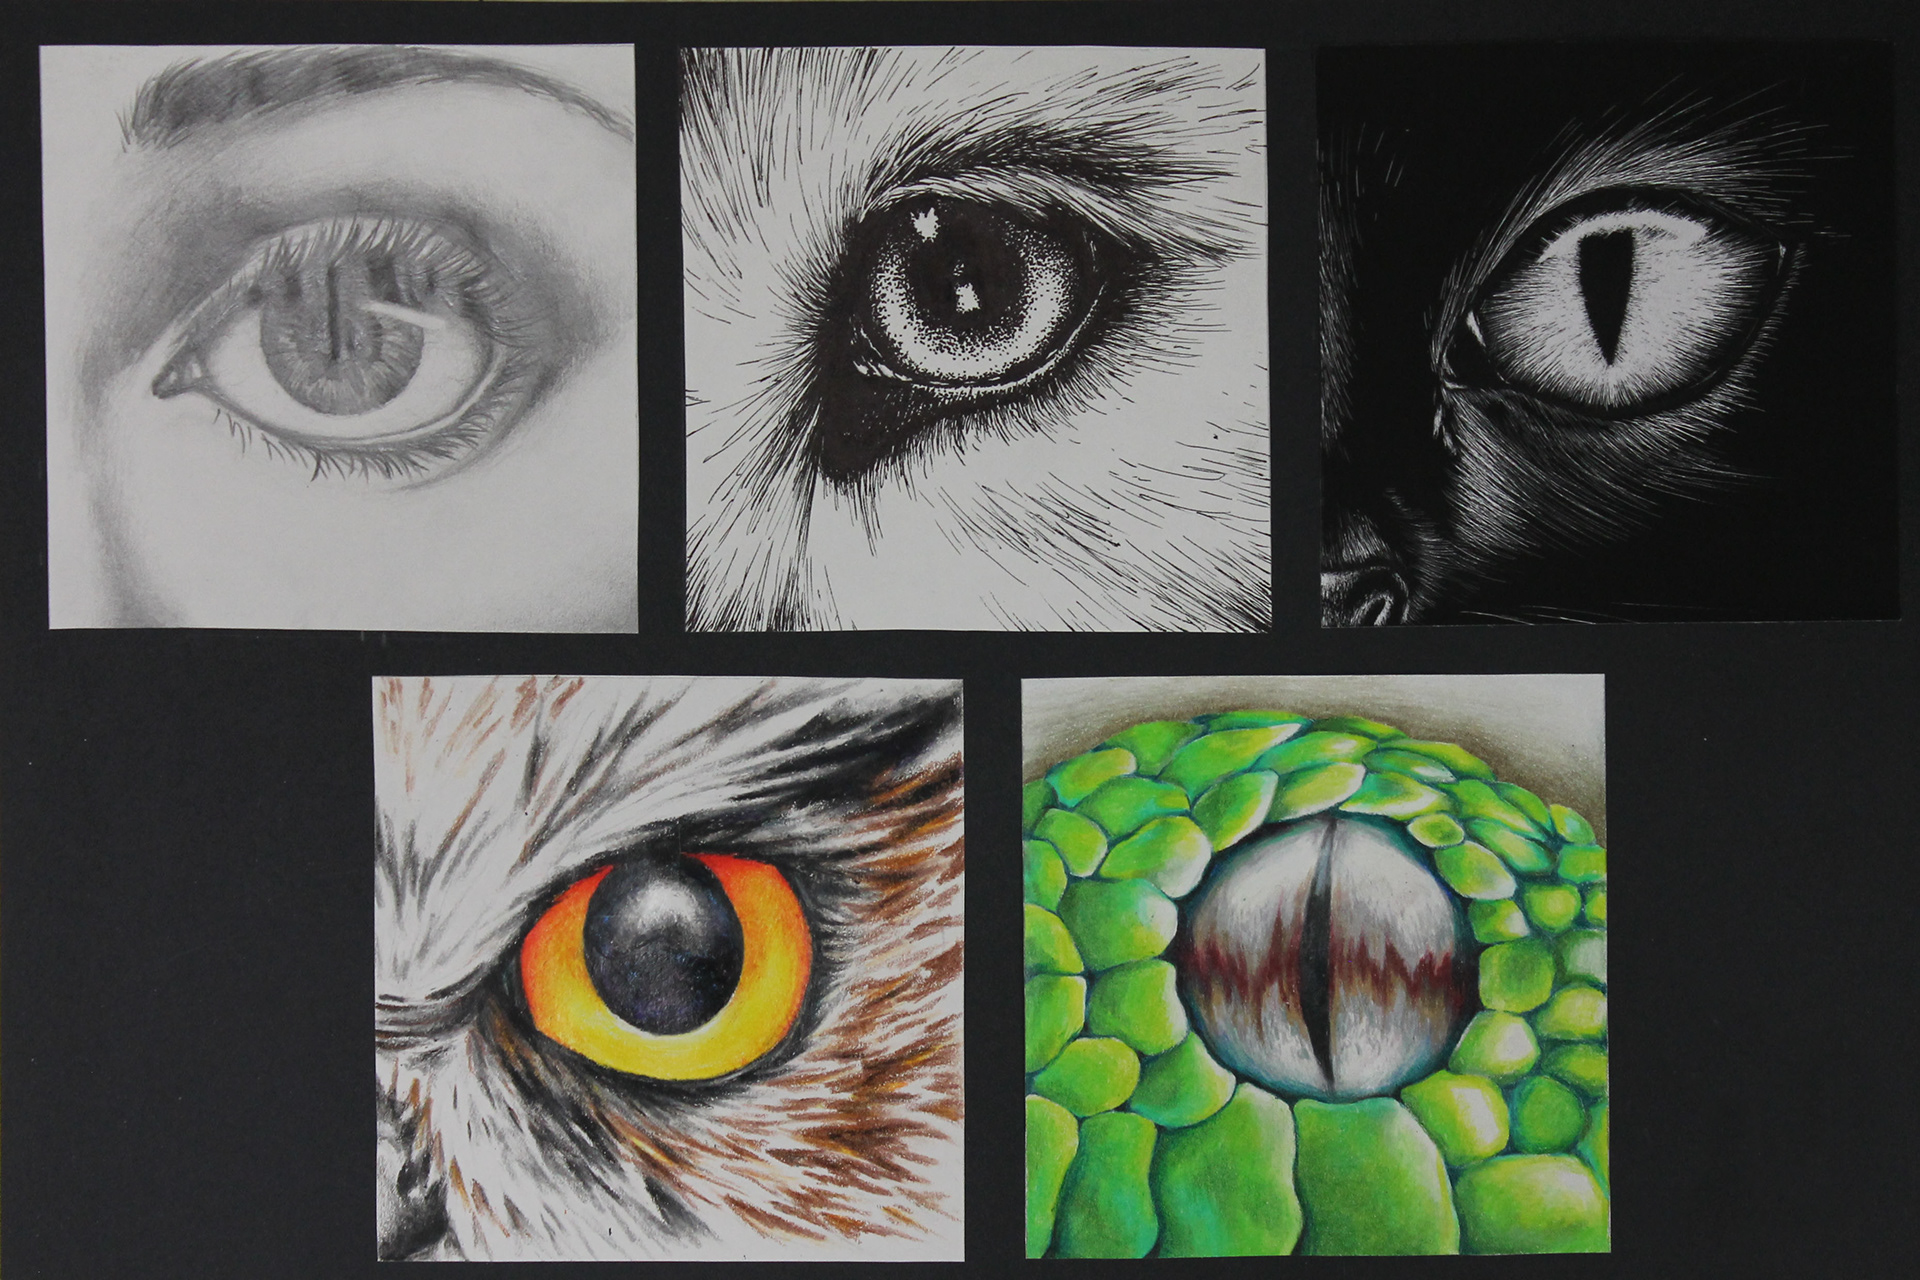
Students explored various media by presenting a single object represented in a least 5 different medias. They considered composition and mounted their work on posterboard. They used a variety of media to become familiar with different materials and techniques. This lesson was given to third year art students.
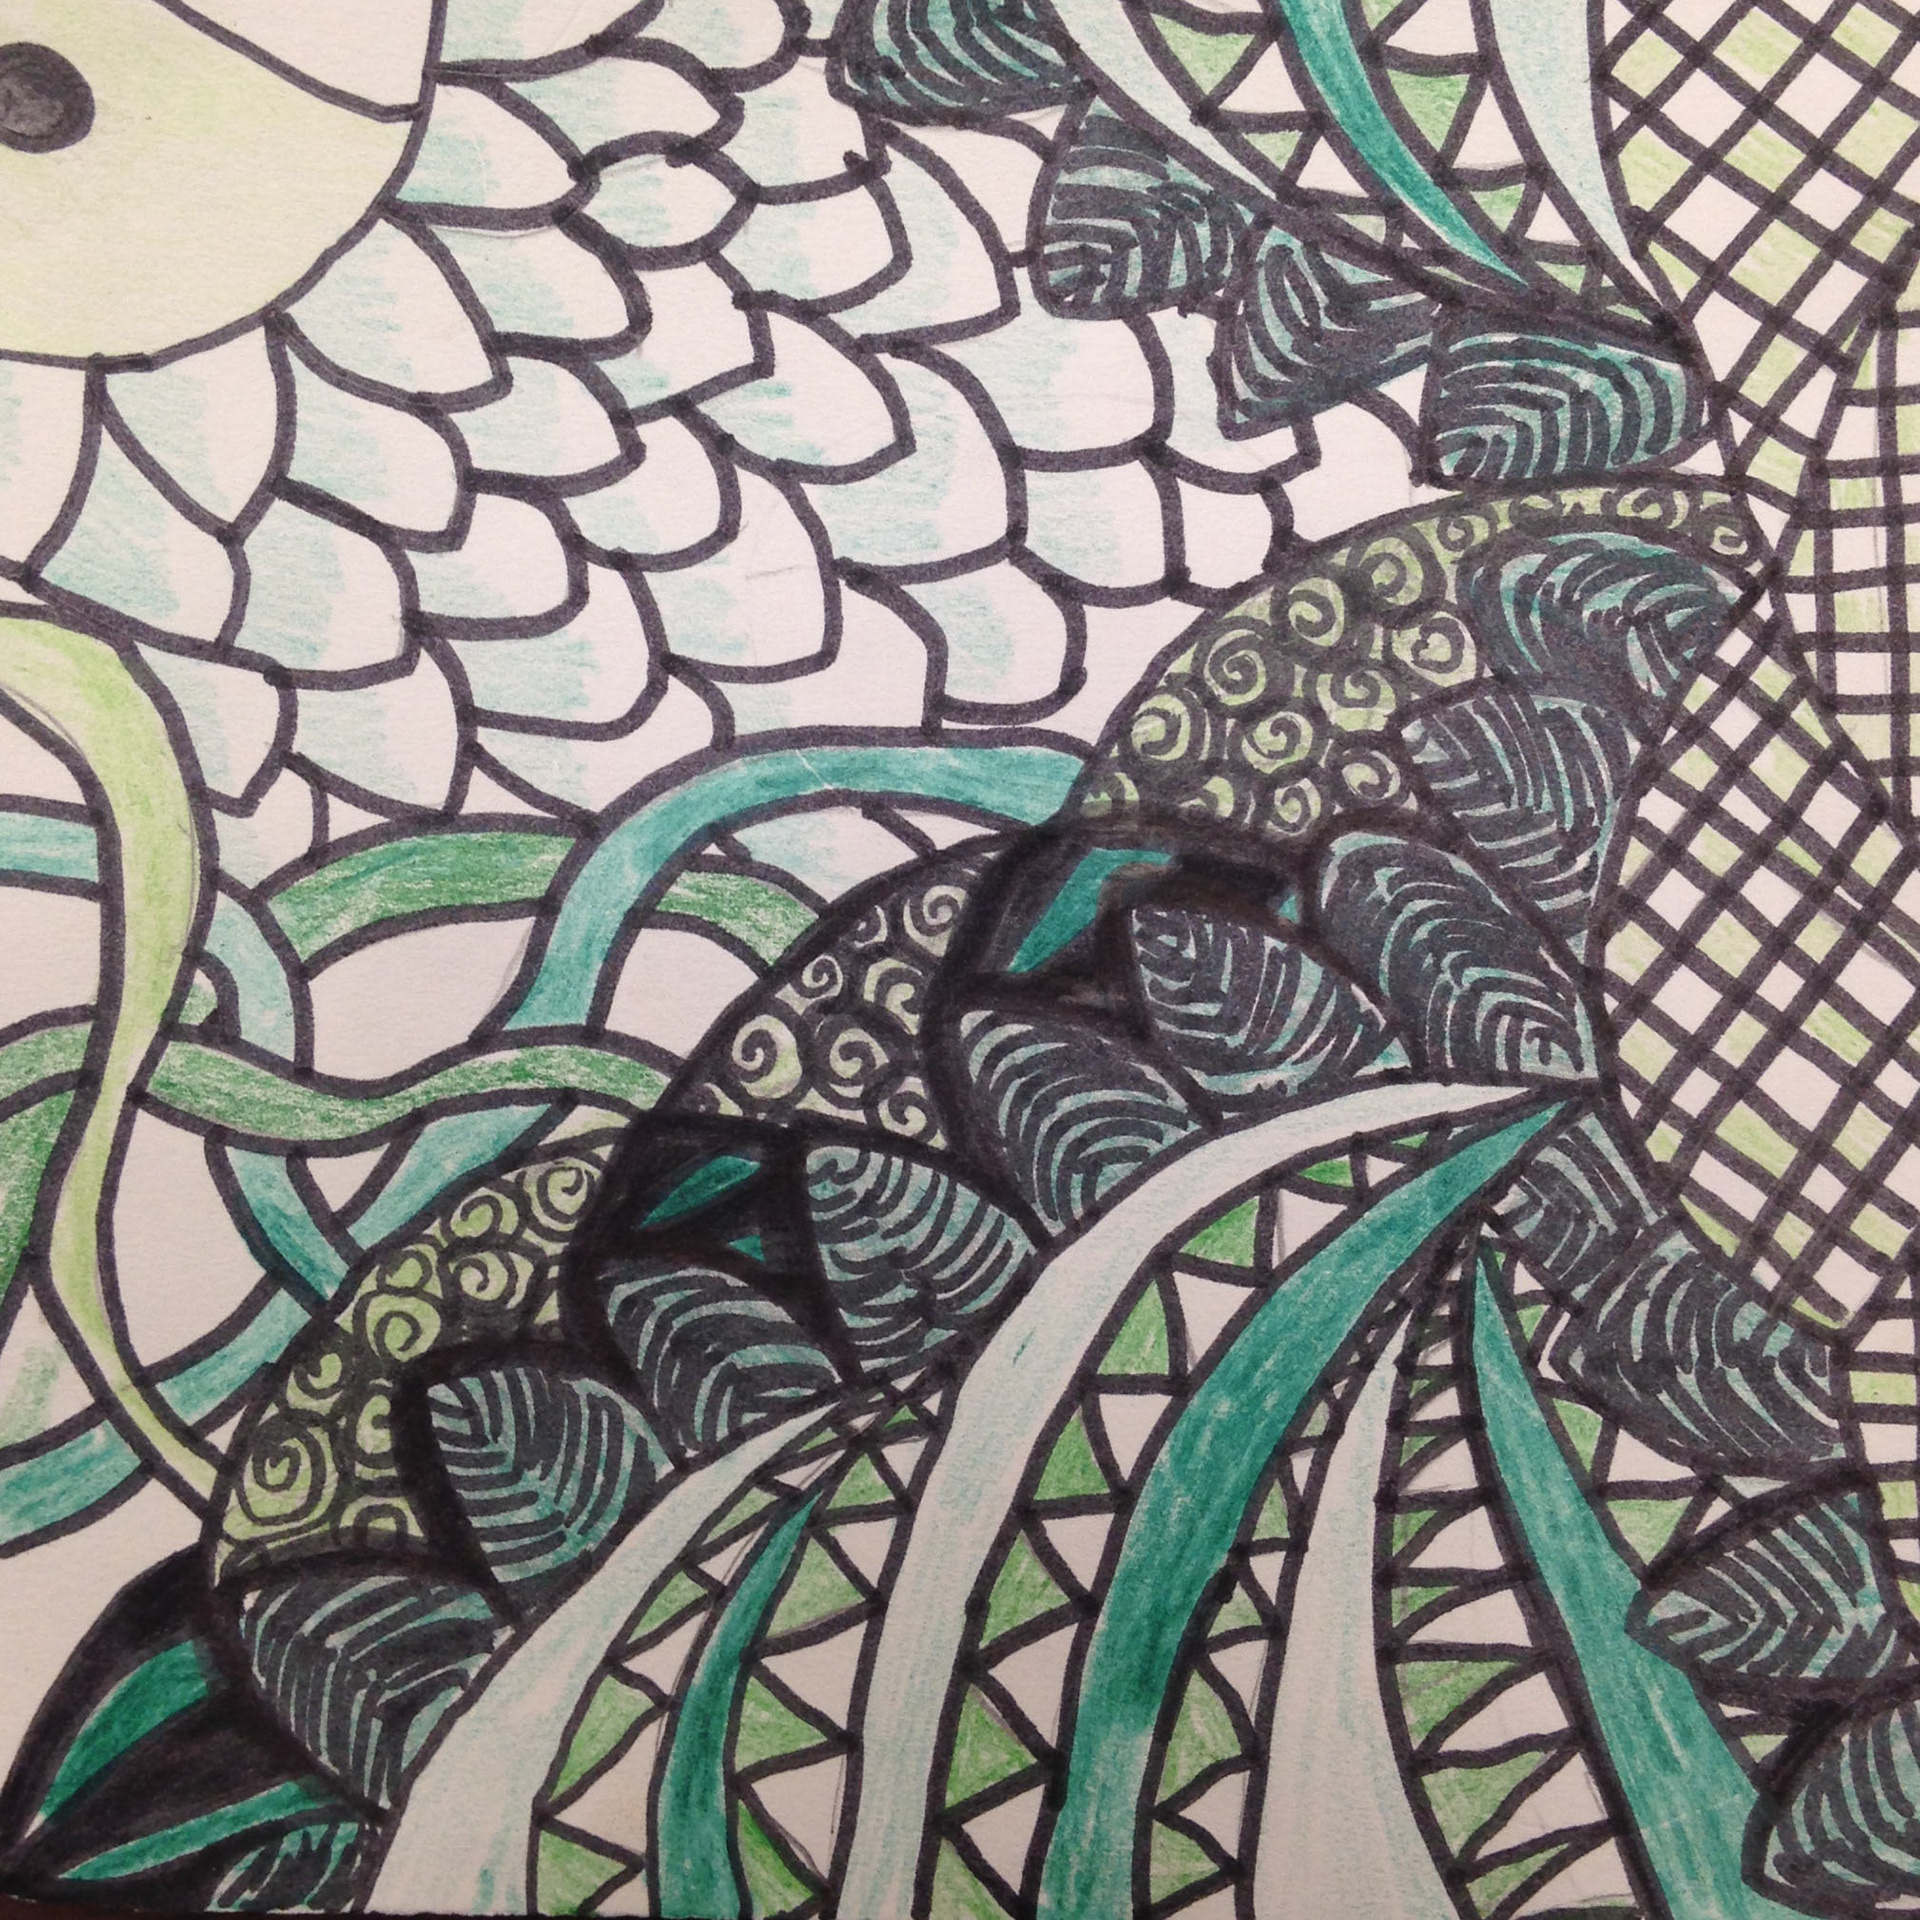
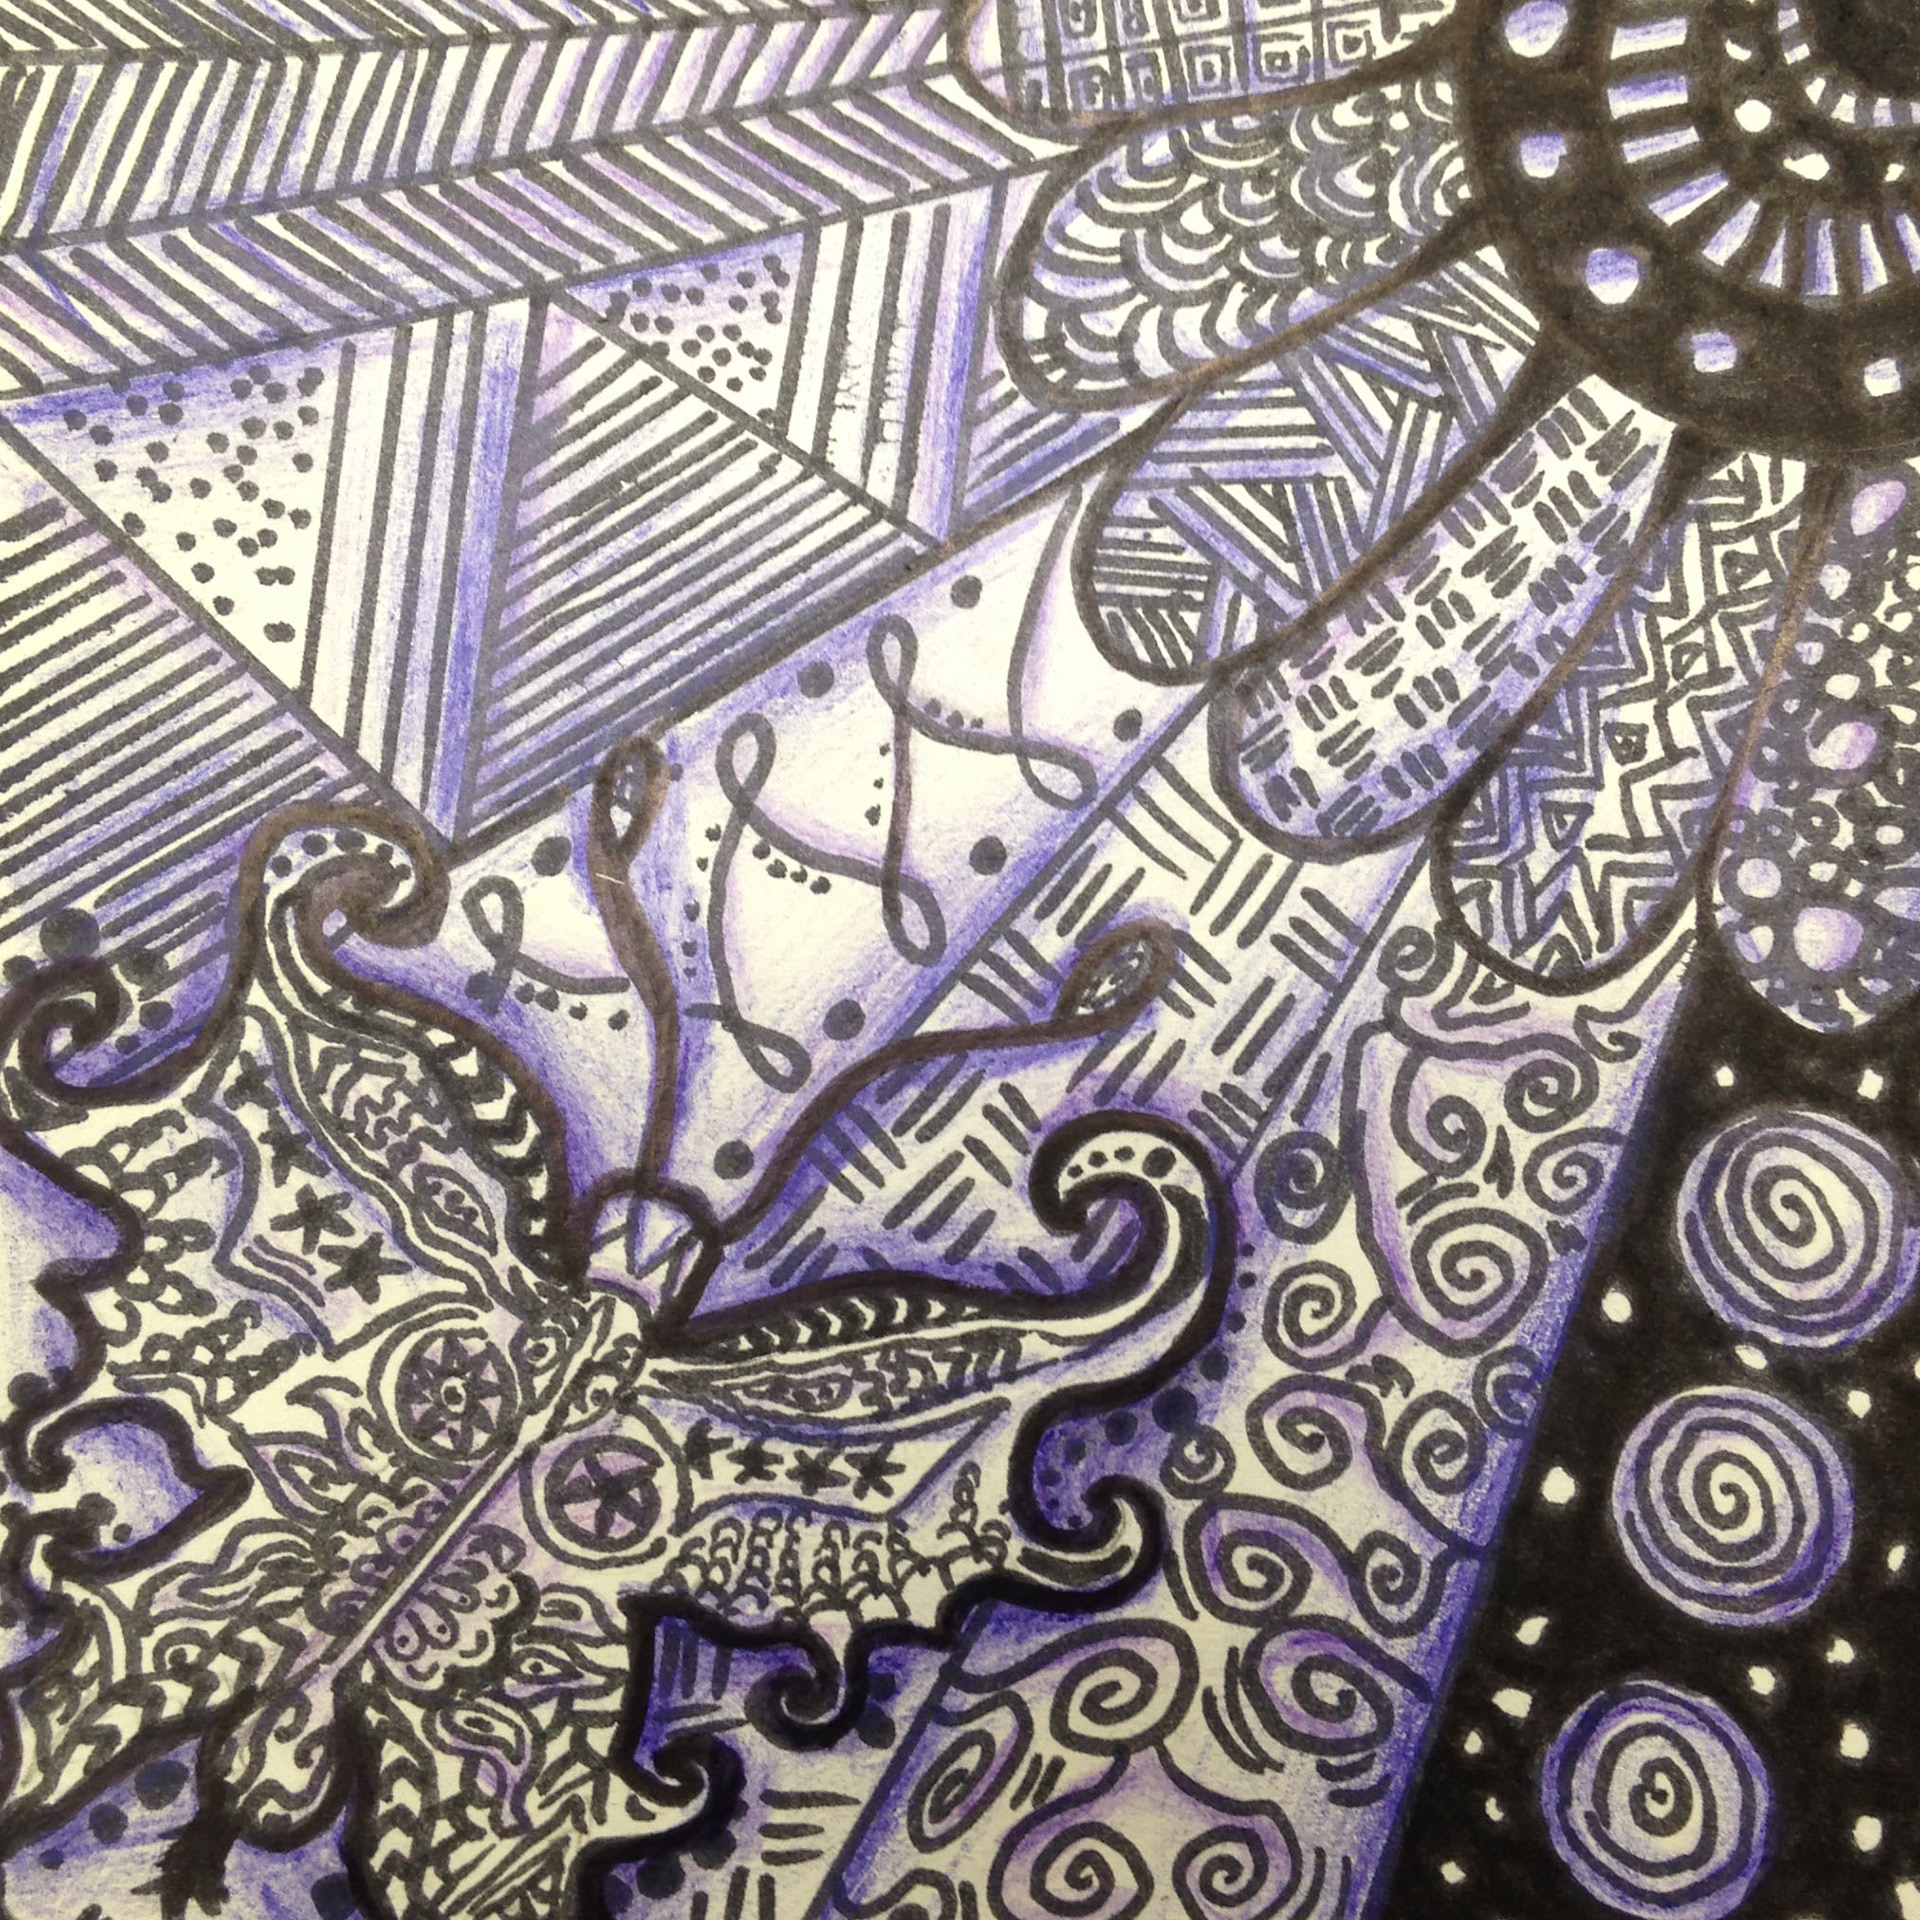
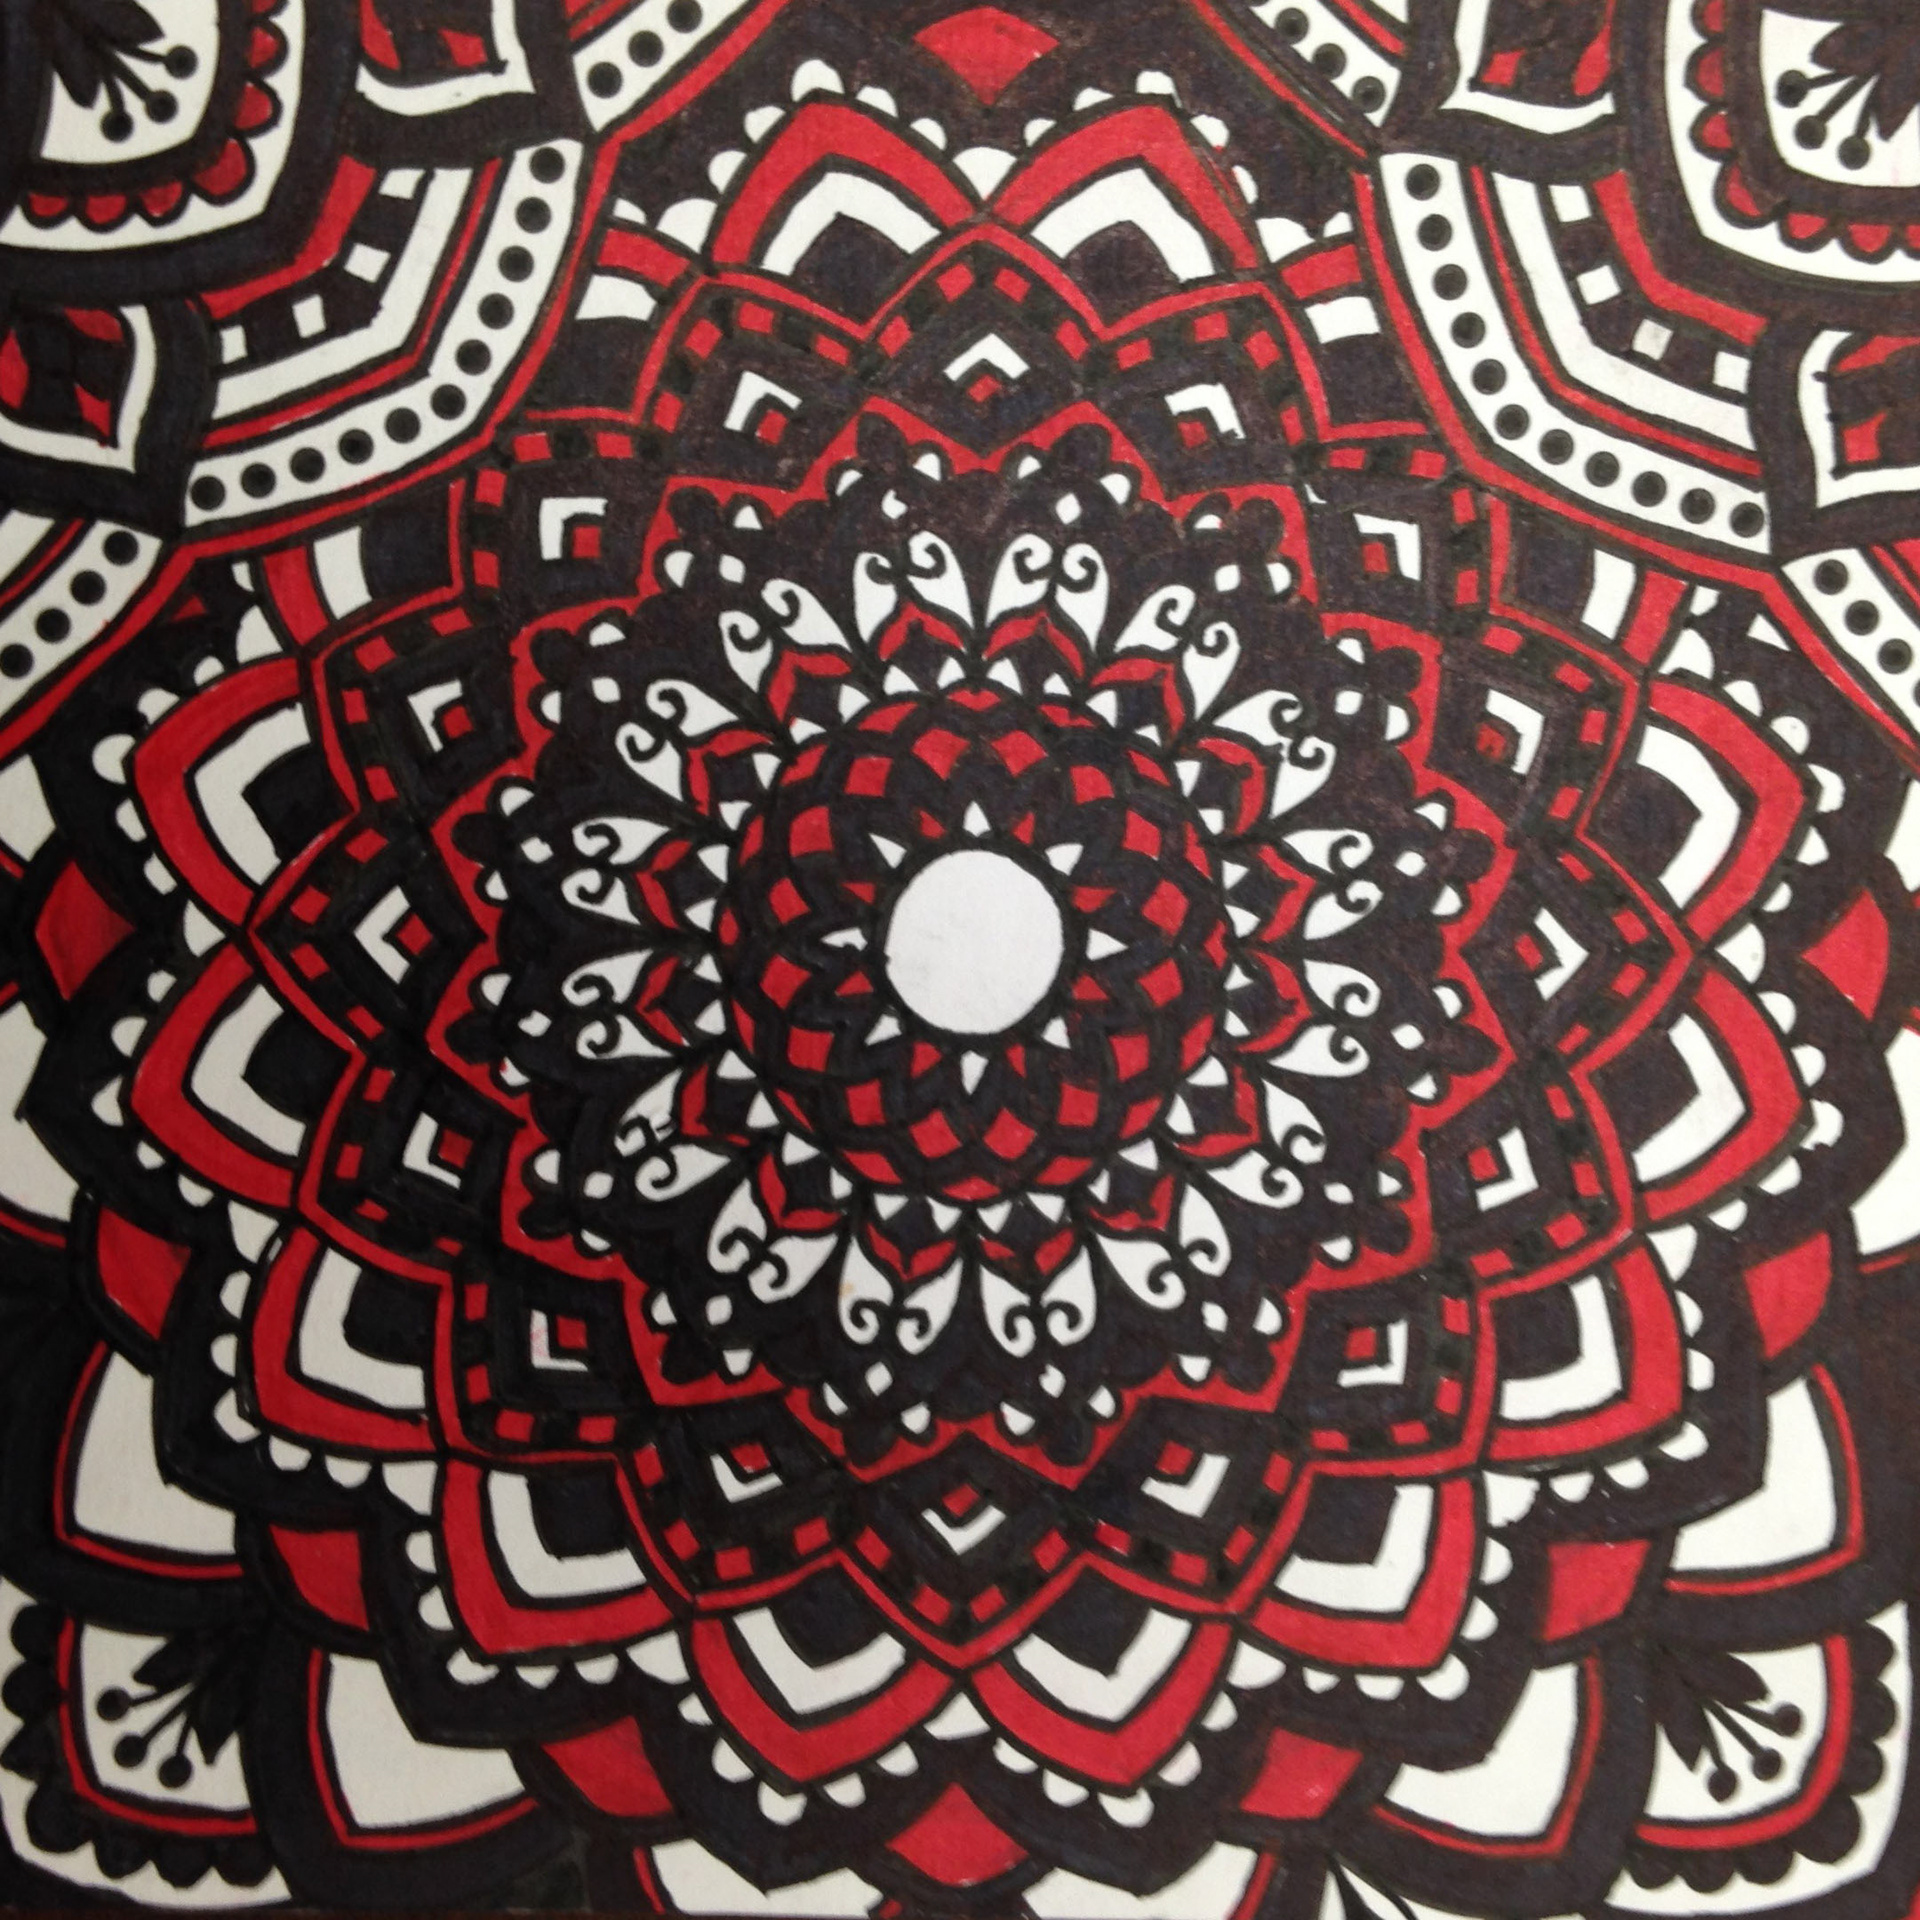
Zentangles
This lesson was given to first year art students during the first week of school. The purpose of the introductory lesson is to allow students the freedom to create their own design while working collaboratively with classmates to select specific colors. By definition a Zentangle is an easy method of creating beautiful designs with pattern. It is meant to be fun and relaxing.These zentangles were organized by color and put on display at school.


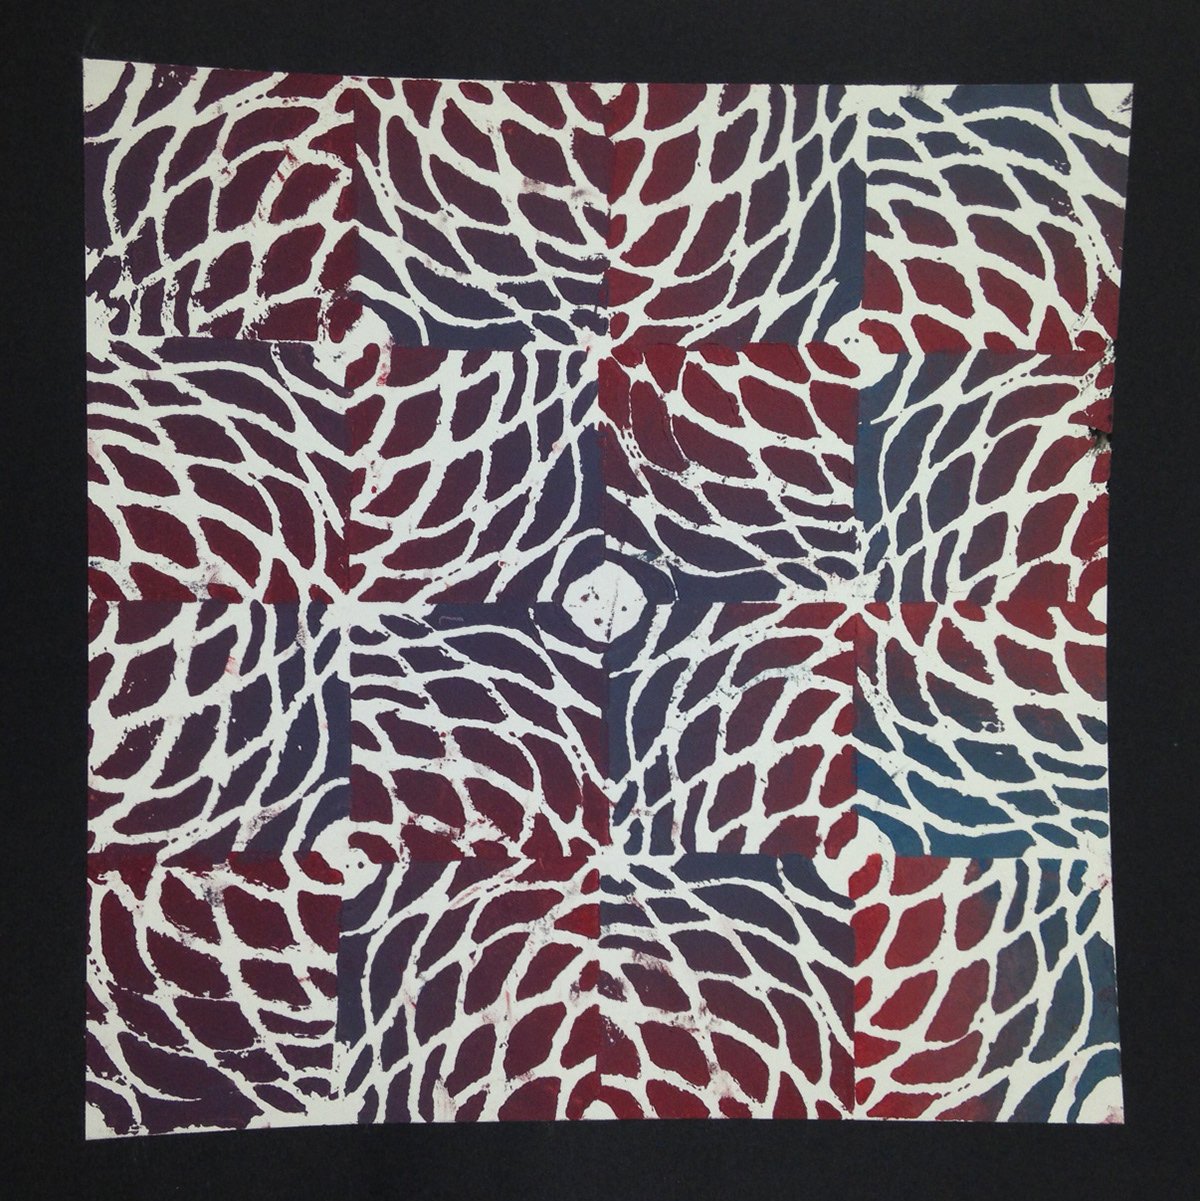
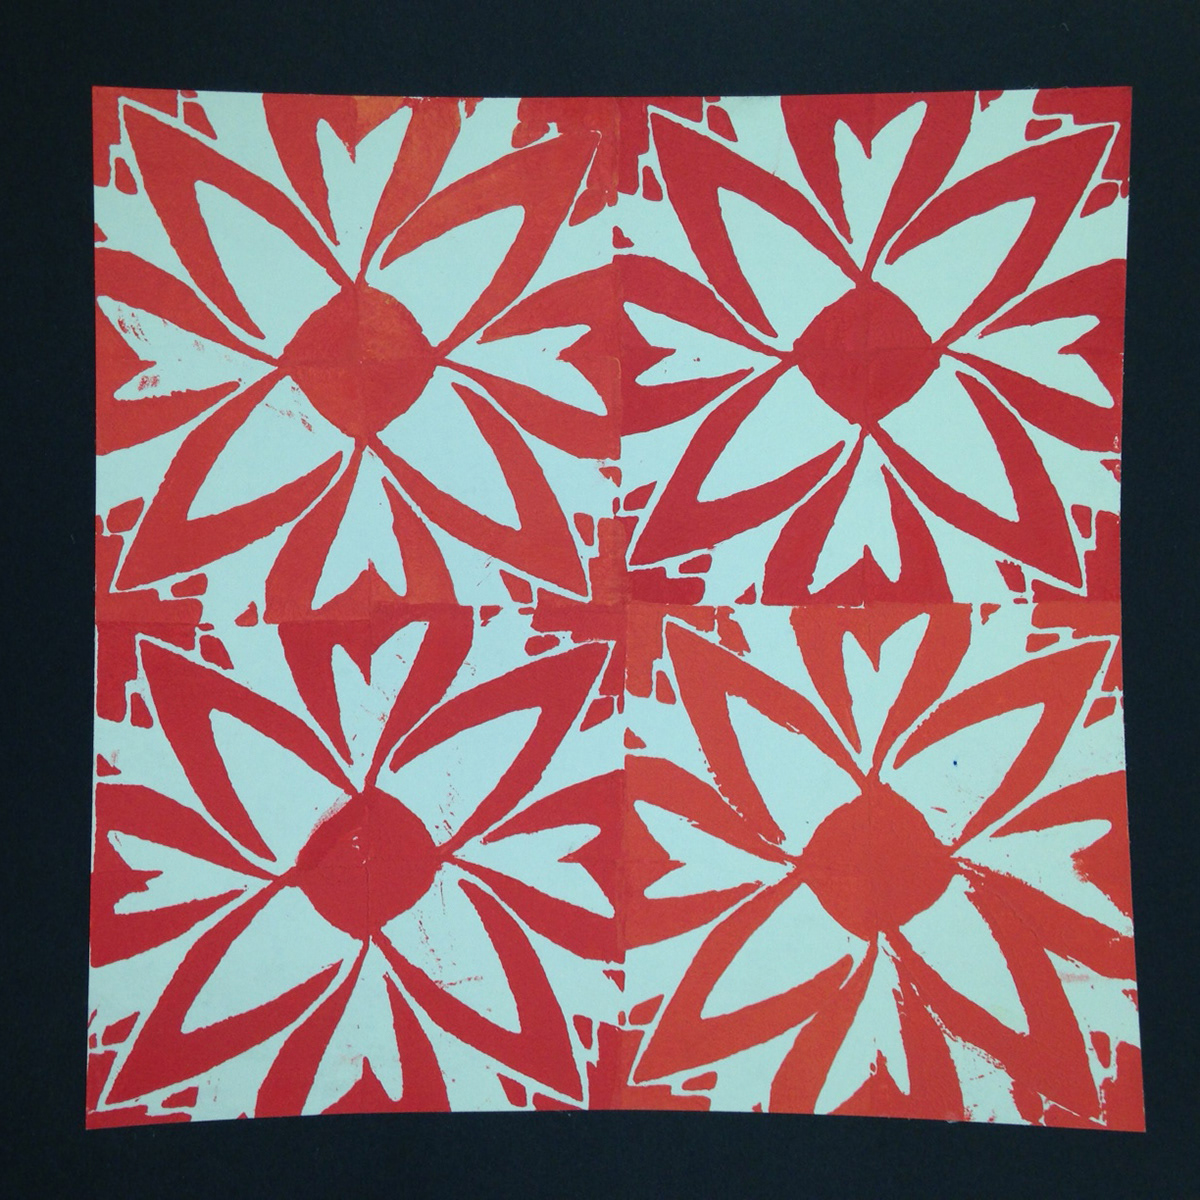
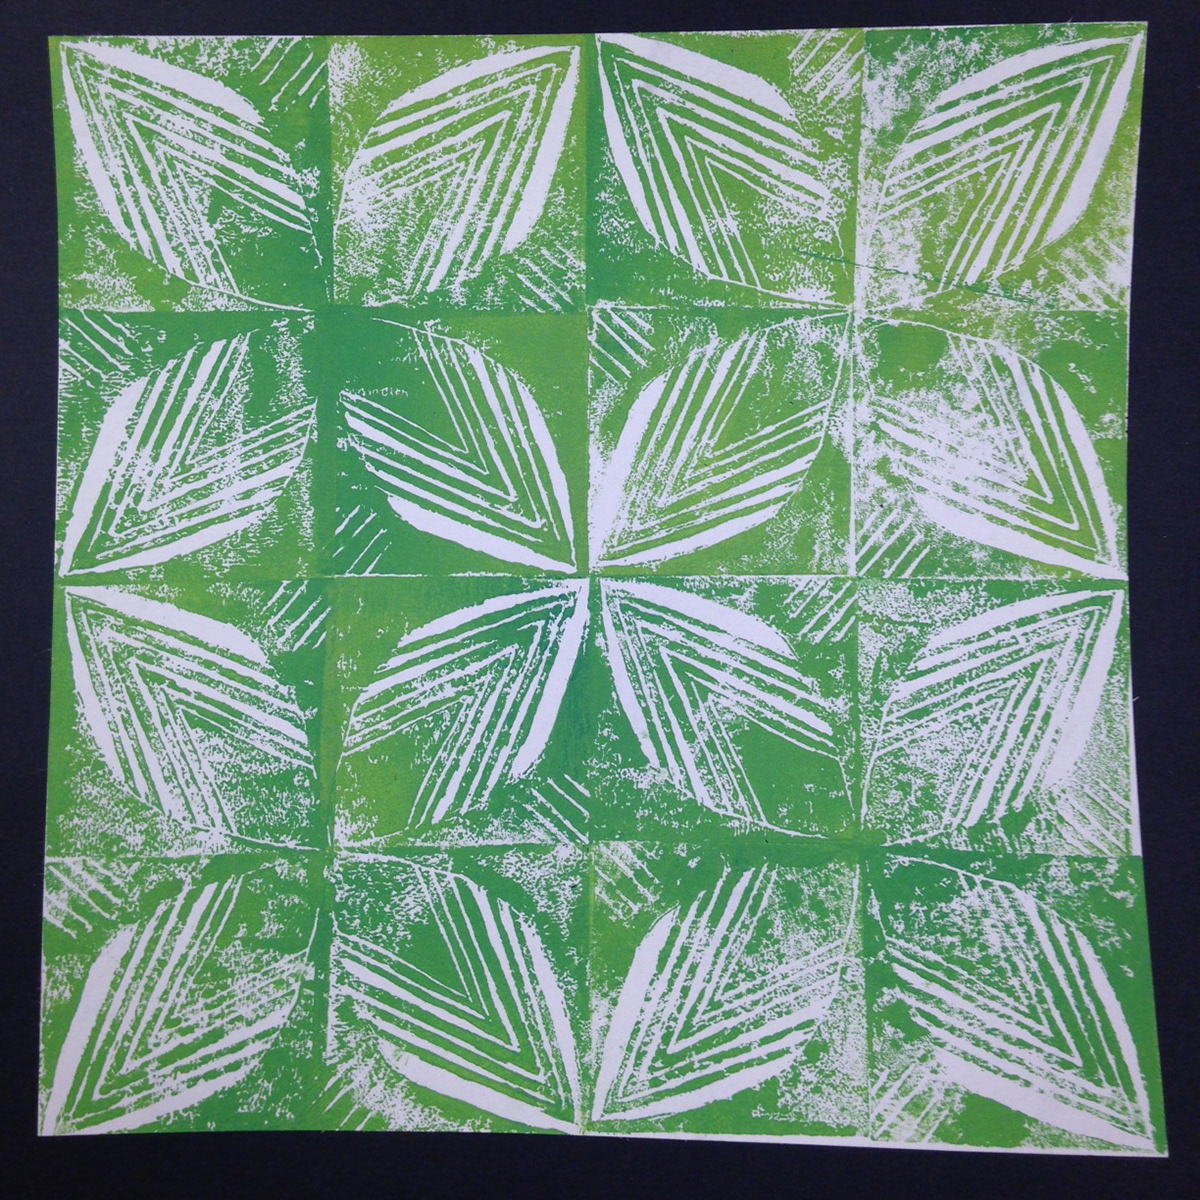
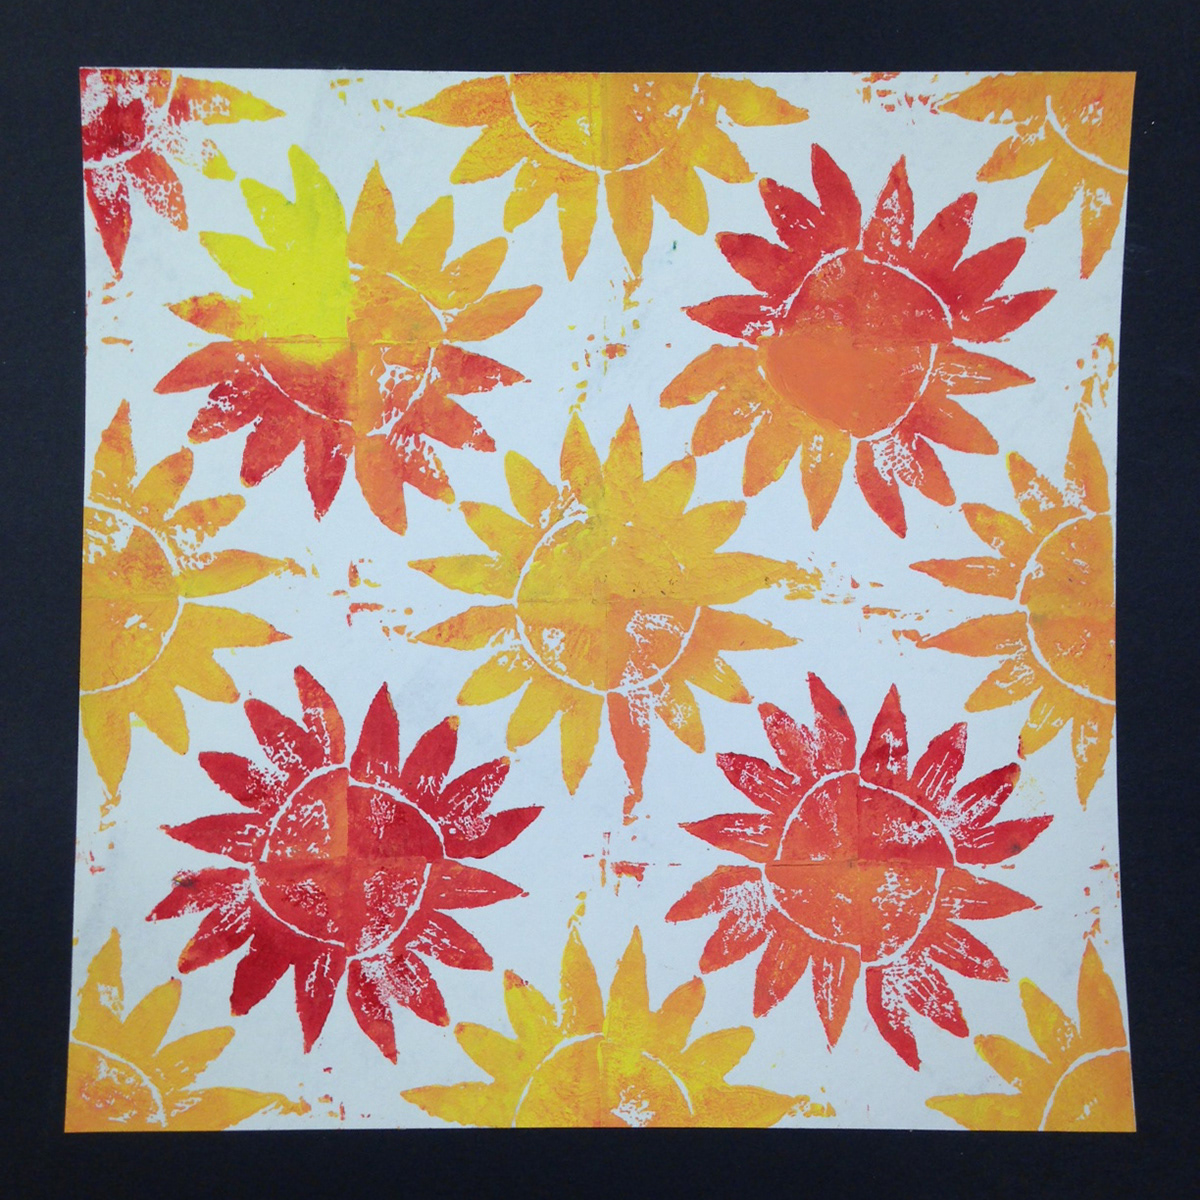
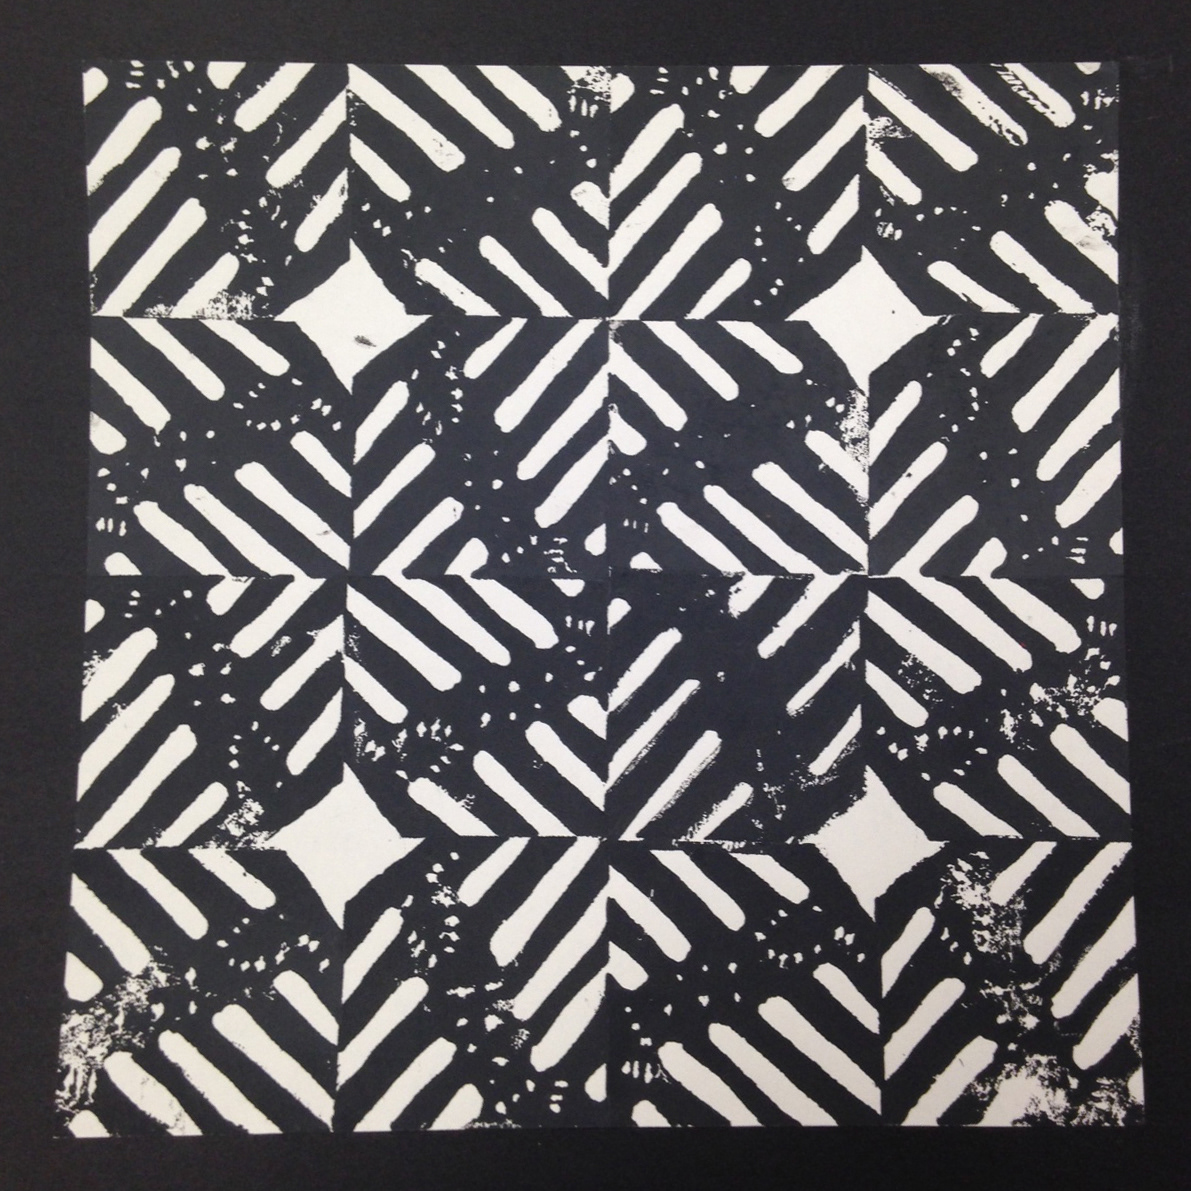
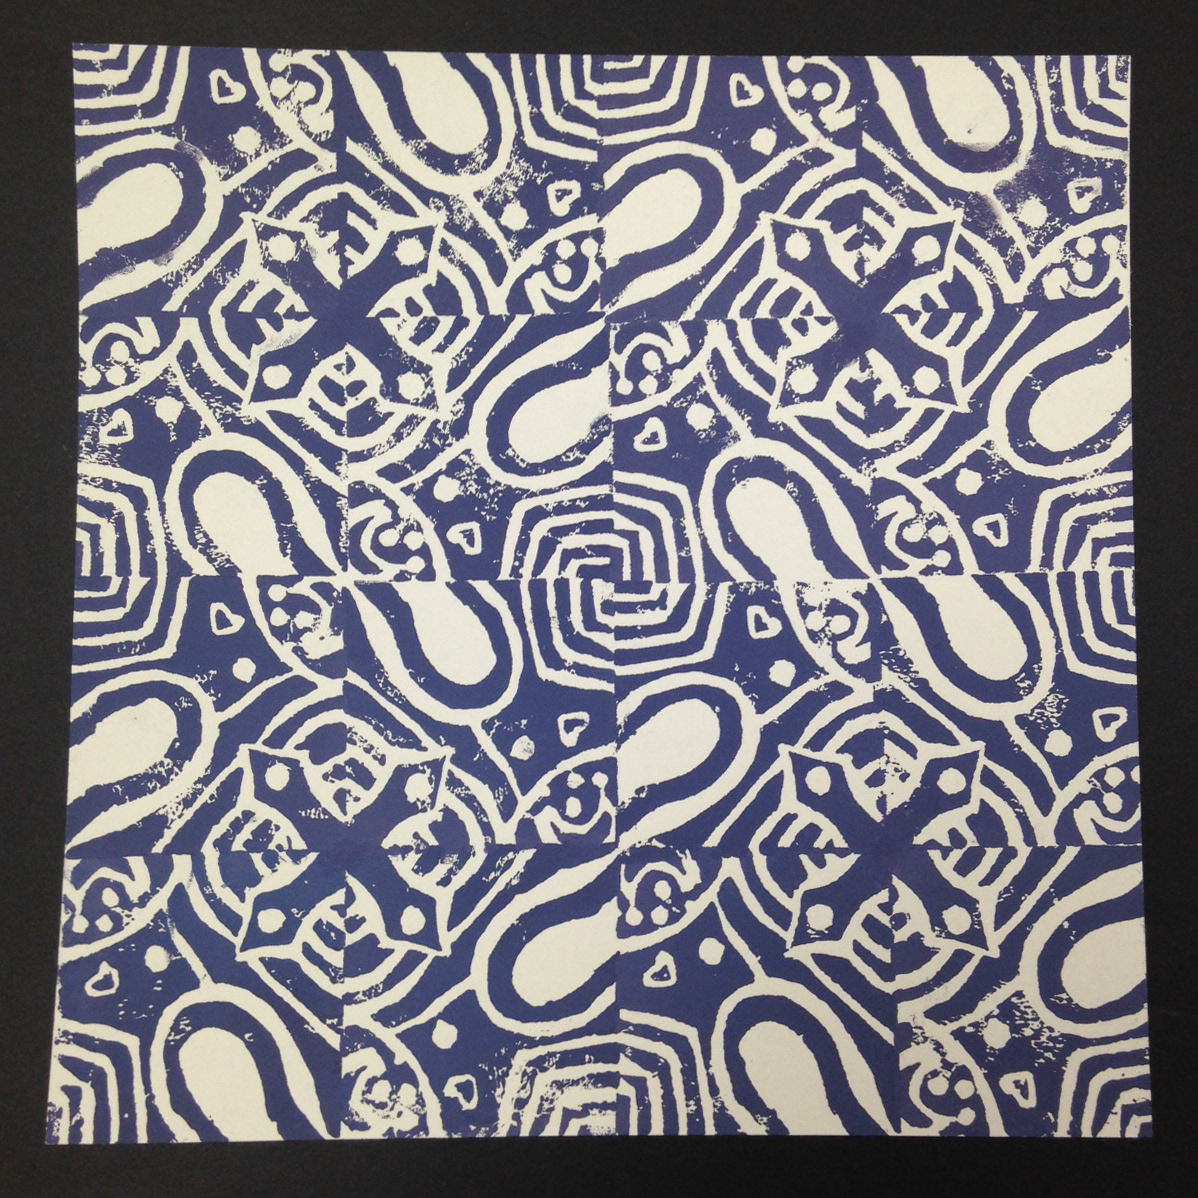
Printmaking Pattern
The purpose of this lesson was to teach students the methods of printmaking while applying prior knowledge of line and symmetry. The aspect of rotational symmetry was stressed during this assignment. Students created one 3 inch by 3 inch reductive block and printed the block 16 times with water based ink to create a new pattern with their original design.


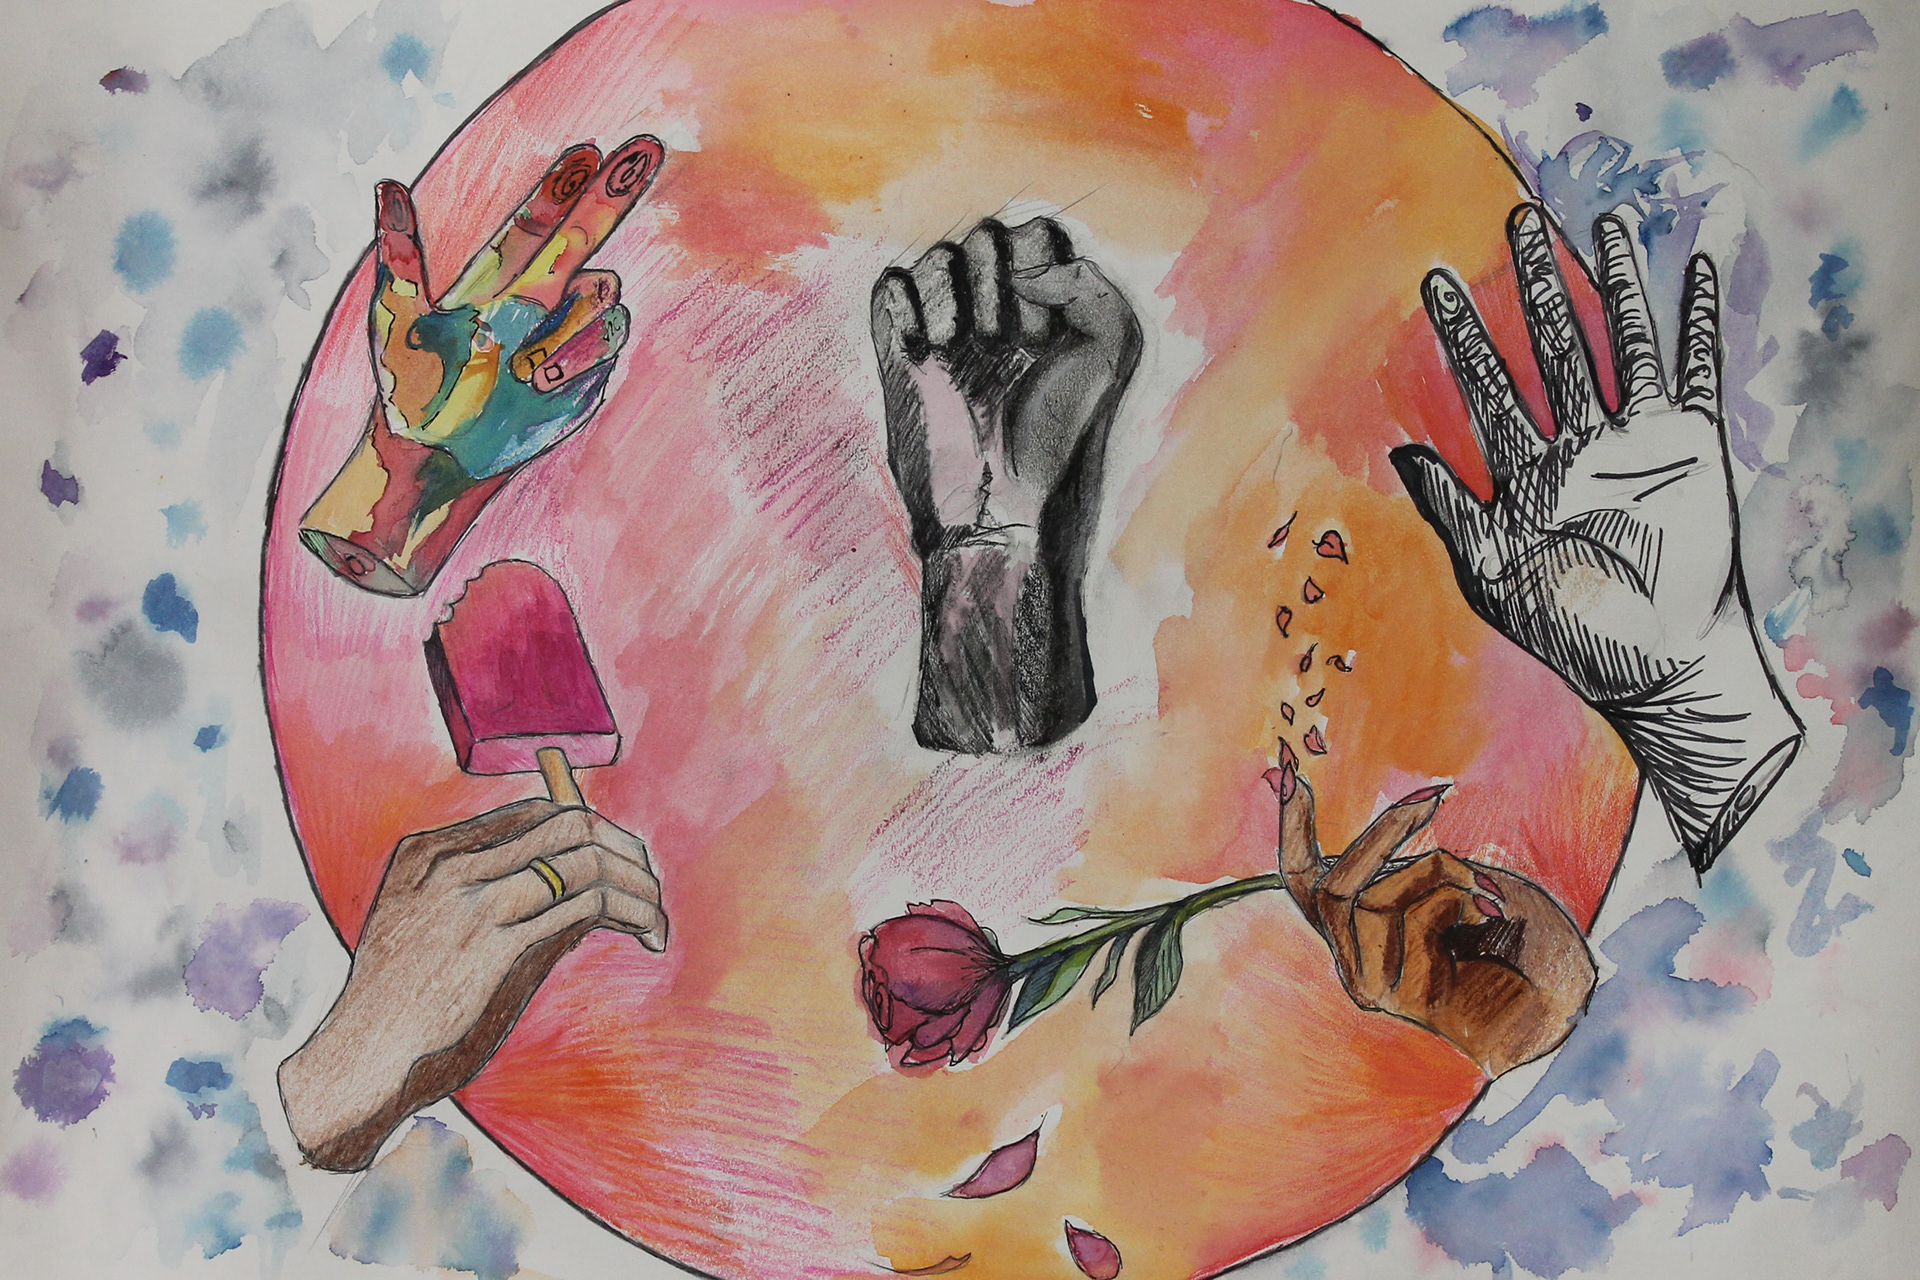
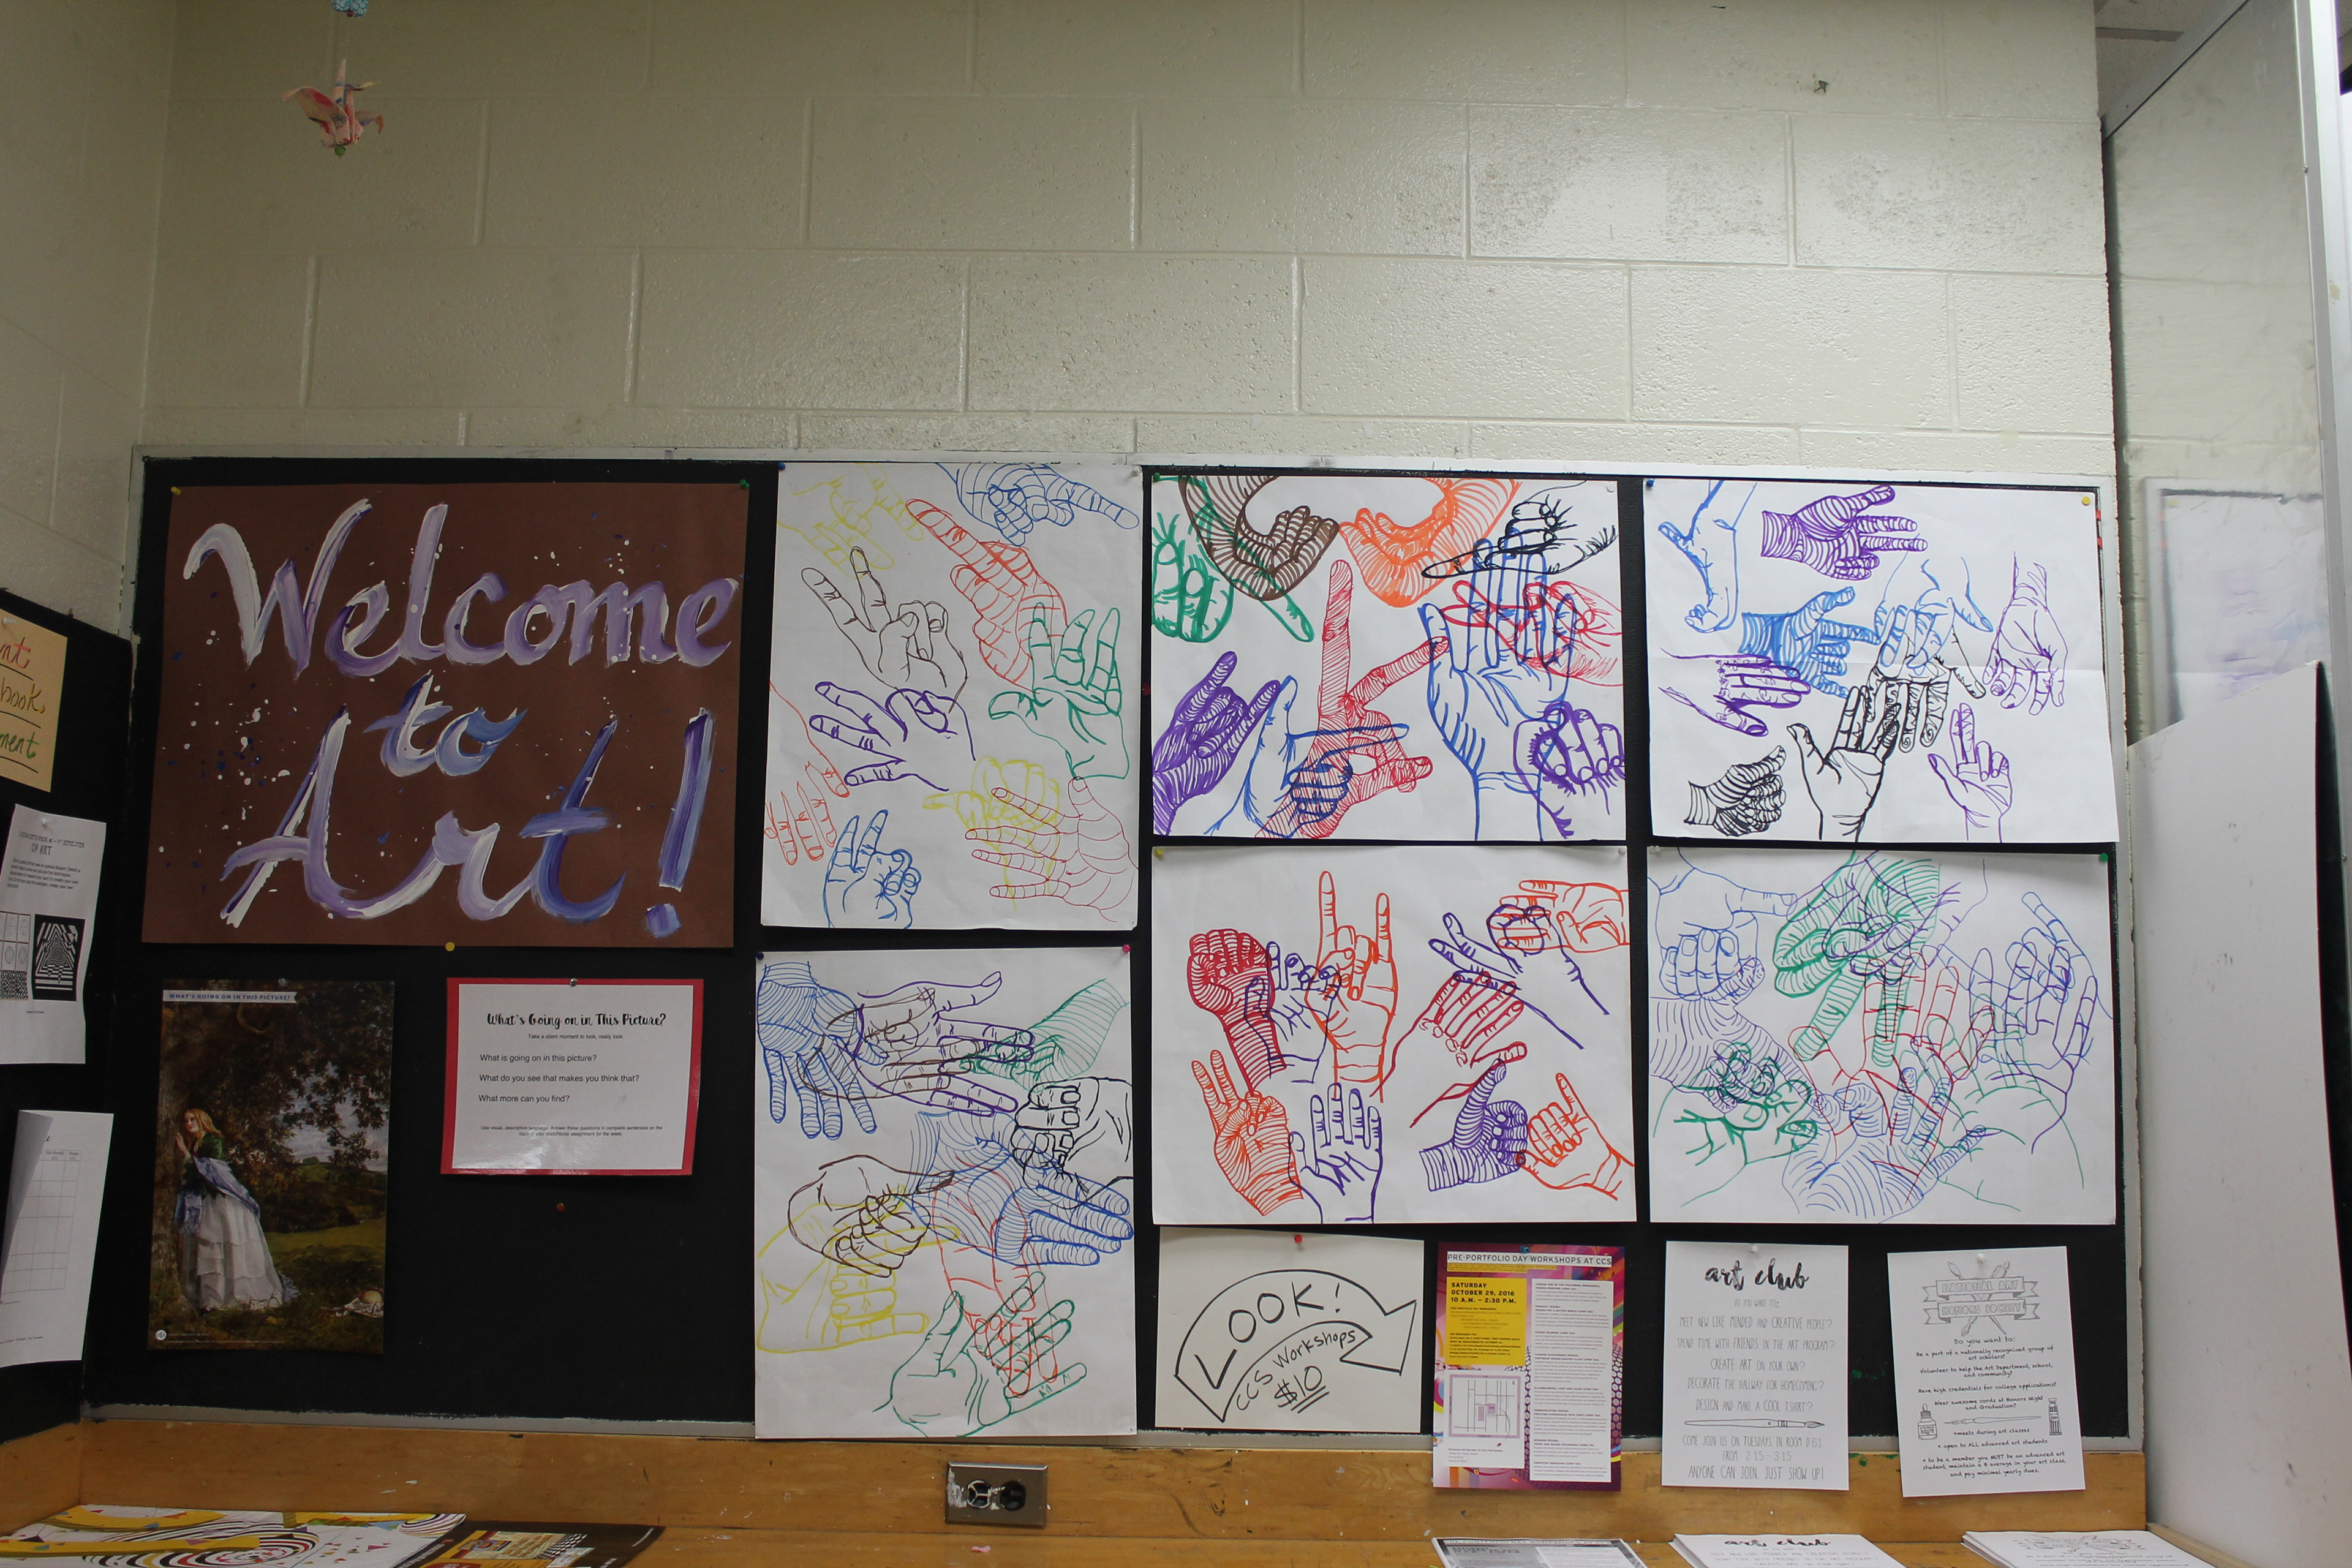
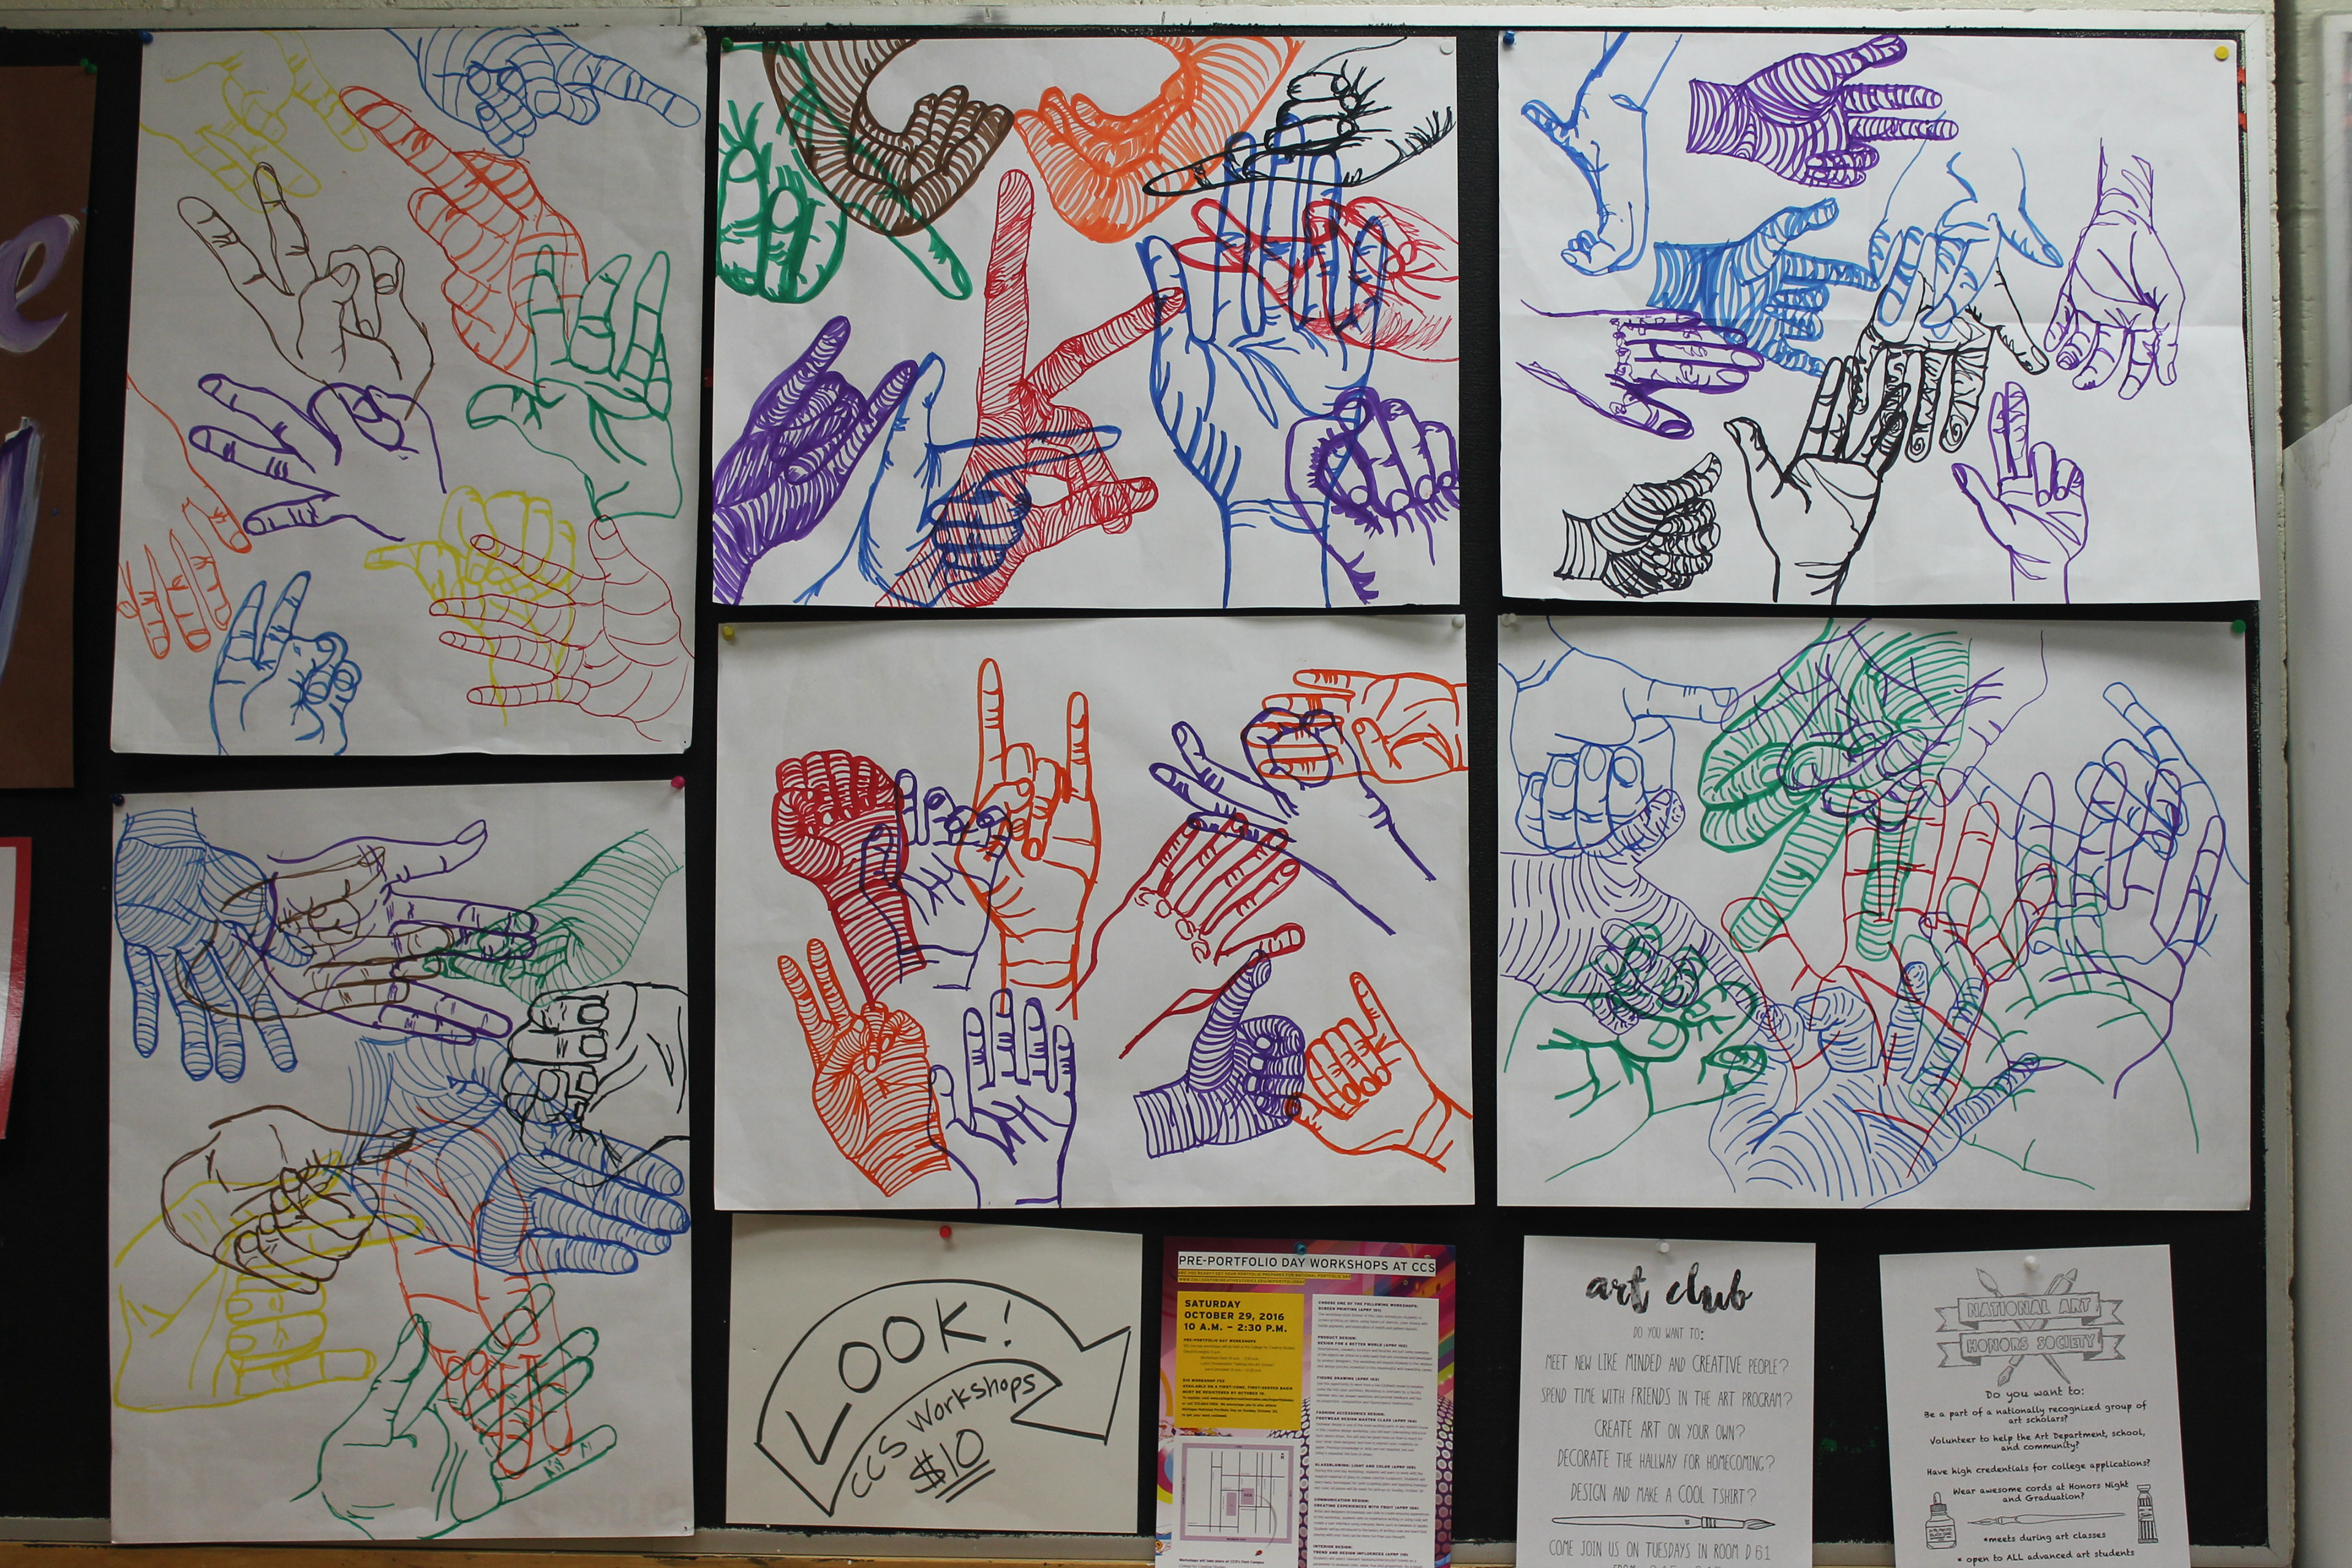
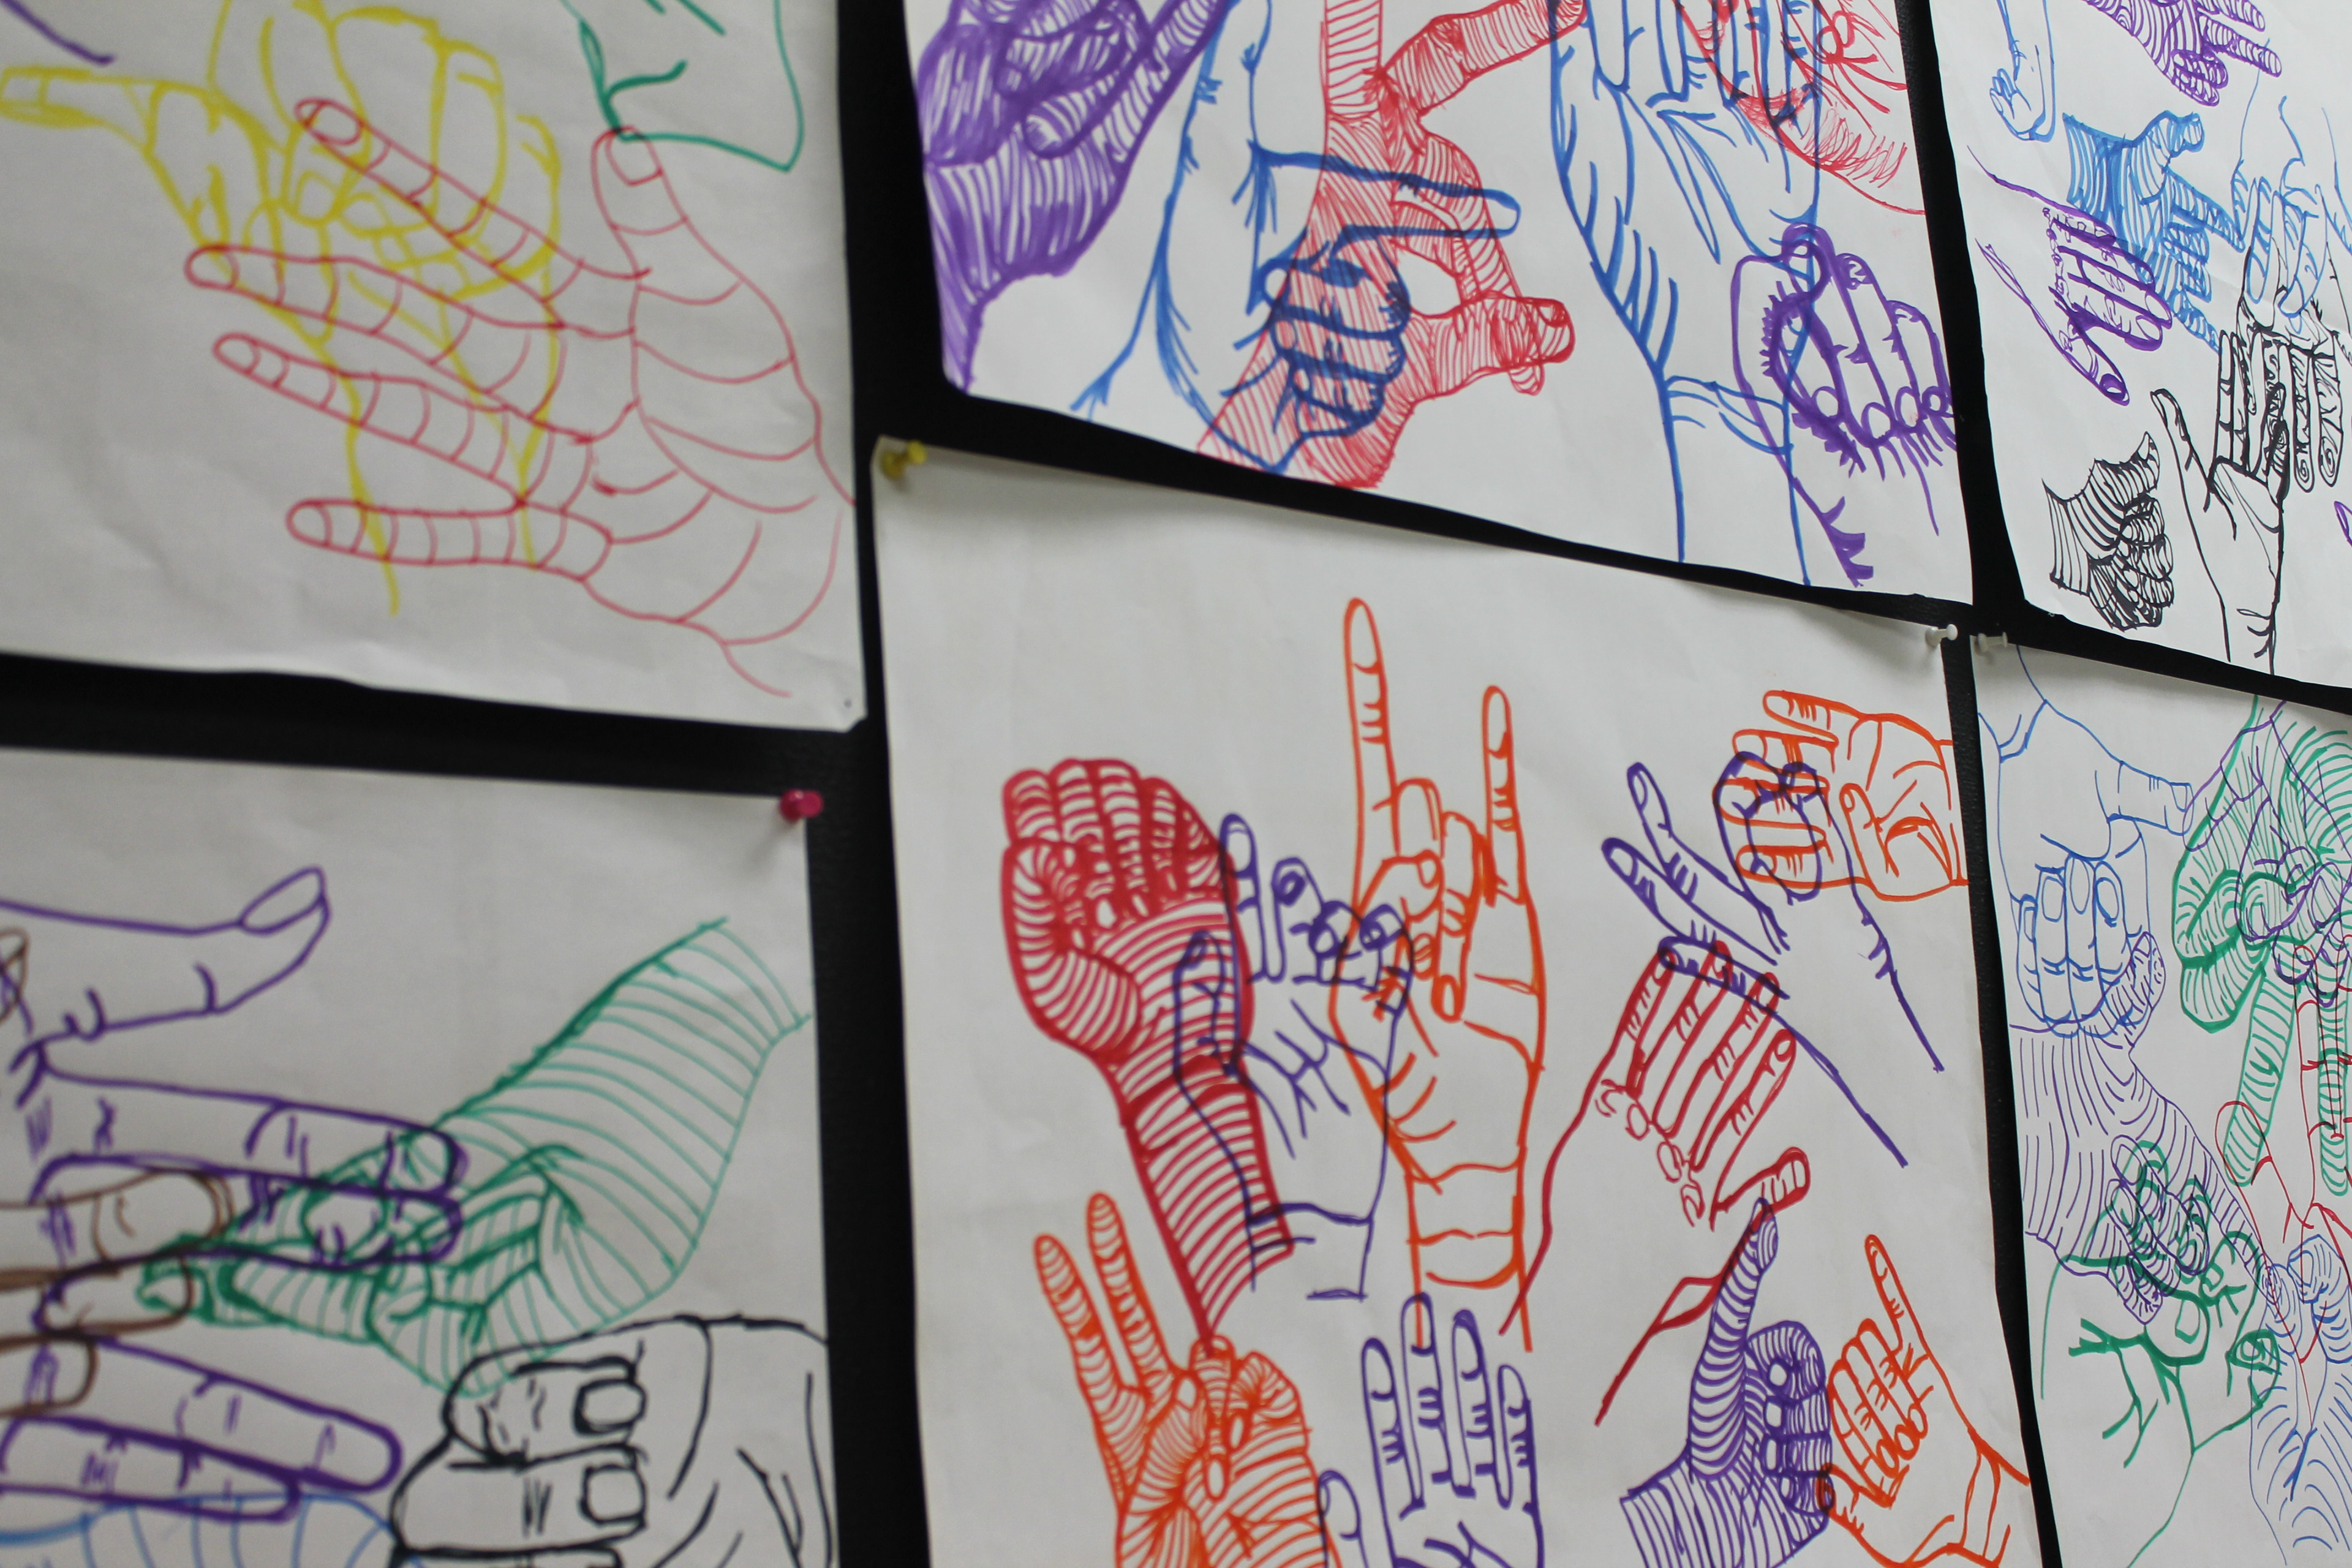
Expressive Hand Contour
Students were able to practice their prior knowledge of contour drawing. Contour drawing helps students with their hand eye coordination. The lesson began with a discussion of hands, and their expressive qualities. Students were given a demonstration of refresh their knowledge of contour line. The students used only marker and one continuous line to create their contour hand drawings.
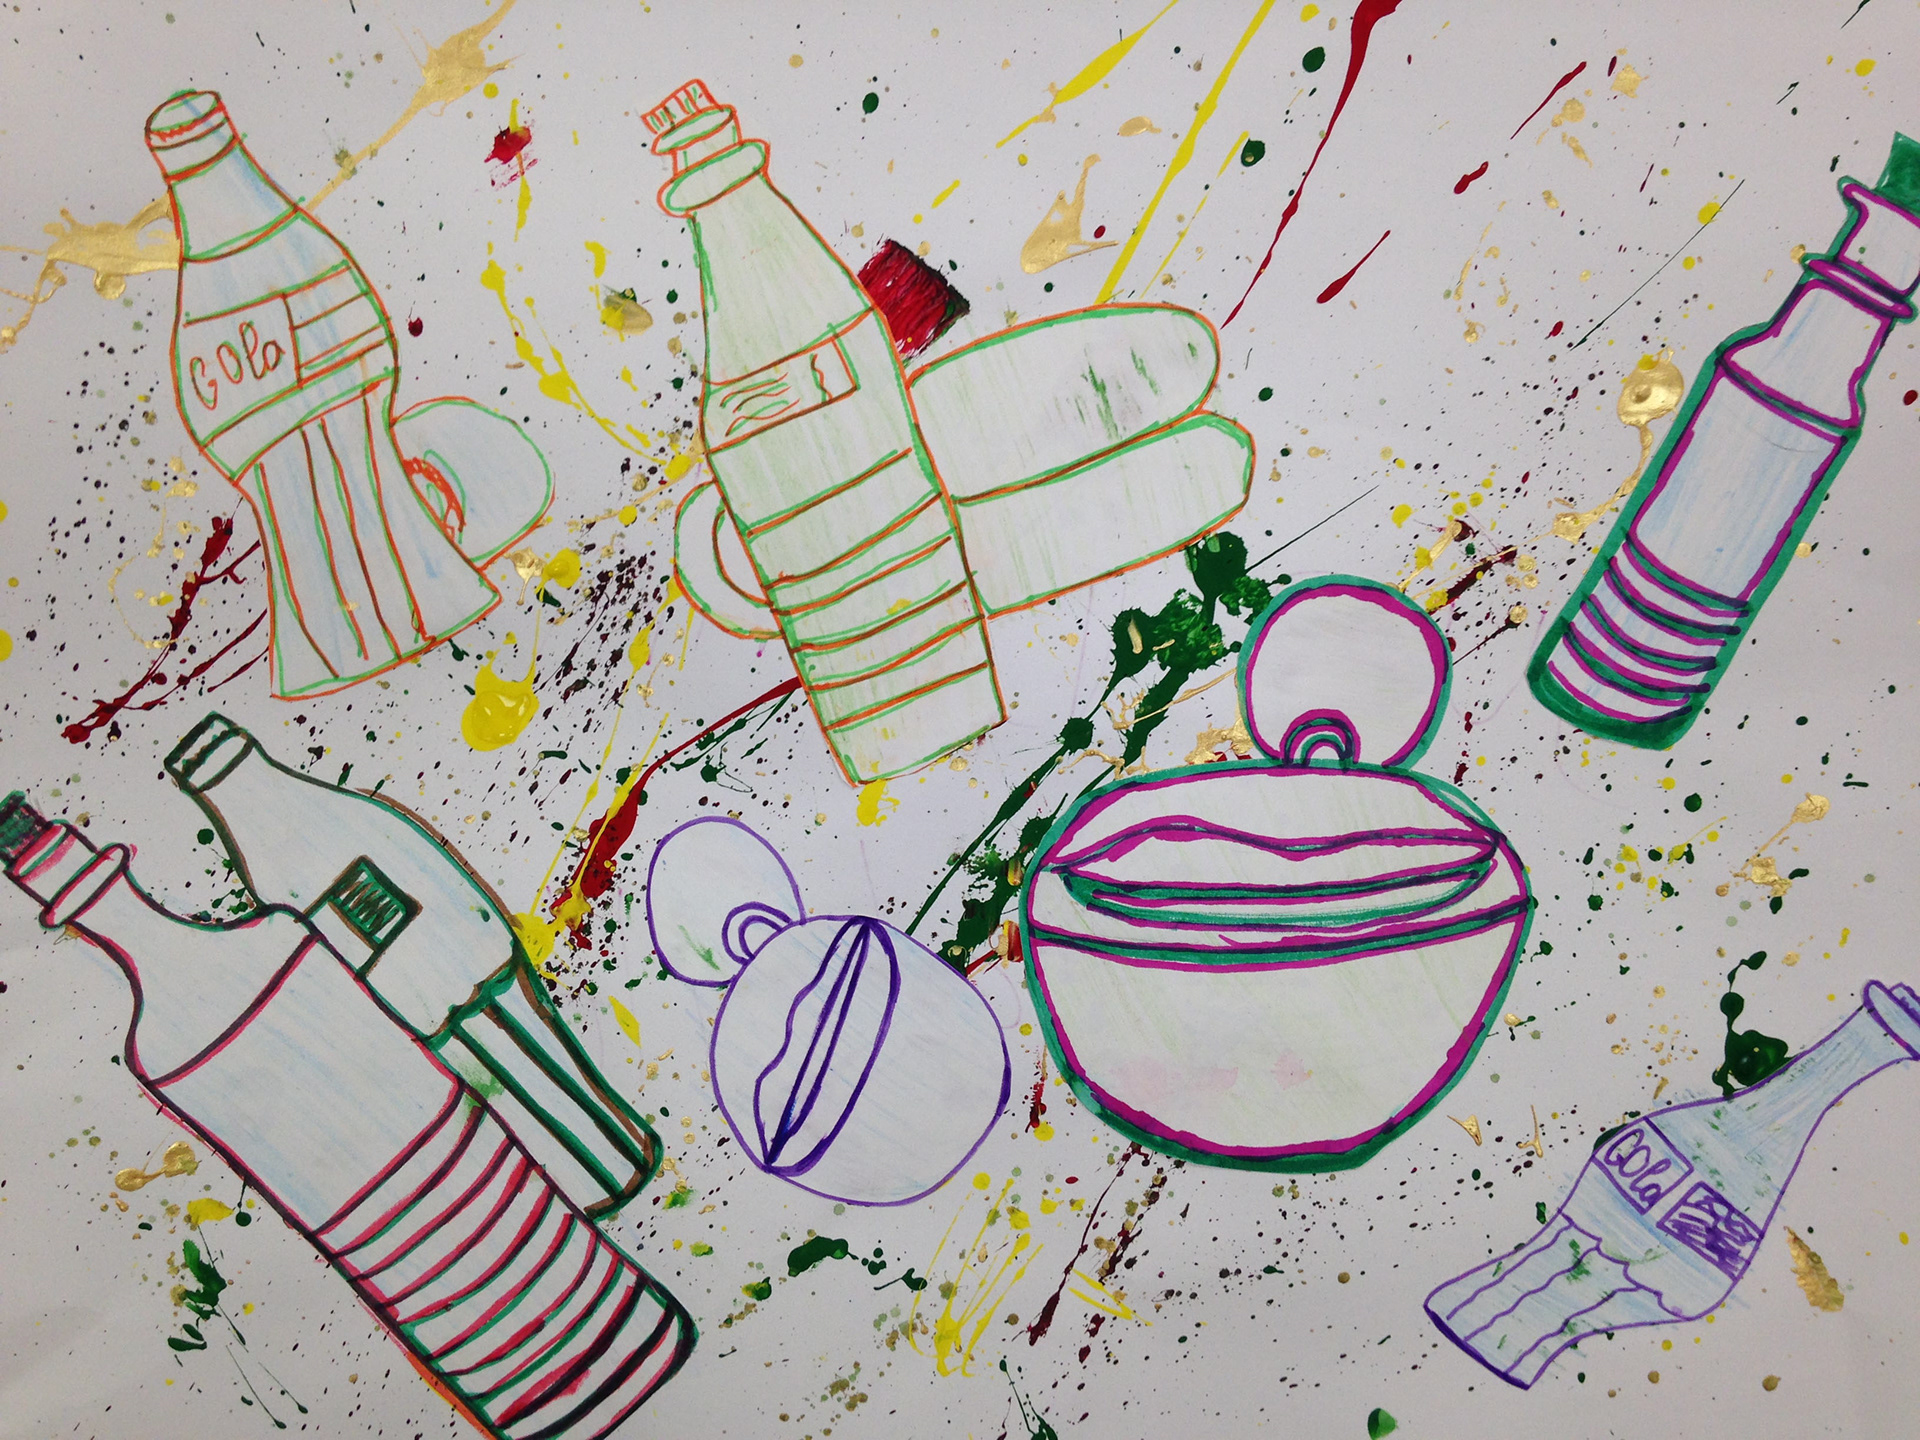
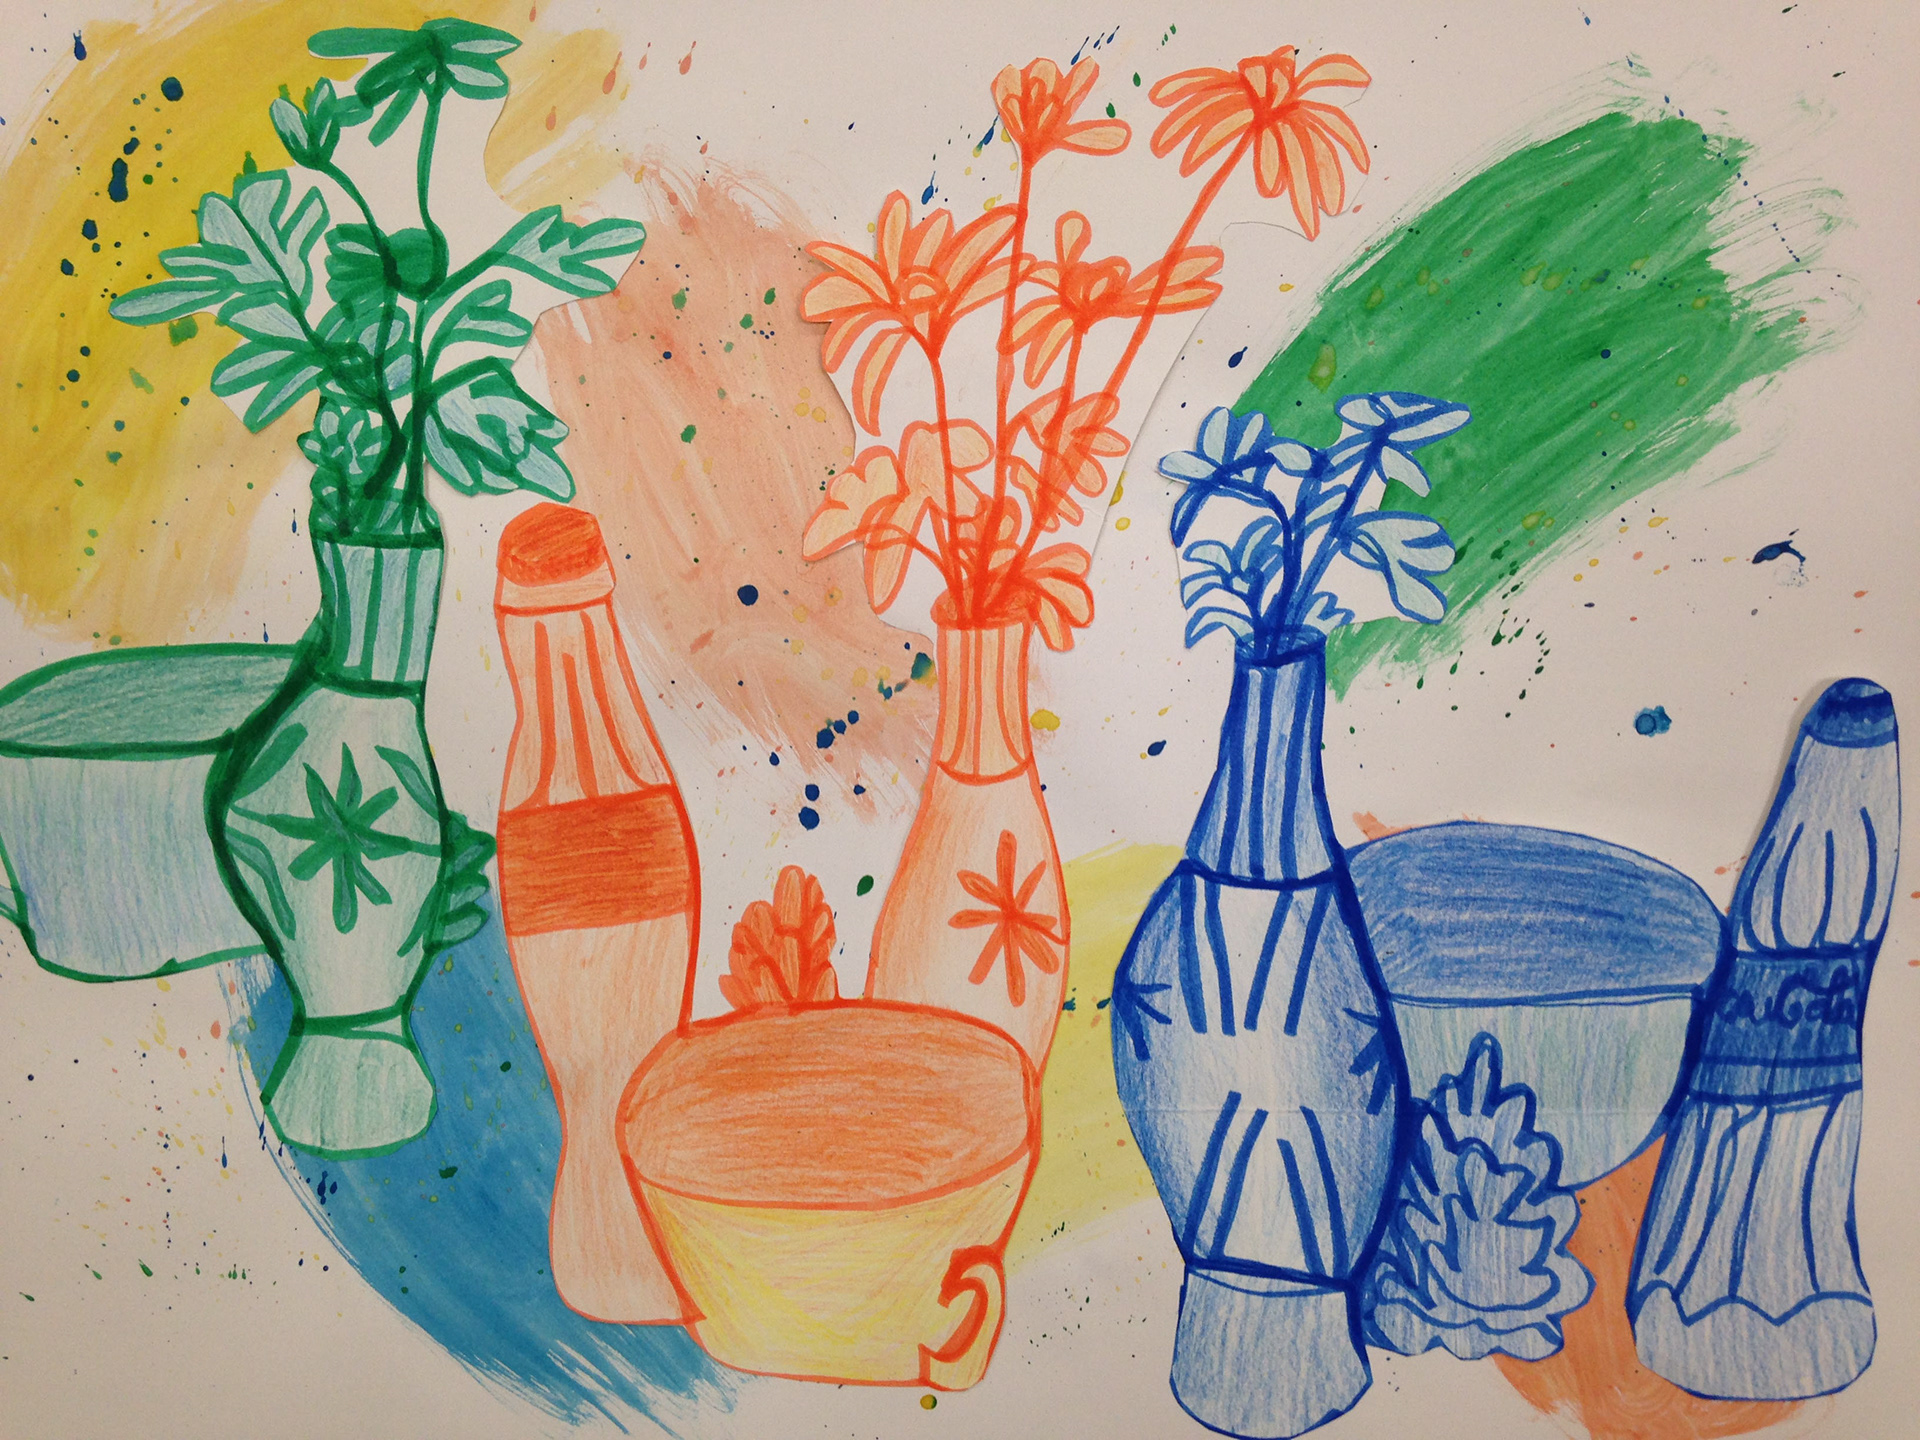
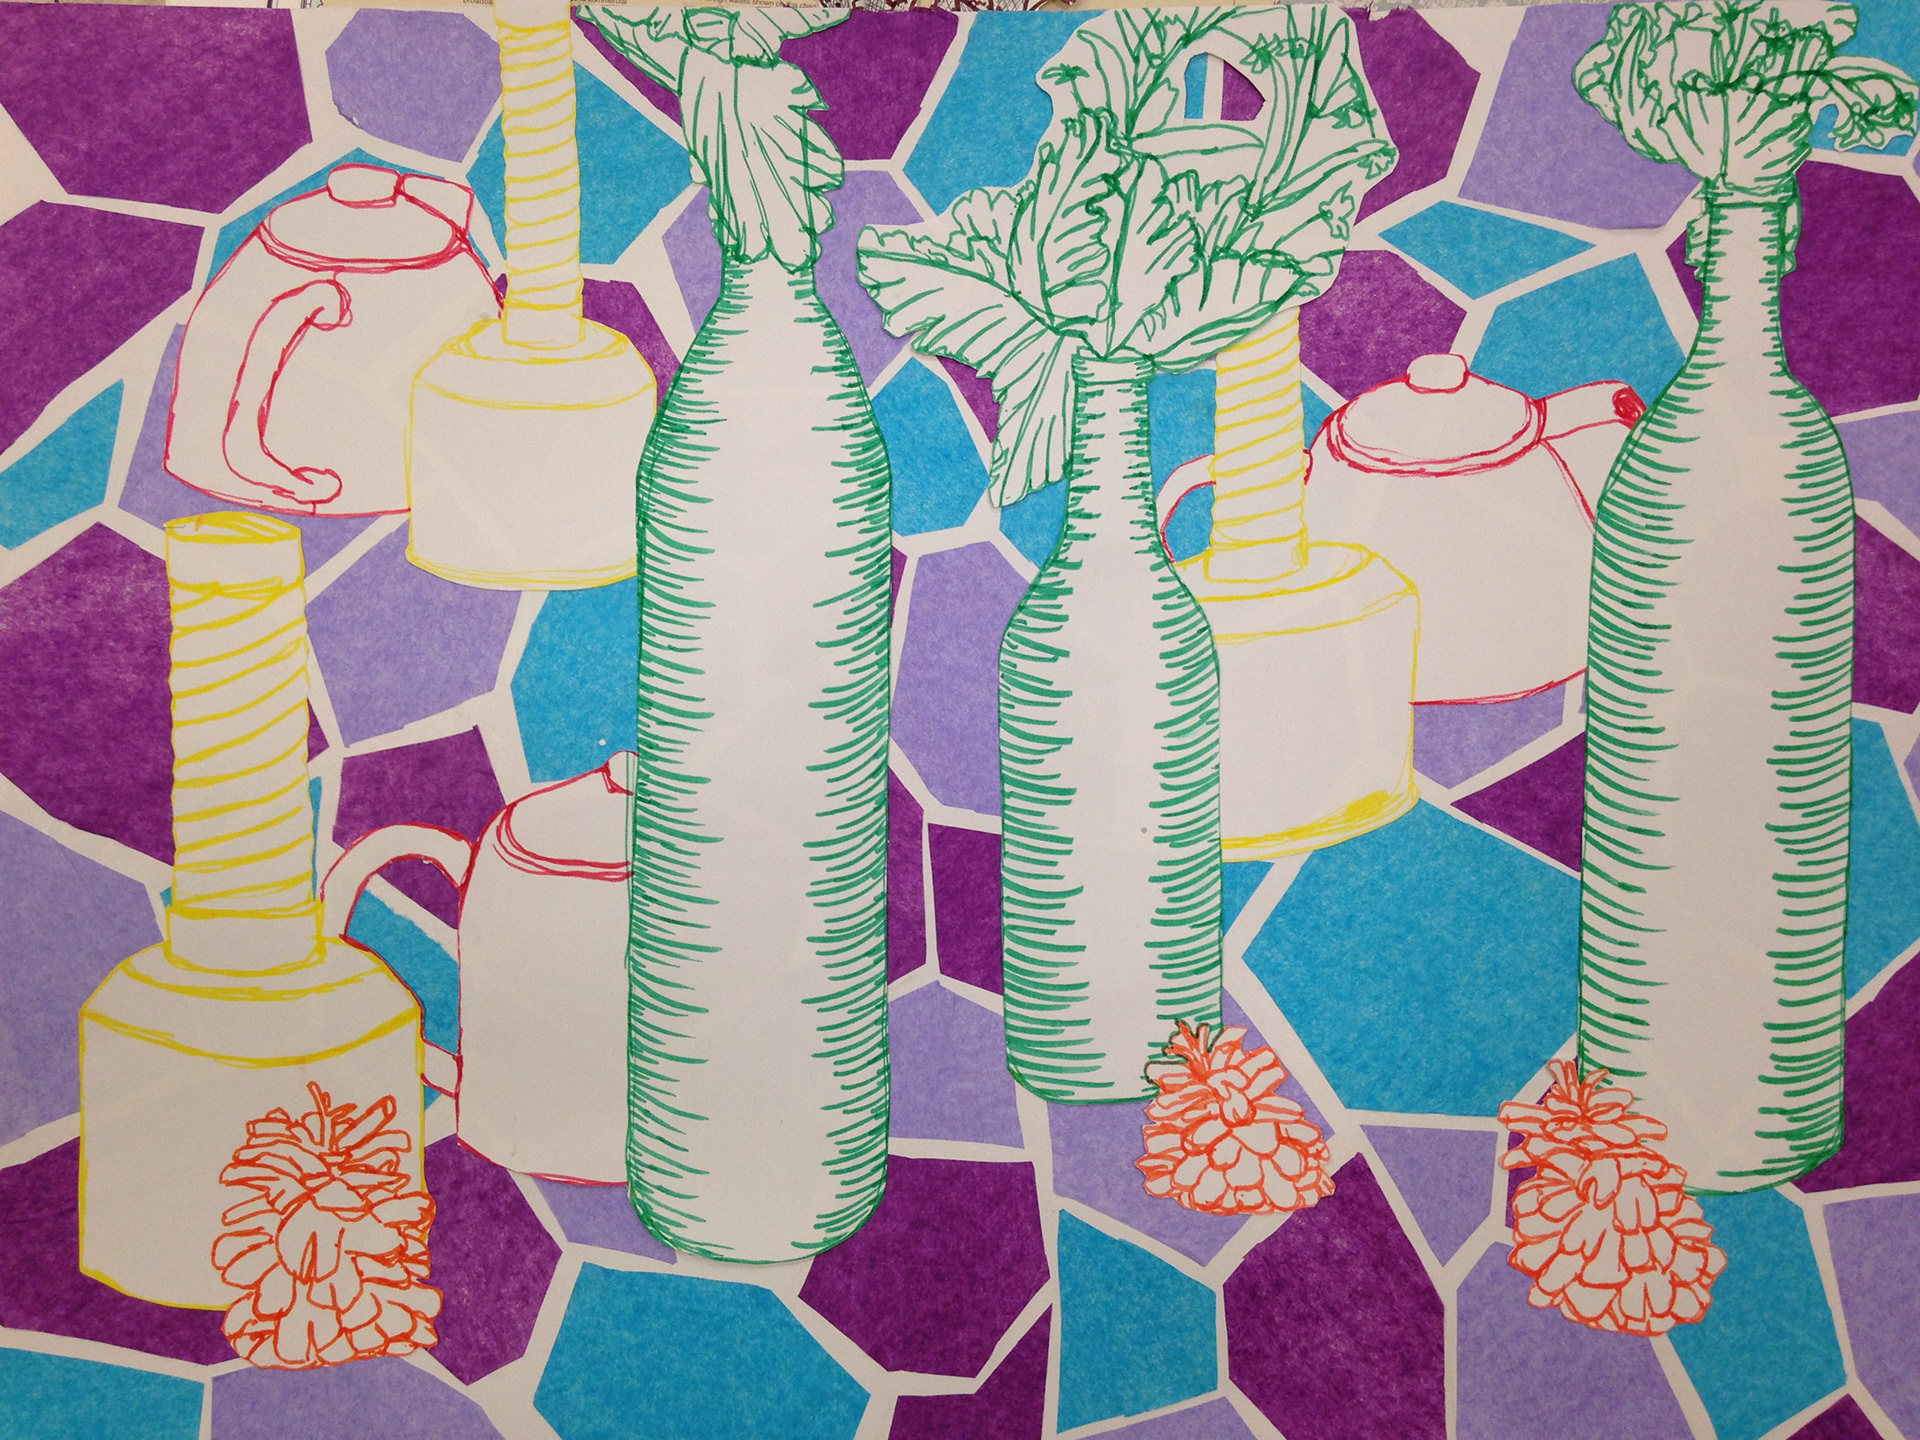
Contour Collage
Students continued their practice of contour line by drawing a still life only using contour line. The students set up their own still lifes at their table on a board. They had approximately 15 minutes to draw the still life before the board was rotated. They drew the same still life from 4 different angles, and then chose the best three for their final project. Before beginning the collage portion, students received a history lesson about collage in art. The term collage is a french word which means "to glue" and it was originally used by Georges Braque and Pablo Picasso in the 20th century. Once students were given examples of collage and various materials, they collaged their contour still life drawings together to form one composition.
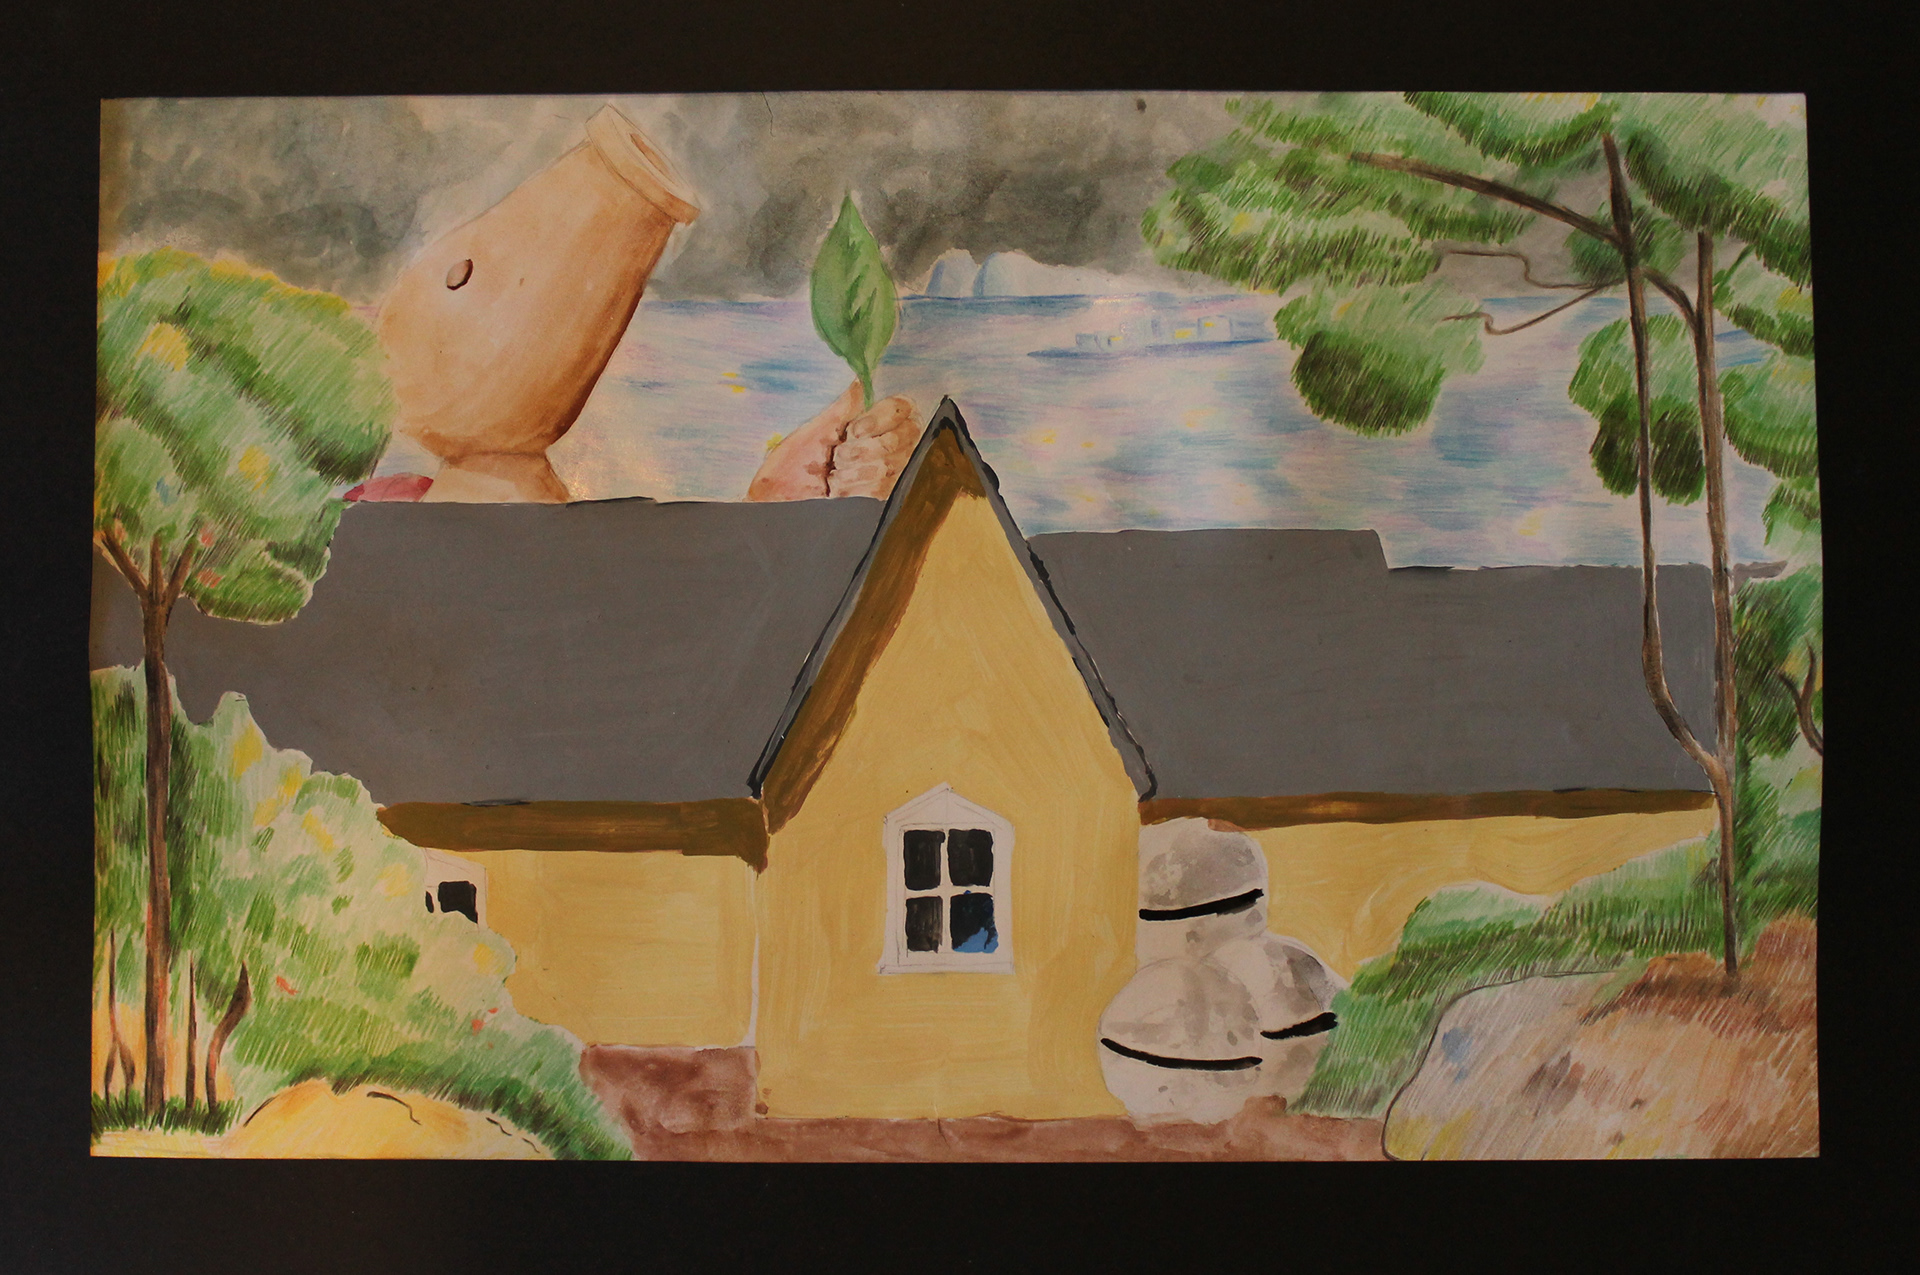
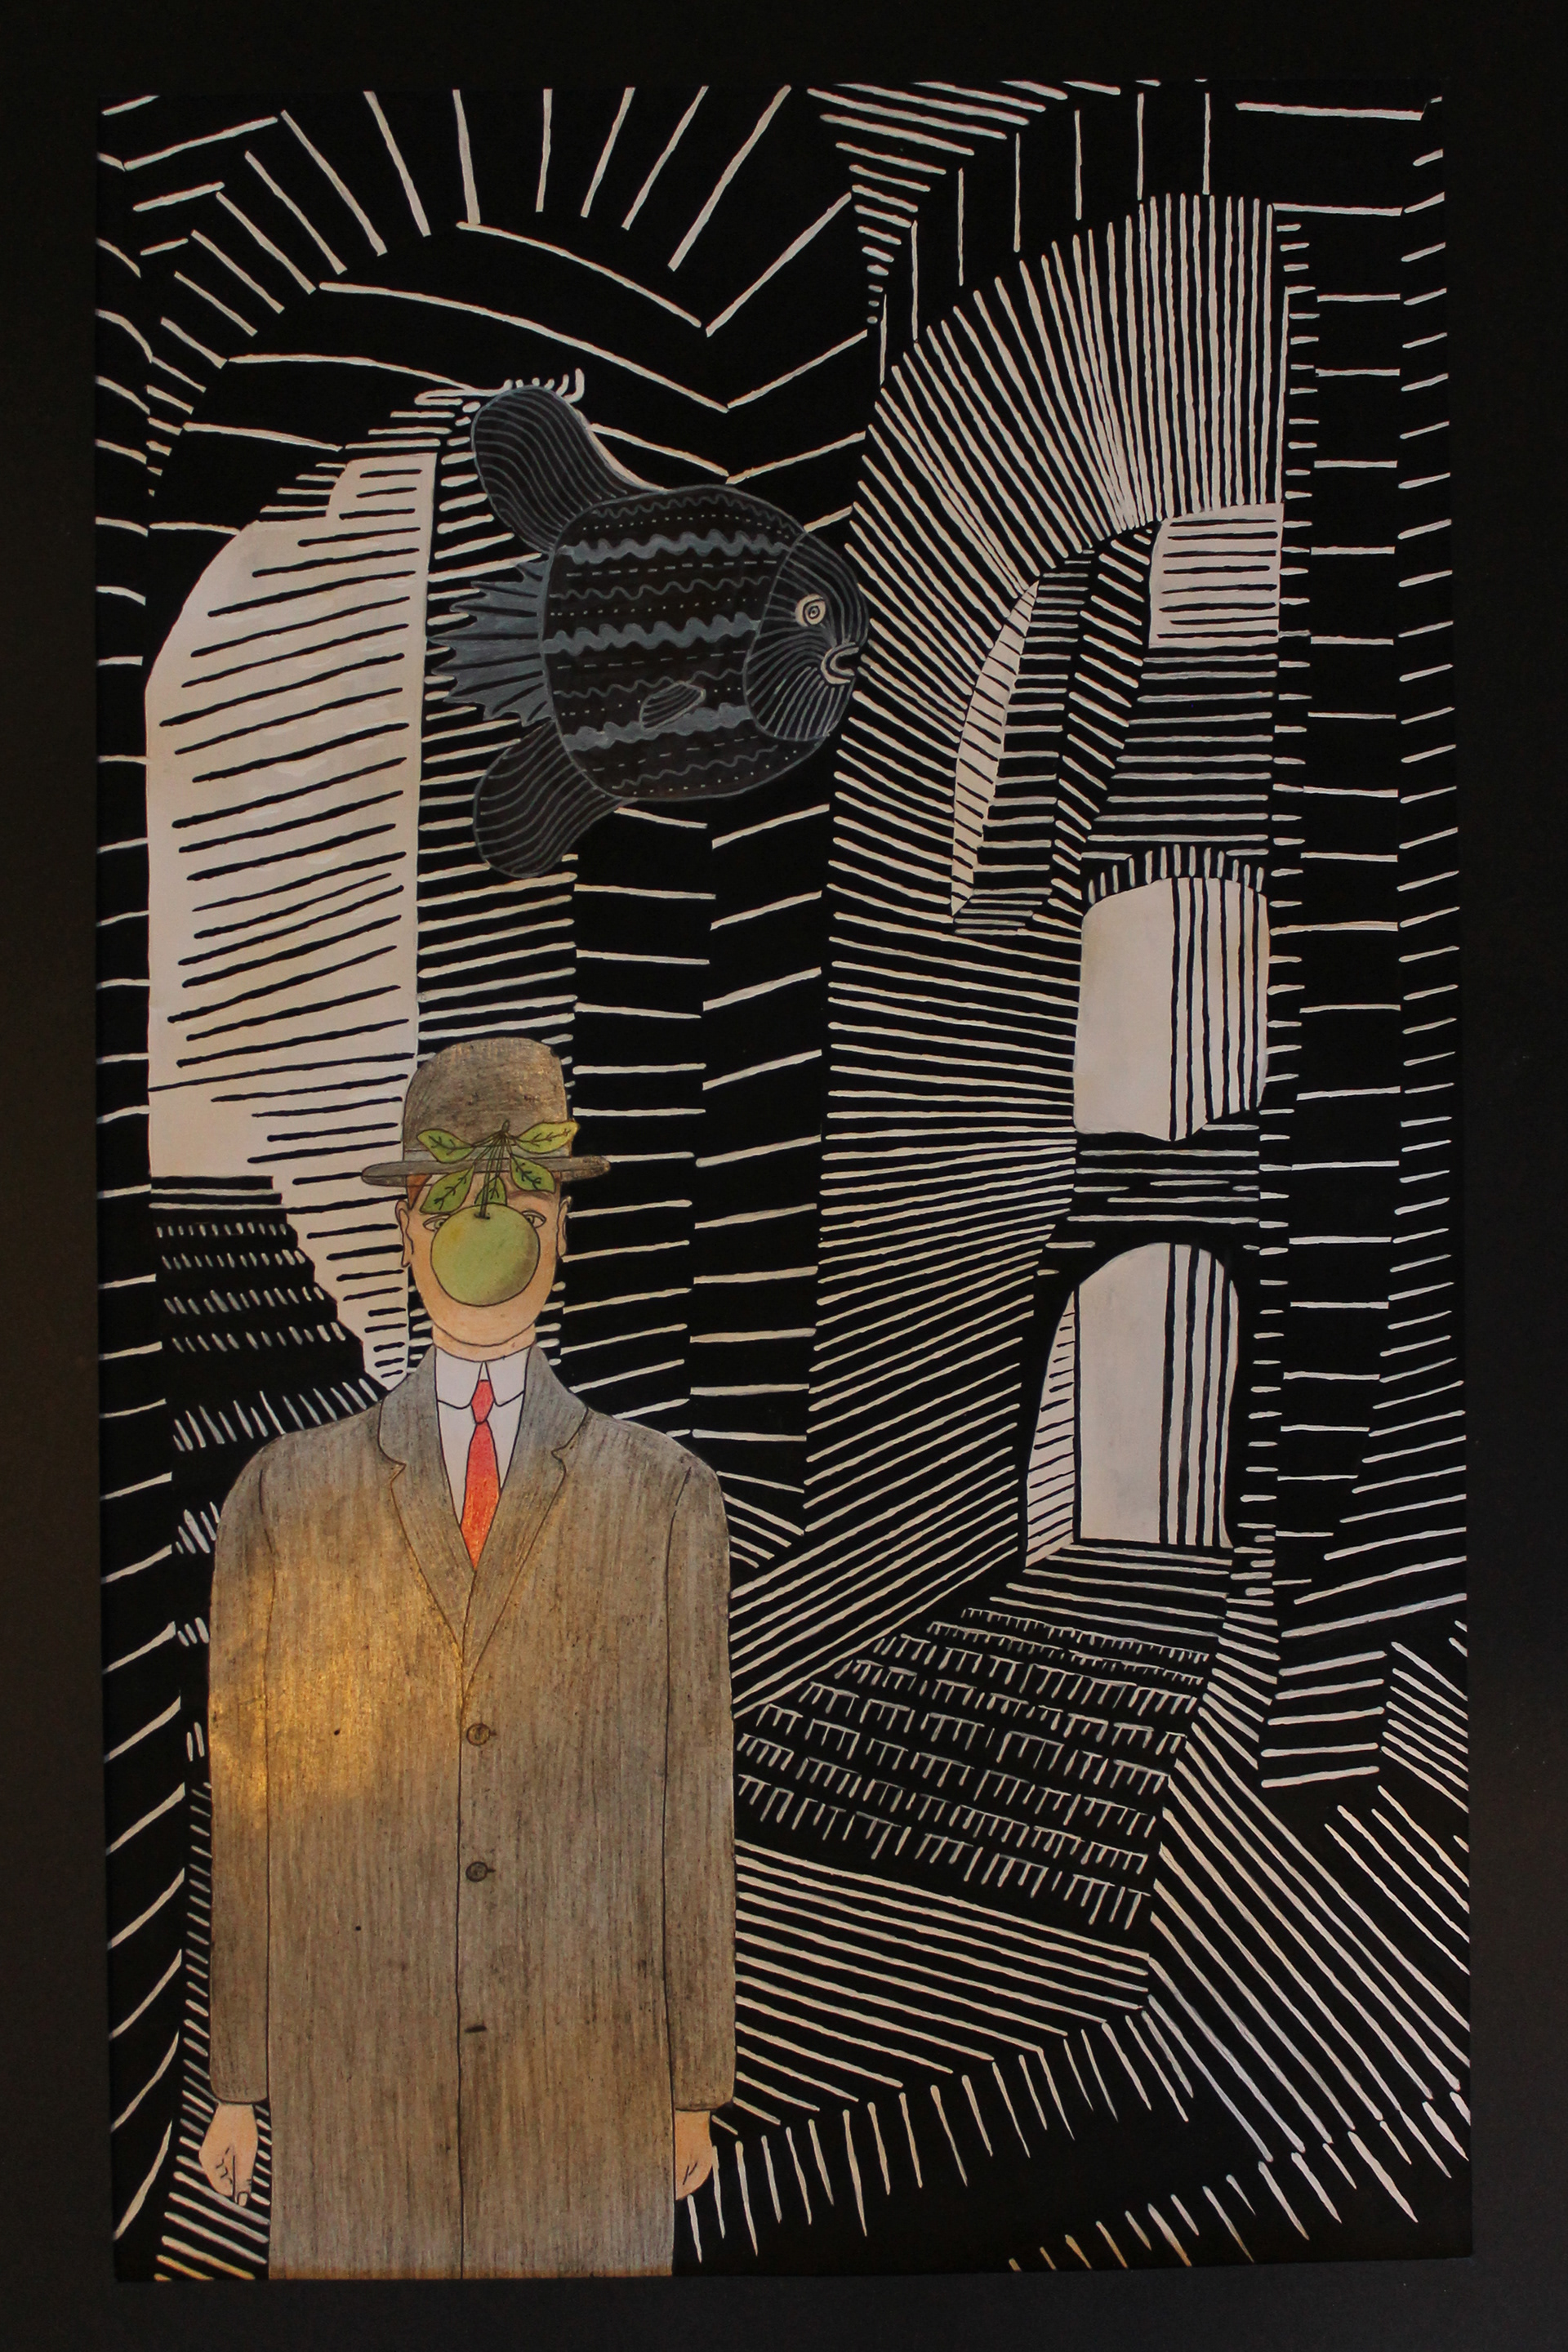
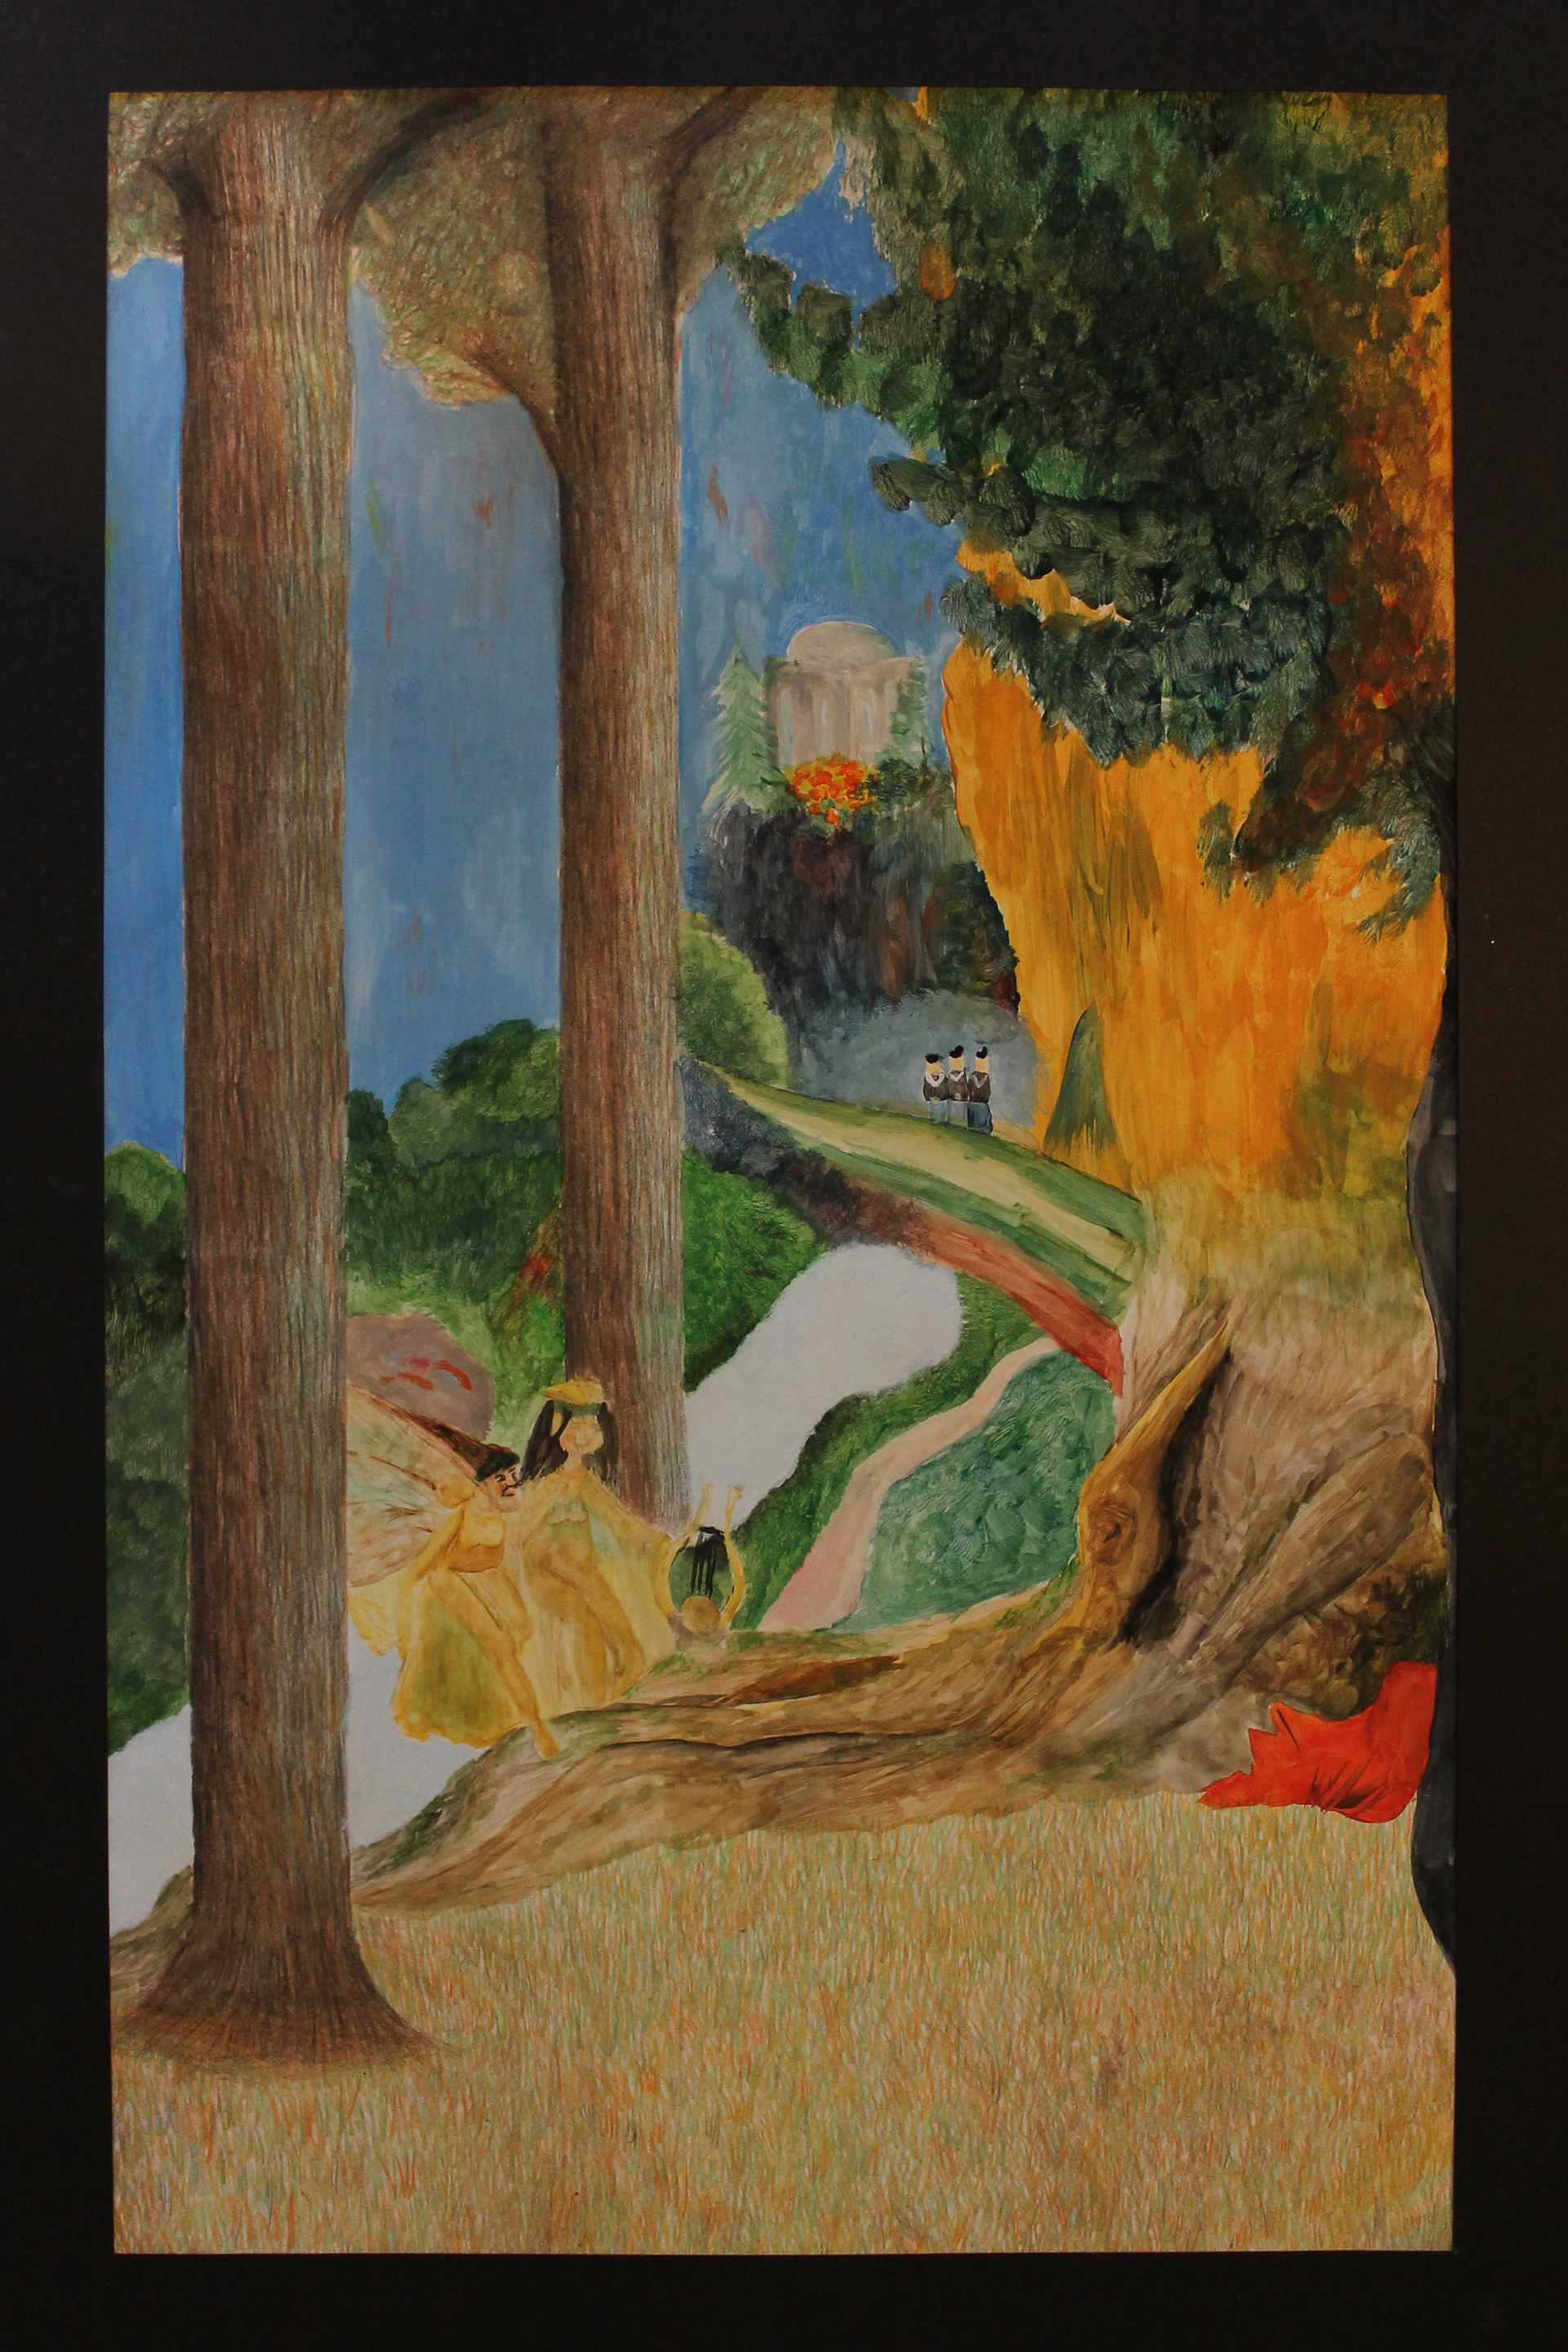
Art History Collage
This lesson began with a visual thinking strategy (VTS) exercise. Students examined an artwork while the discussion was facilitated with three basic questions. The students looked at an artwork that combined three famous artworks into one cohesive composition. The students discussed the concept of appropriation (using existing images in your own work without modifying them significantly.) Students were also asked a driving question: What choices must an artist make before beginning an artwork? The class led a discussion that prompted demonstration of techniques and materials for their projects. The students selected three different artworks, sketched out the basic composition in their sketchbooks, and then began to piece the artworks together on their final paper. Students used a different media for each artwork. Accompanying the final product was a paper with the history and background of the three different artists they chose.
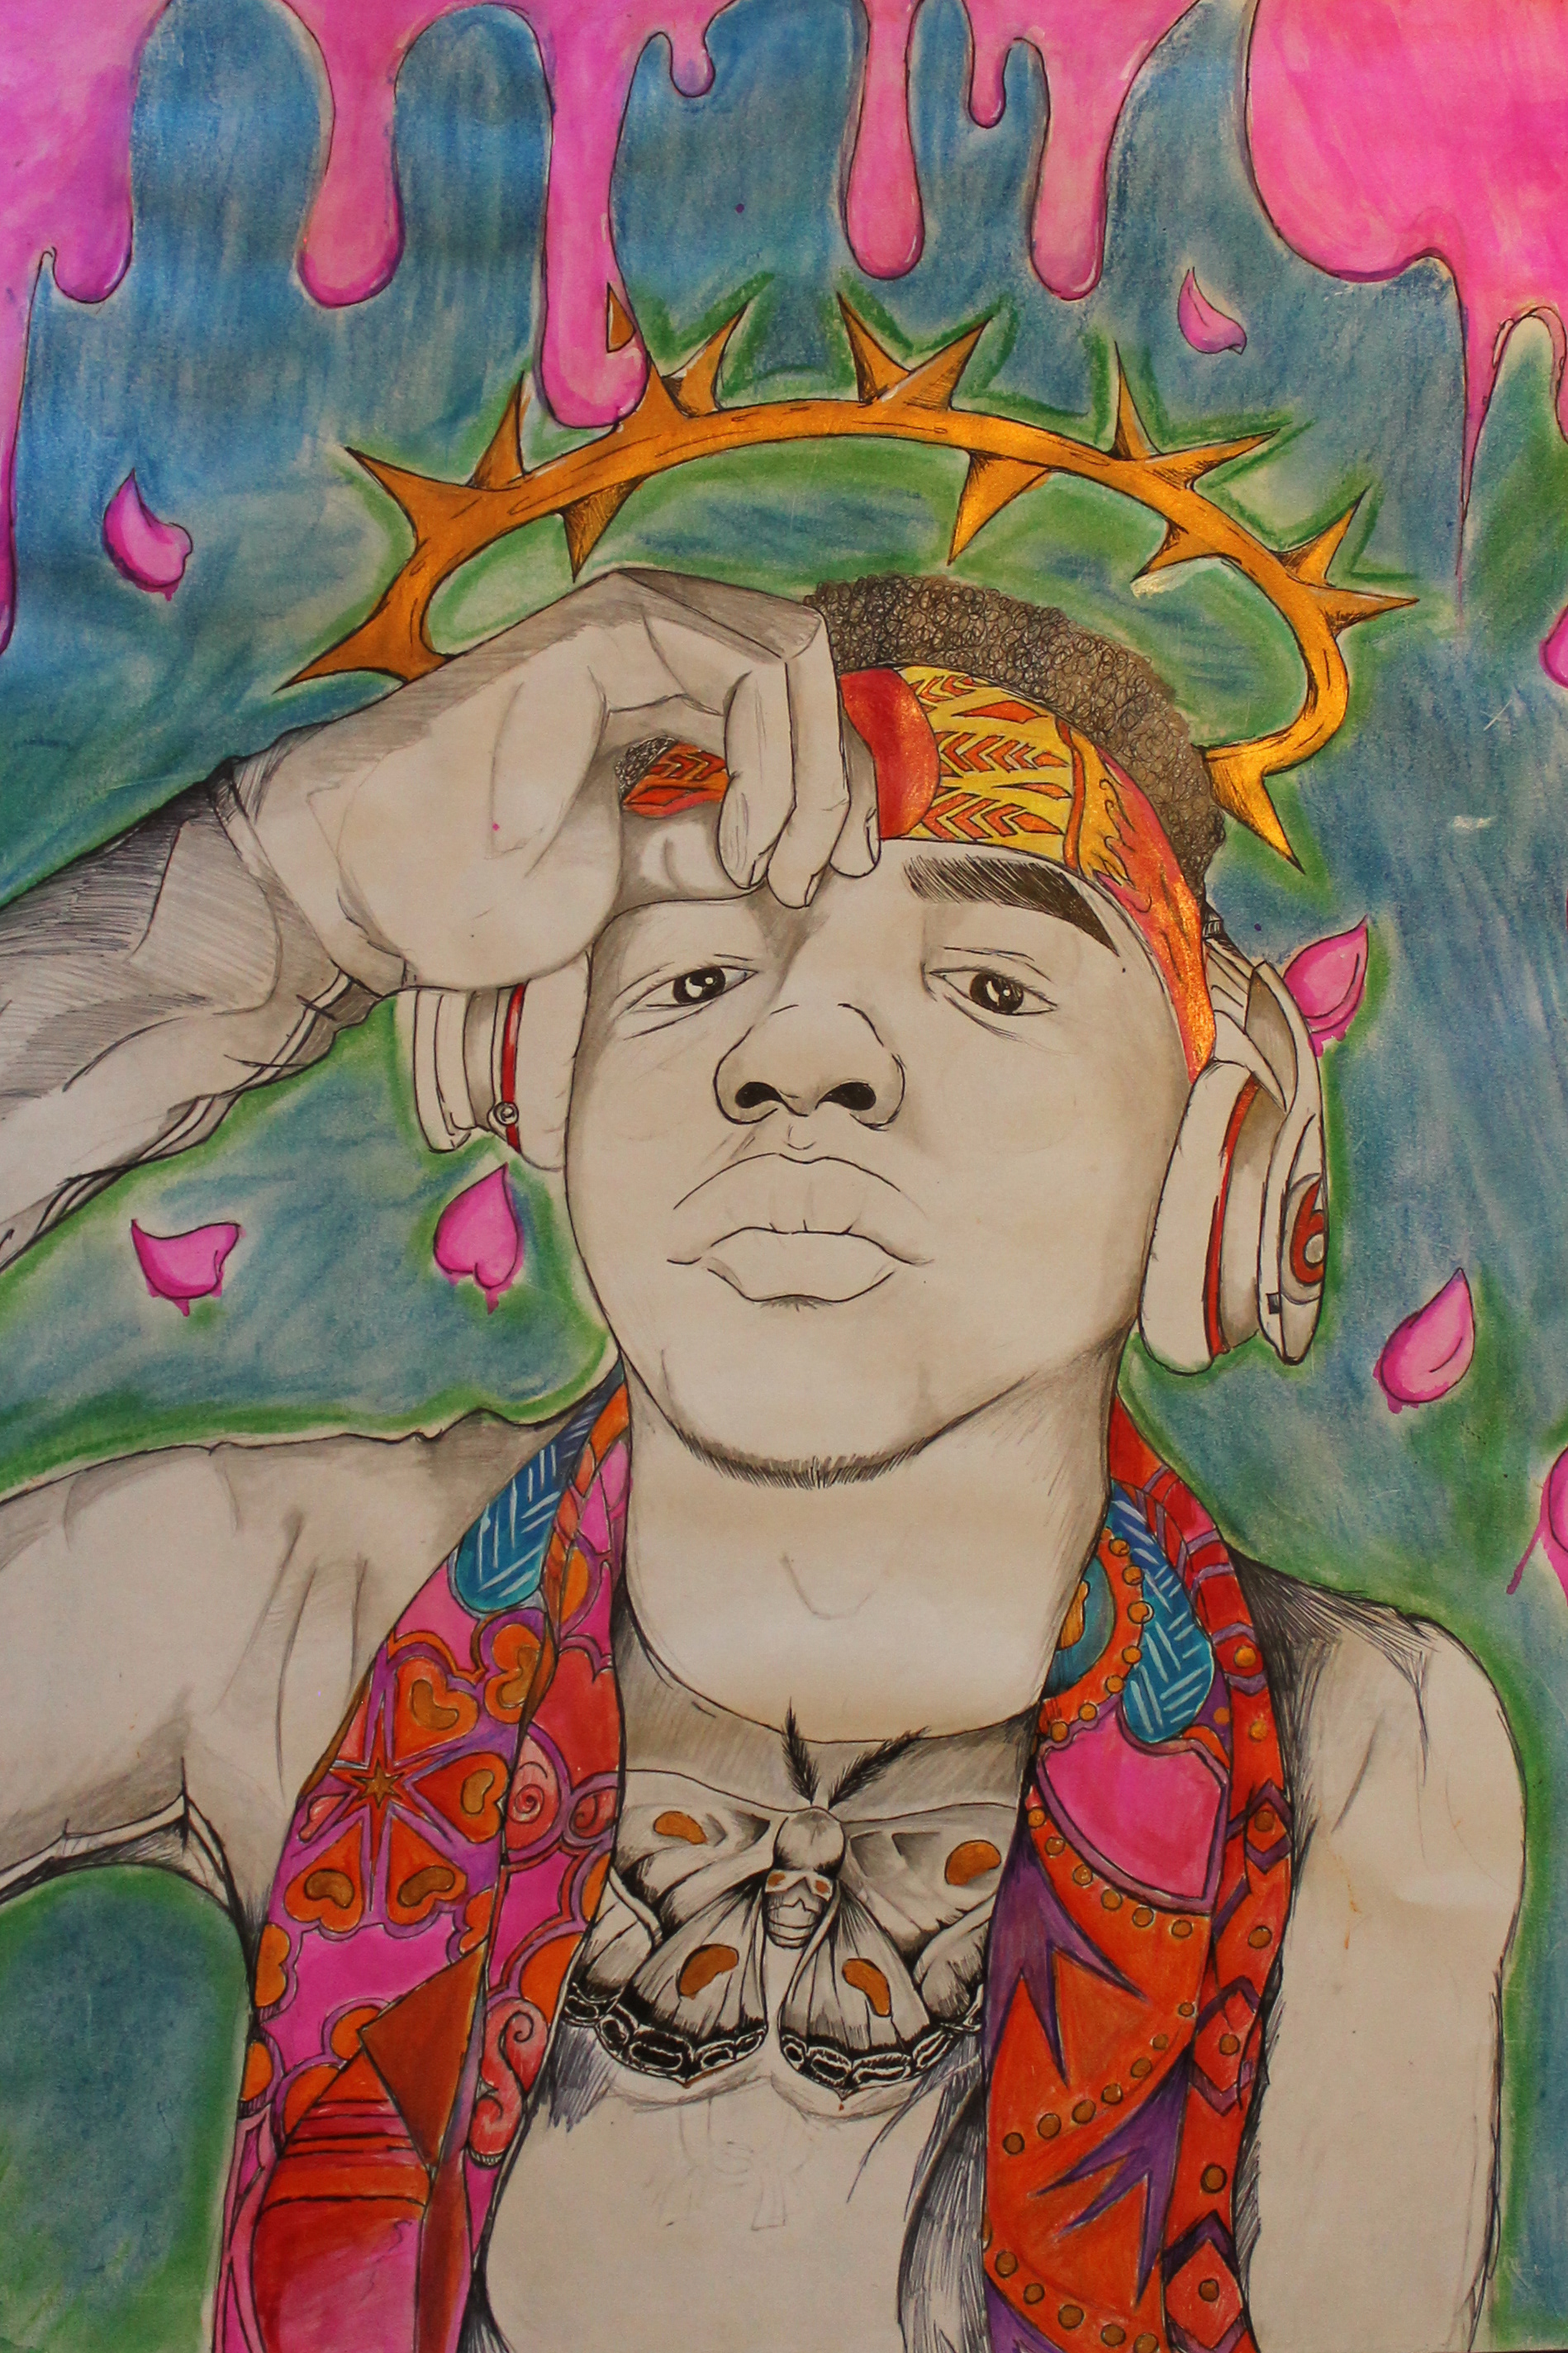
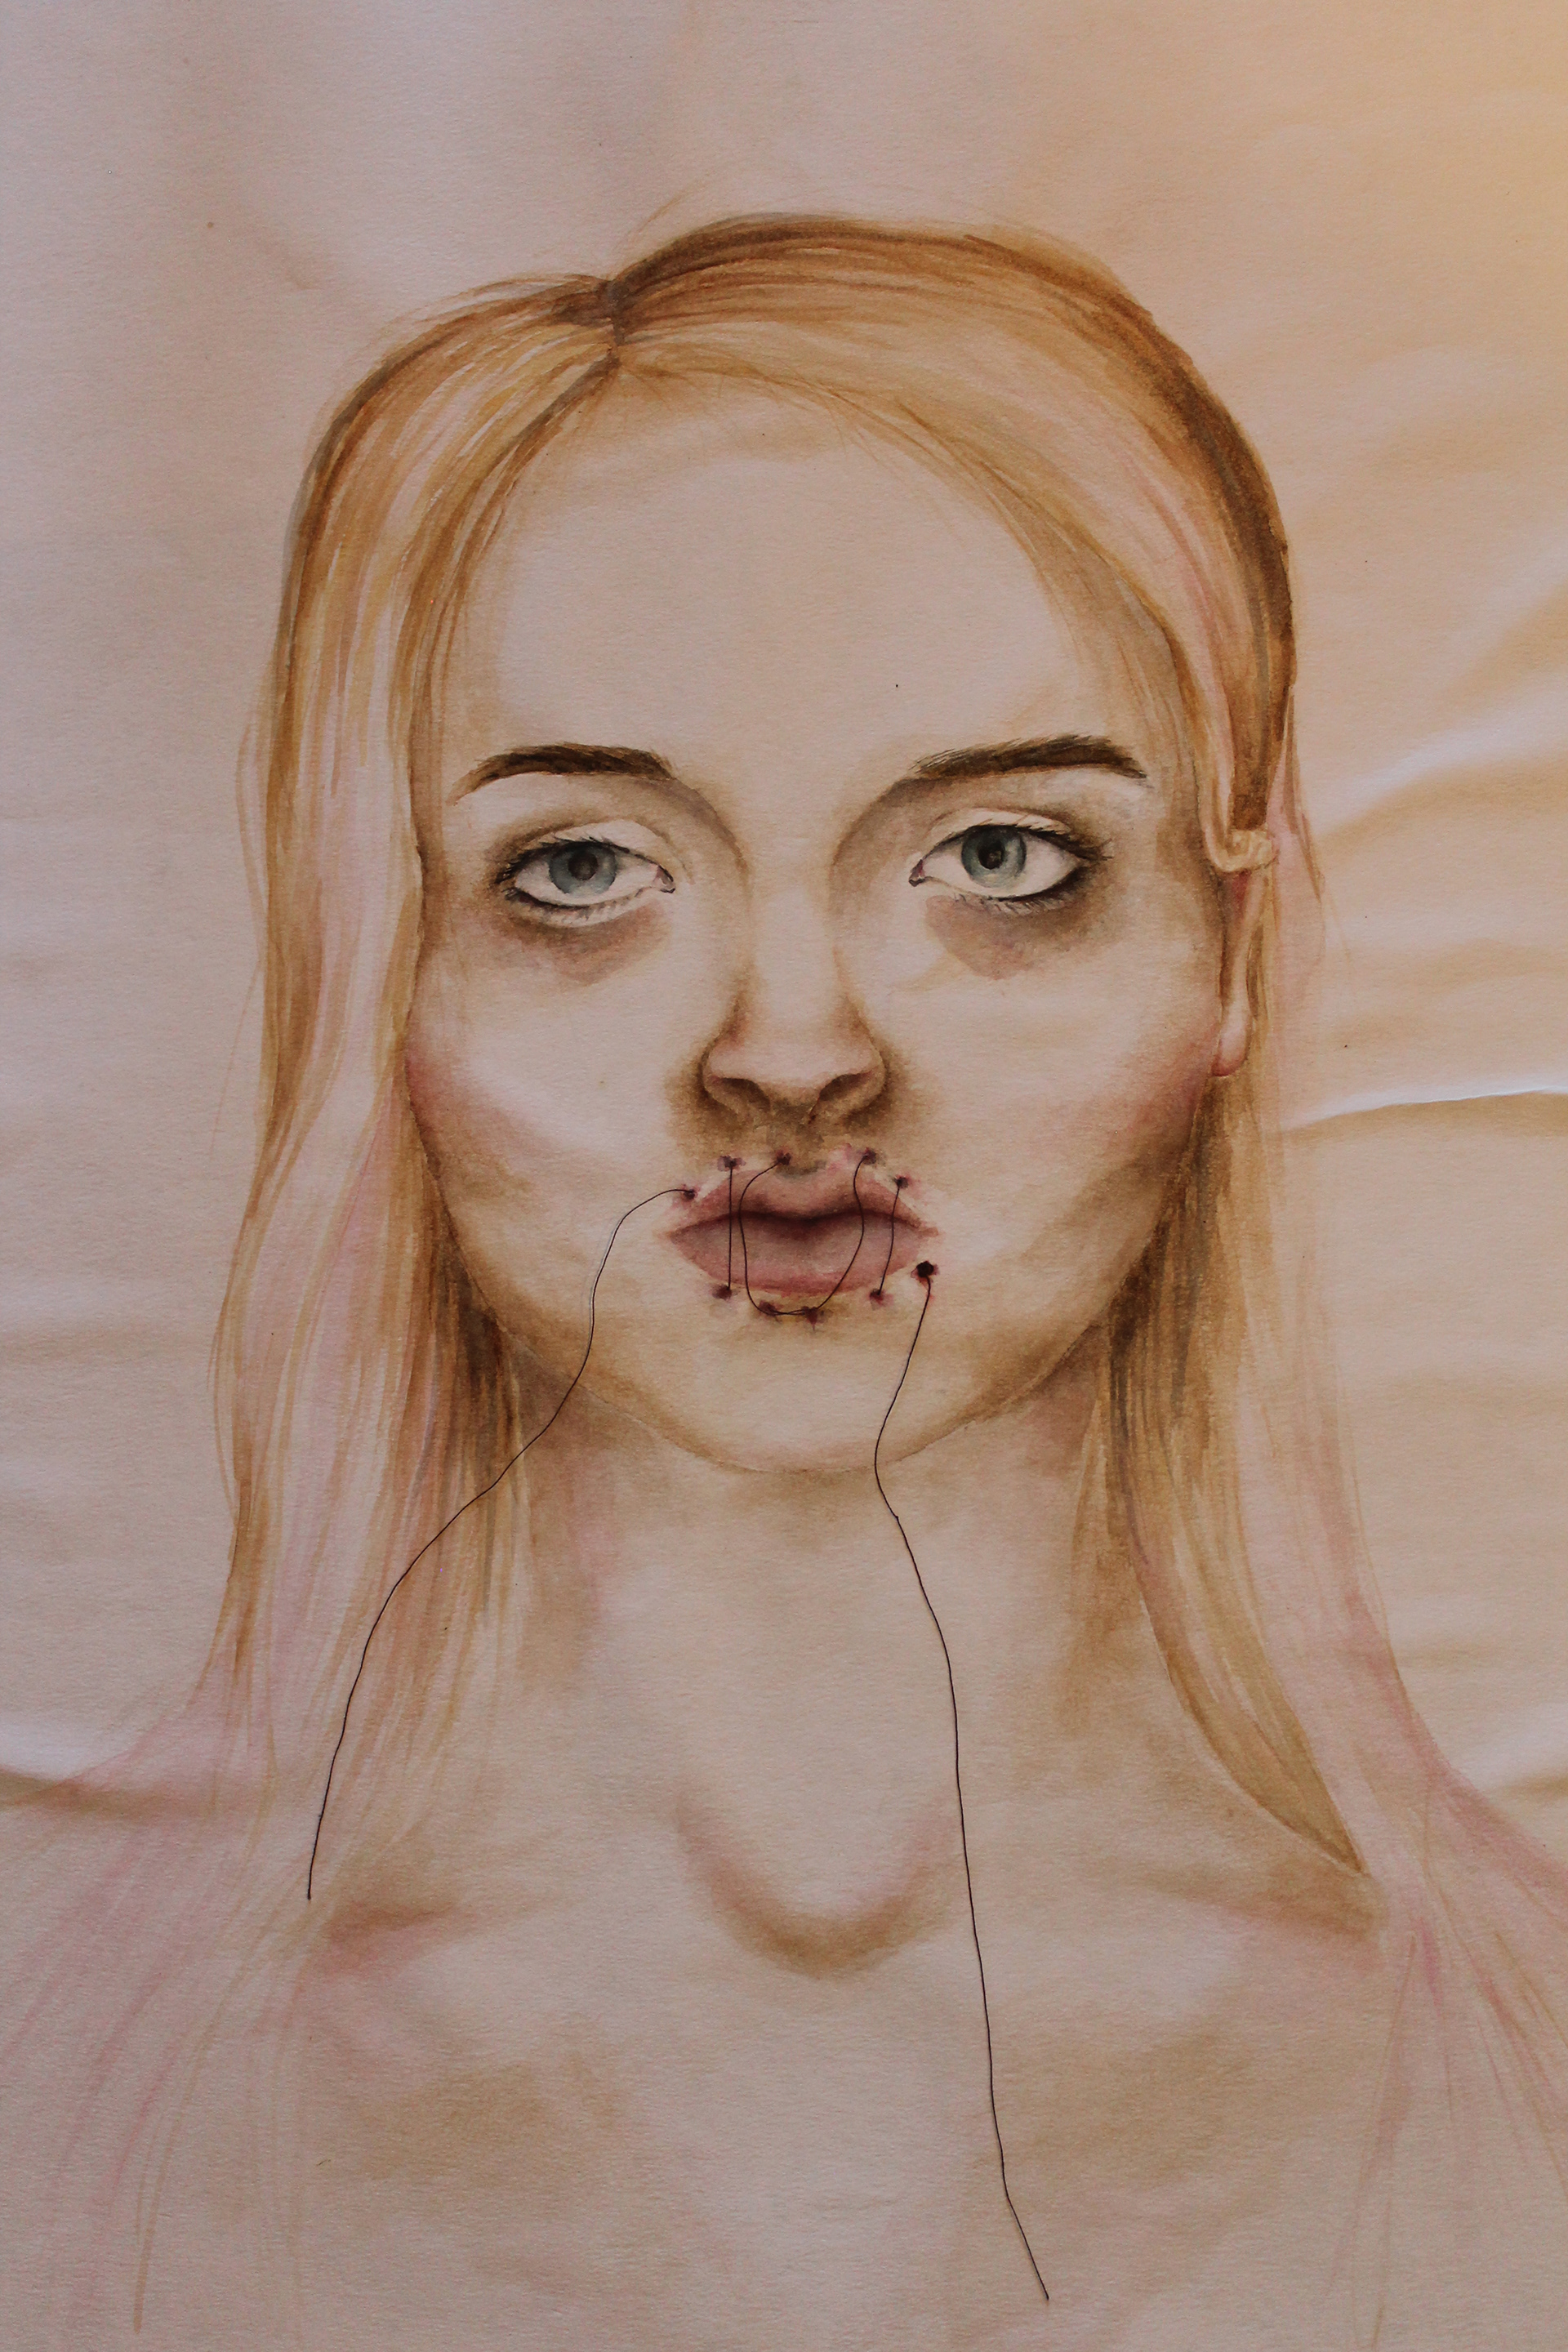
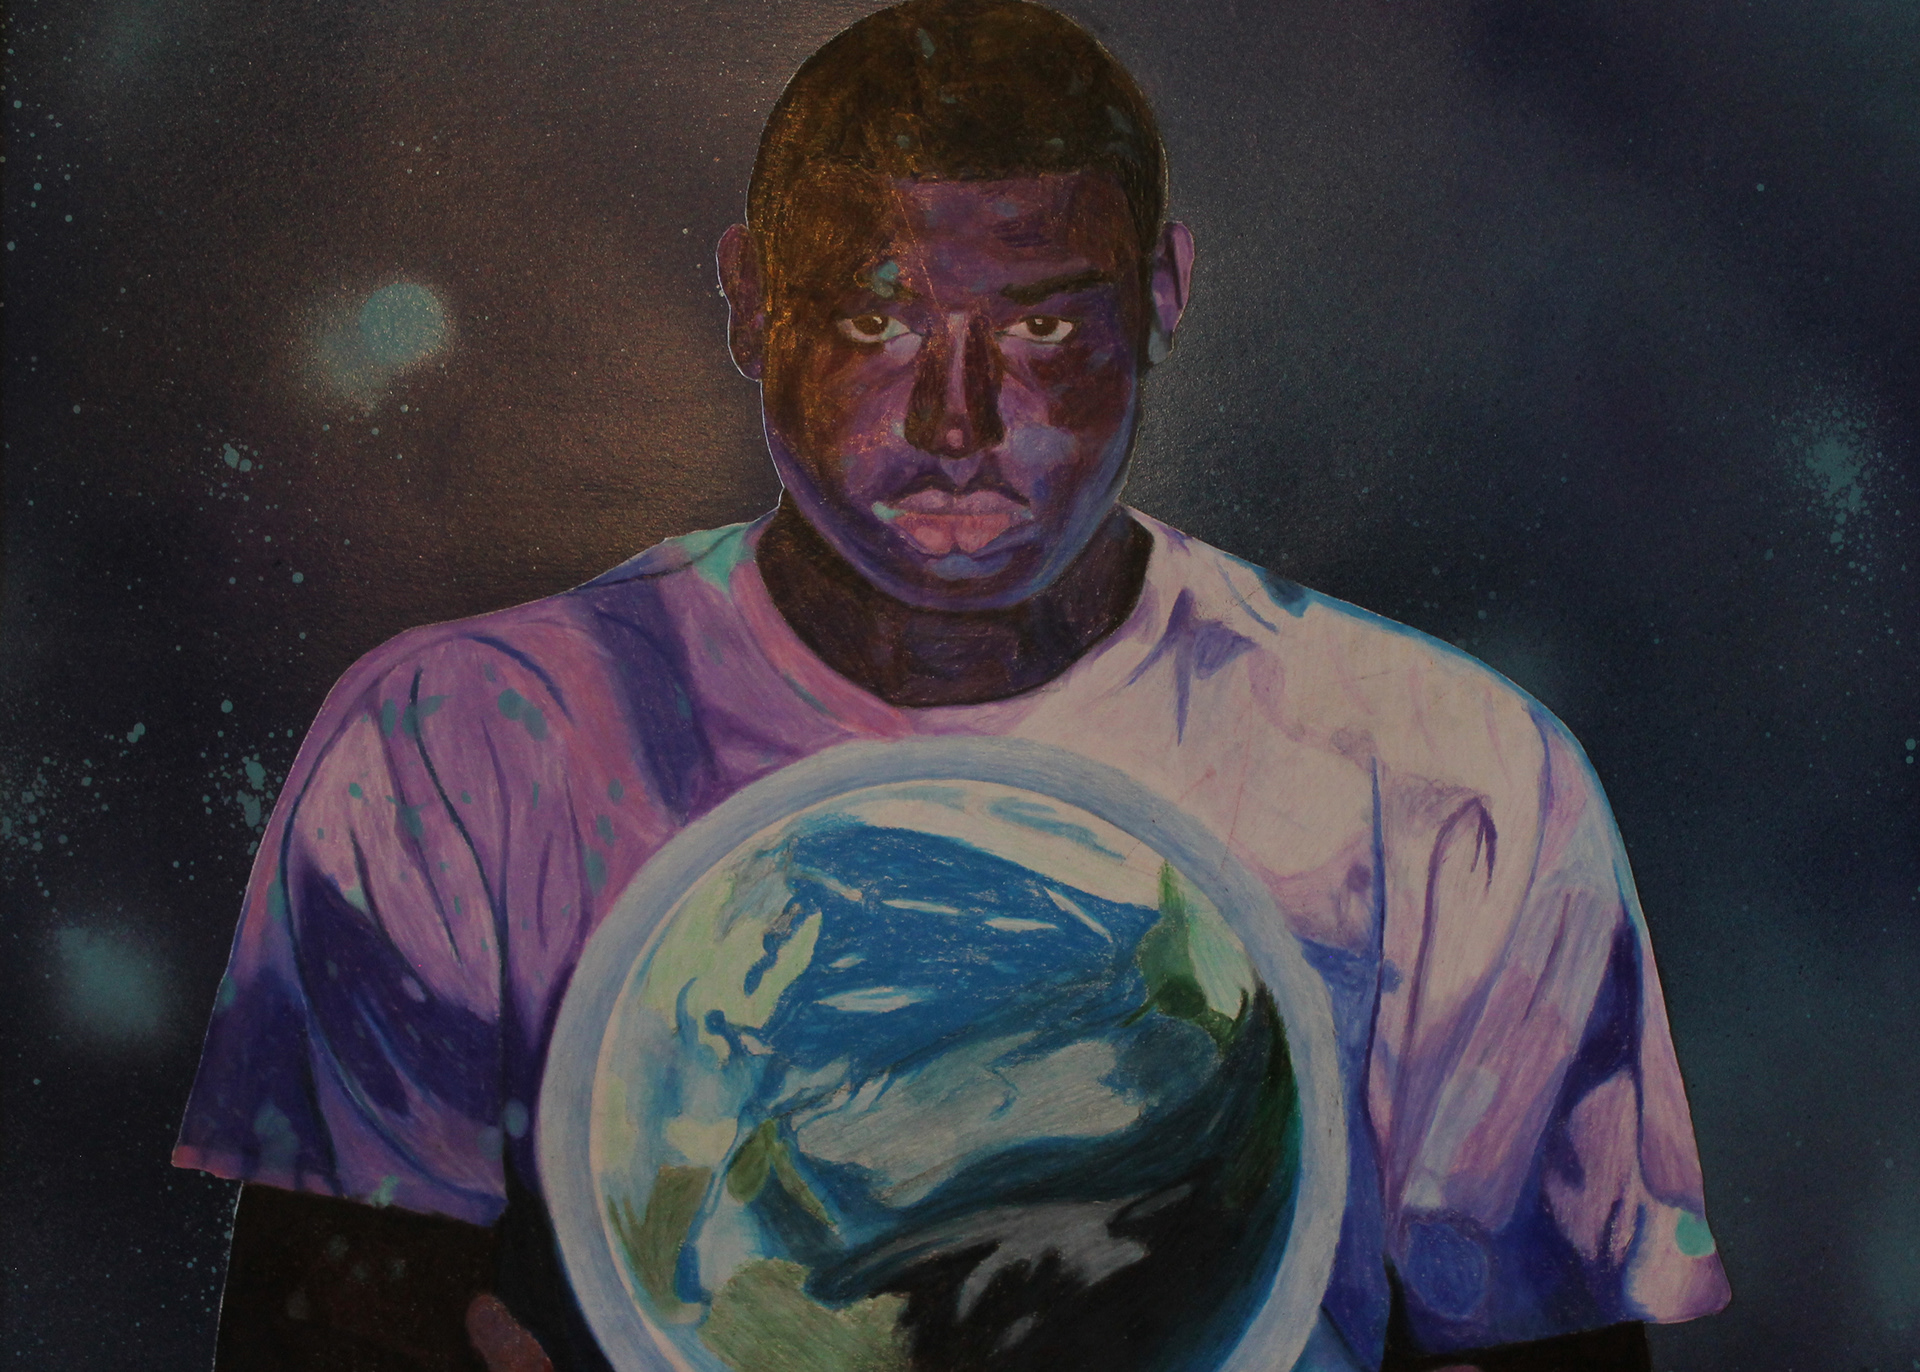
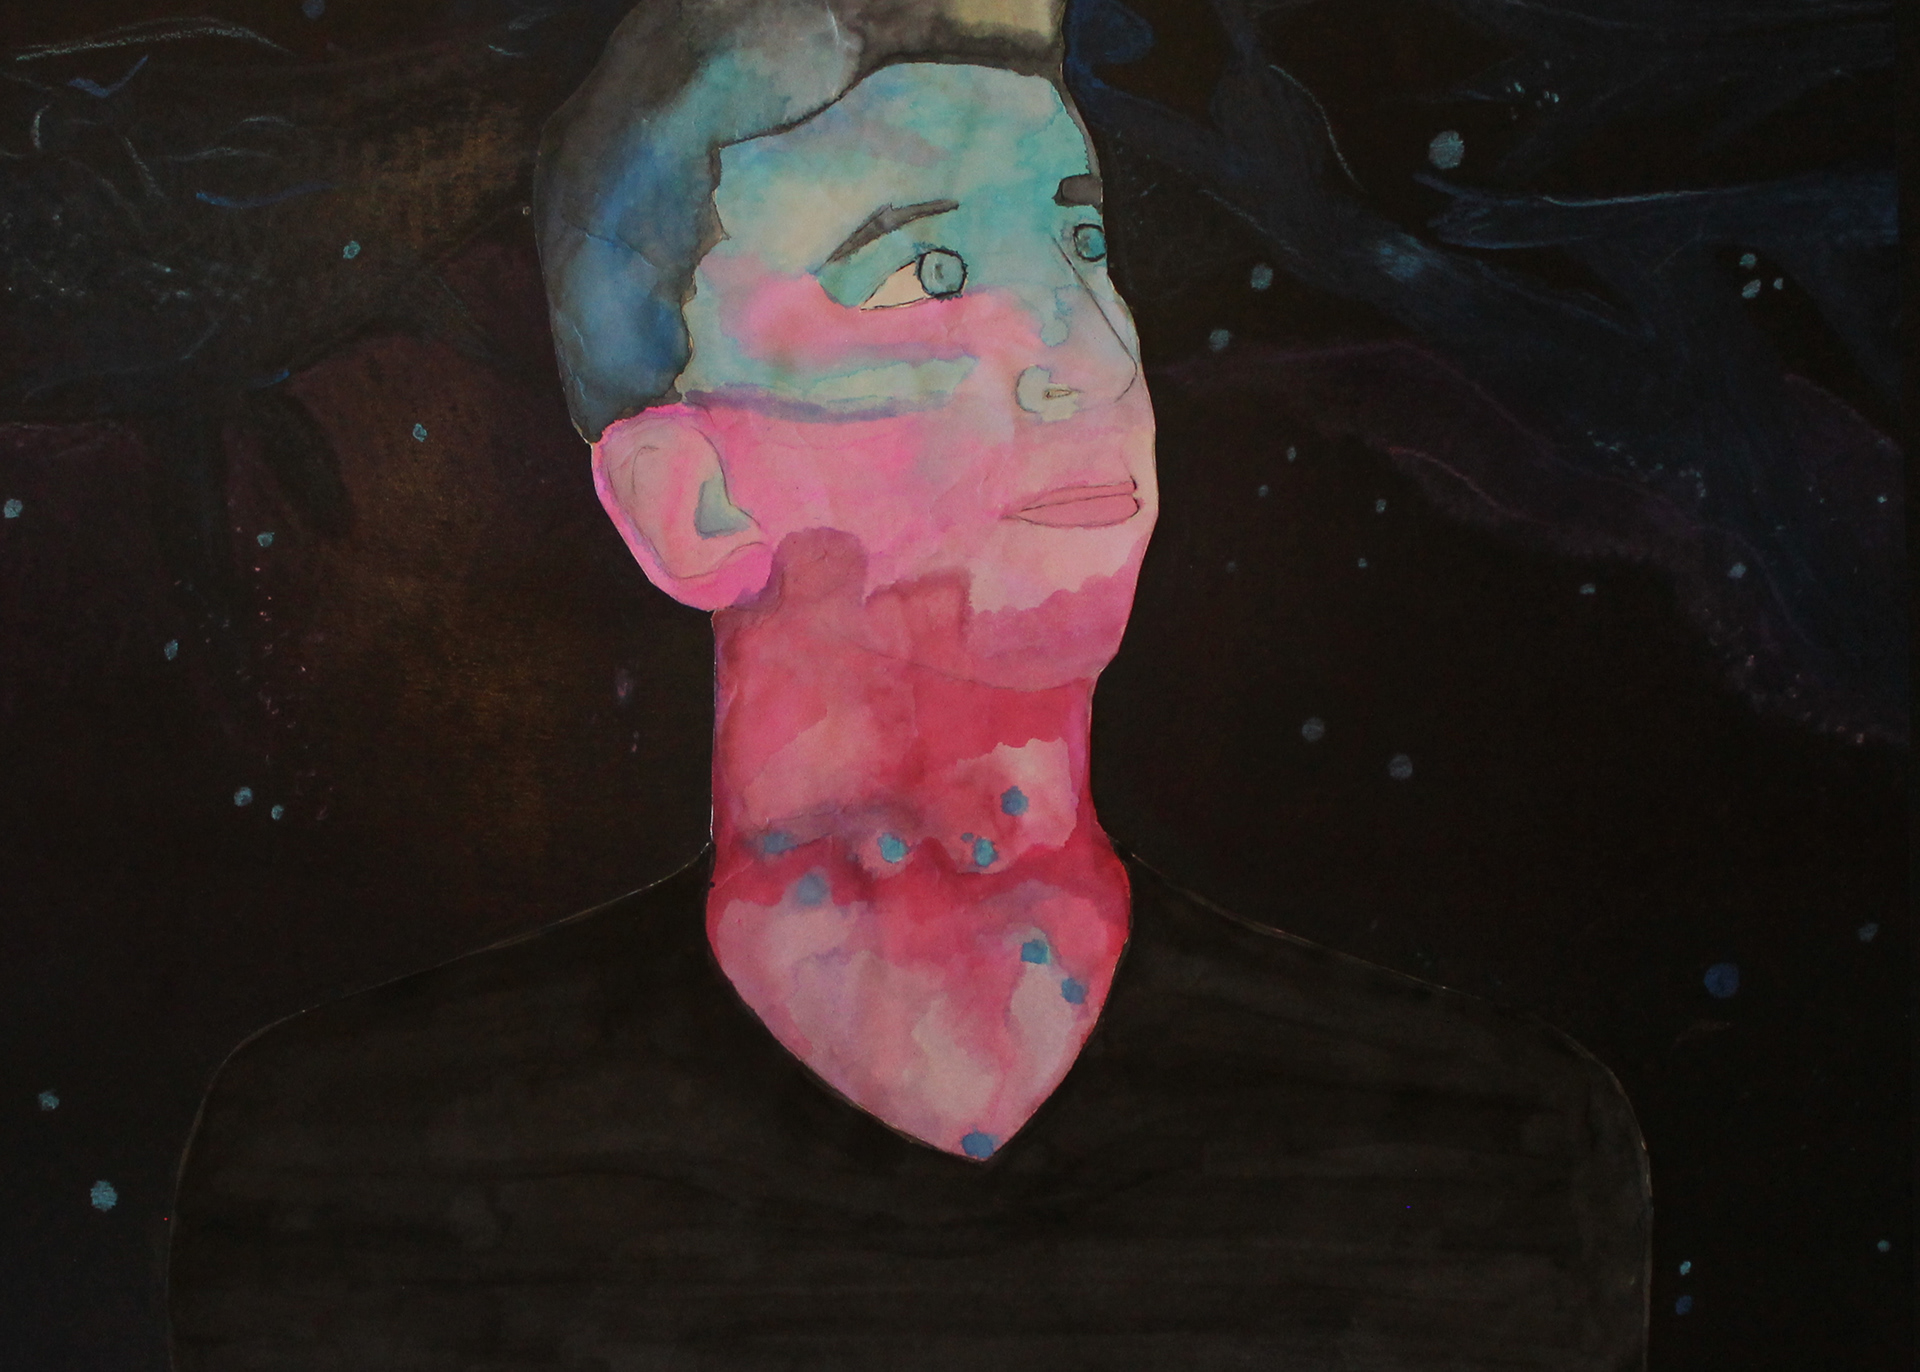
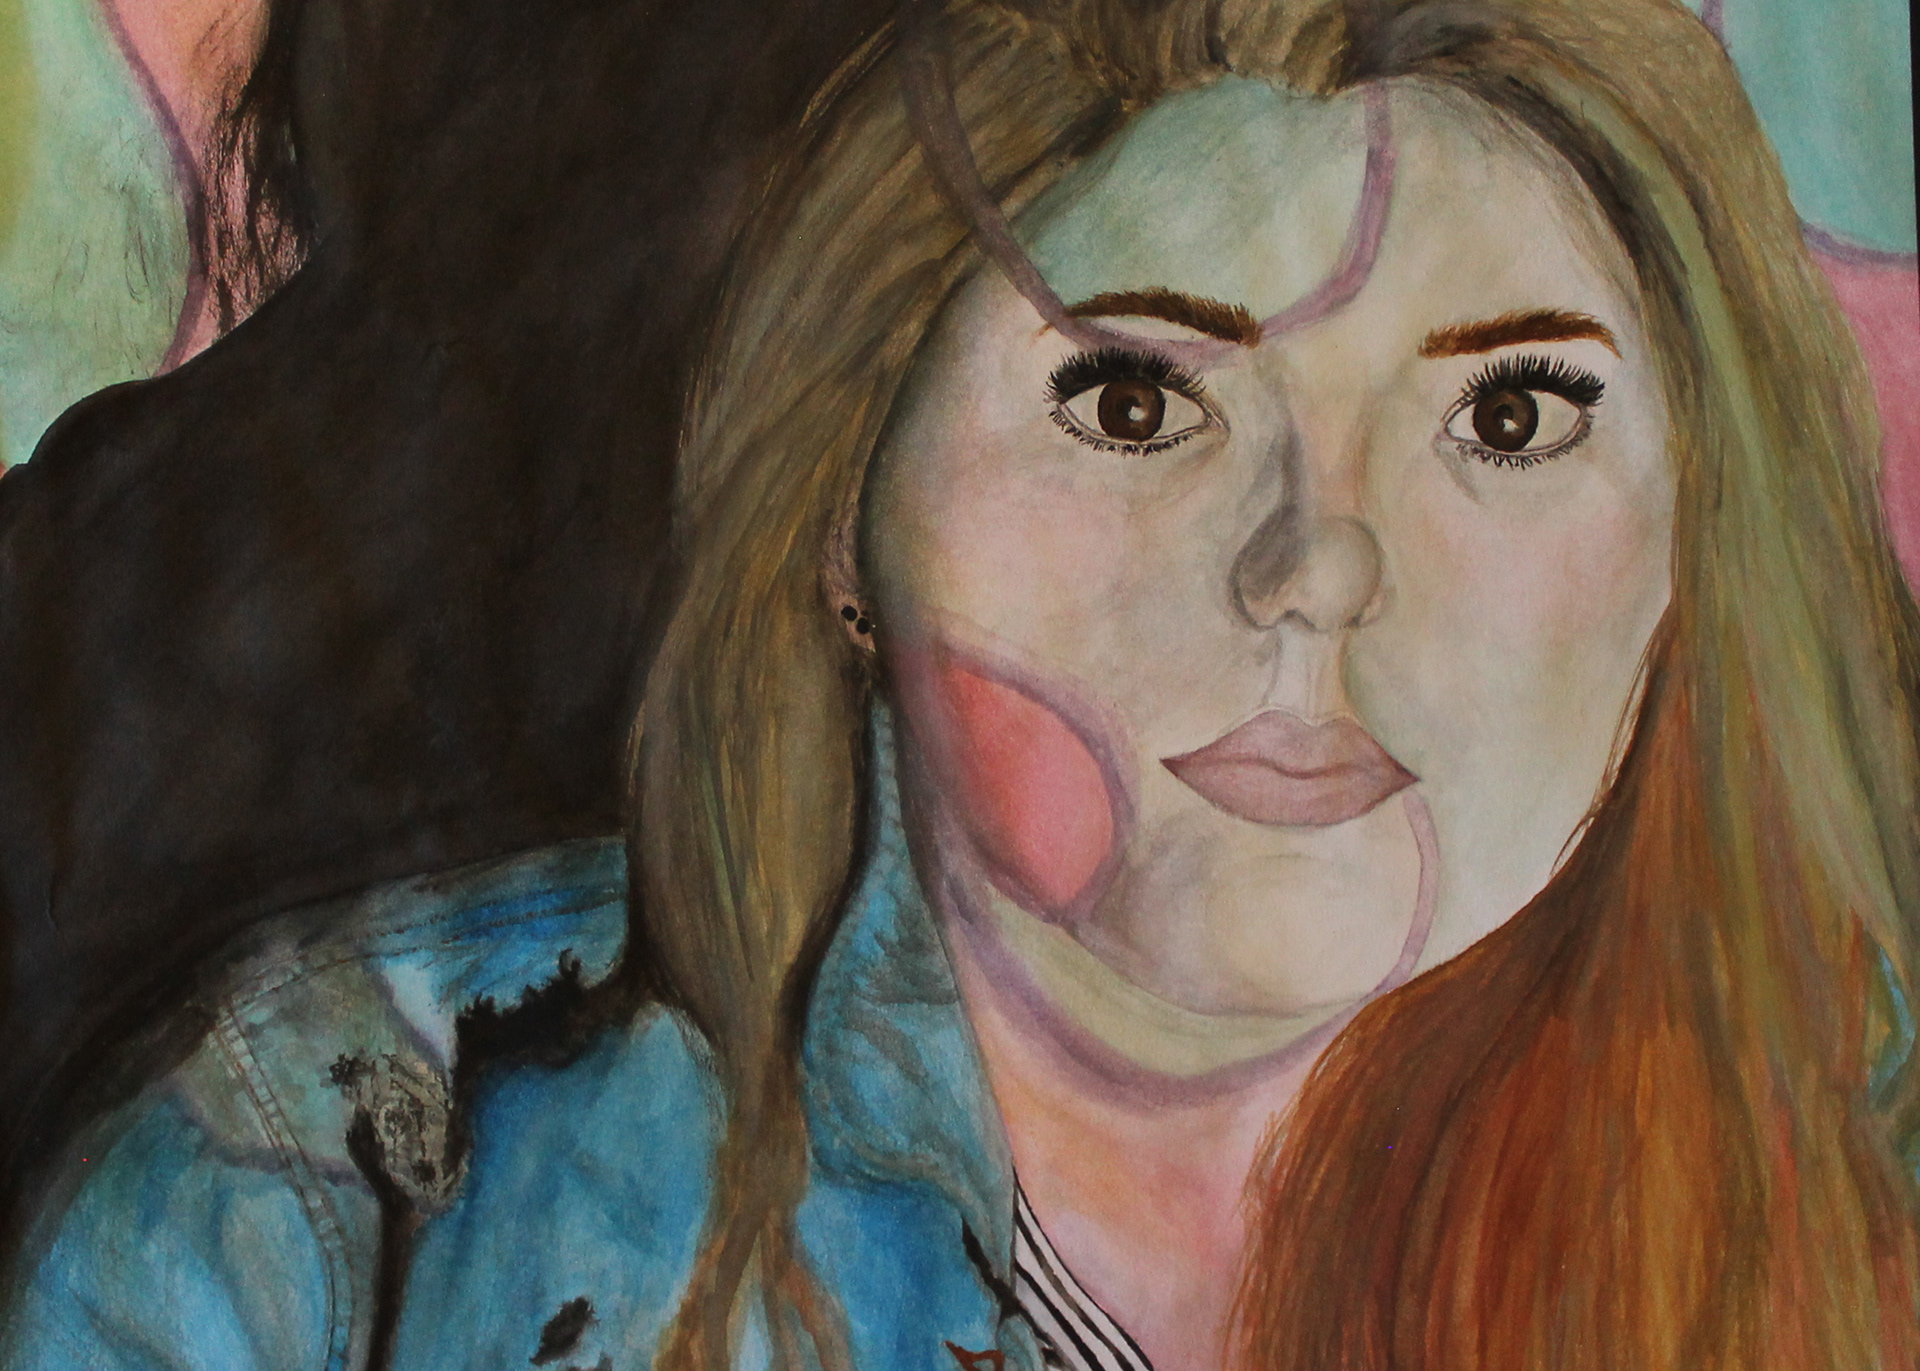
Creative Self Portrait
Students created an oversized, non-conventional, thought-provoking, unusual portrait showing evidence of research and creativity. This is a non-traditional, self-portrait, shows their likeness in an interesting composition. After receiving an overview of the project, students discussed the goal of the artist in portraiture. They also brainstormed their ideas with the class before beginning. The lesson concluded with an in class critique.
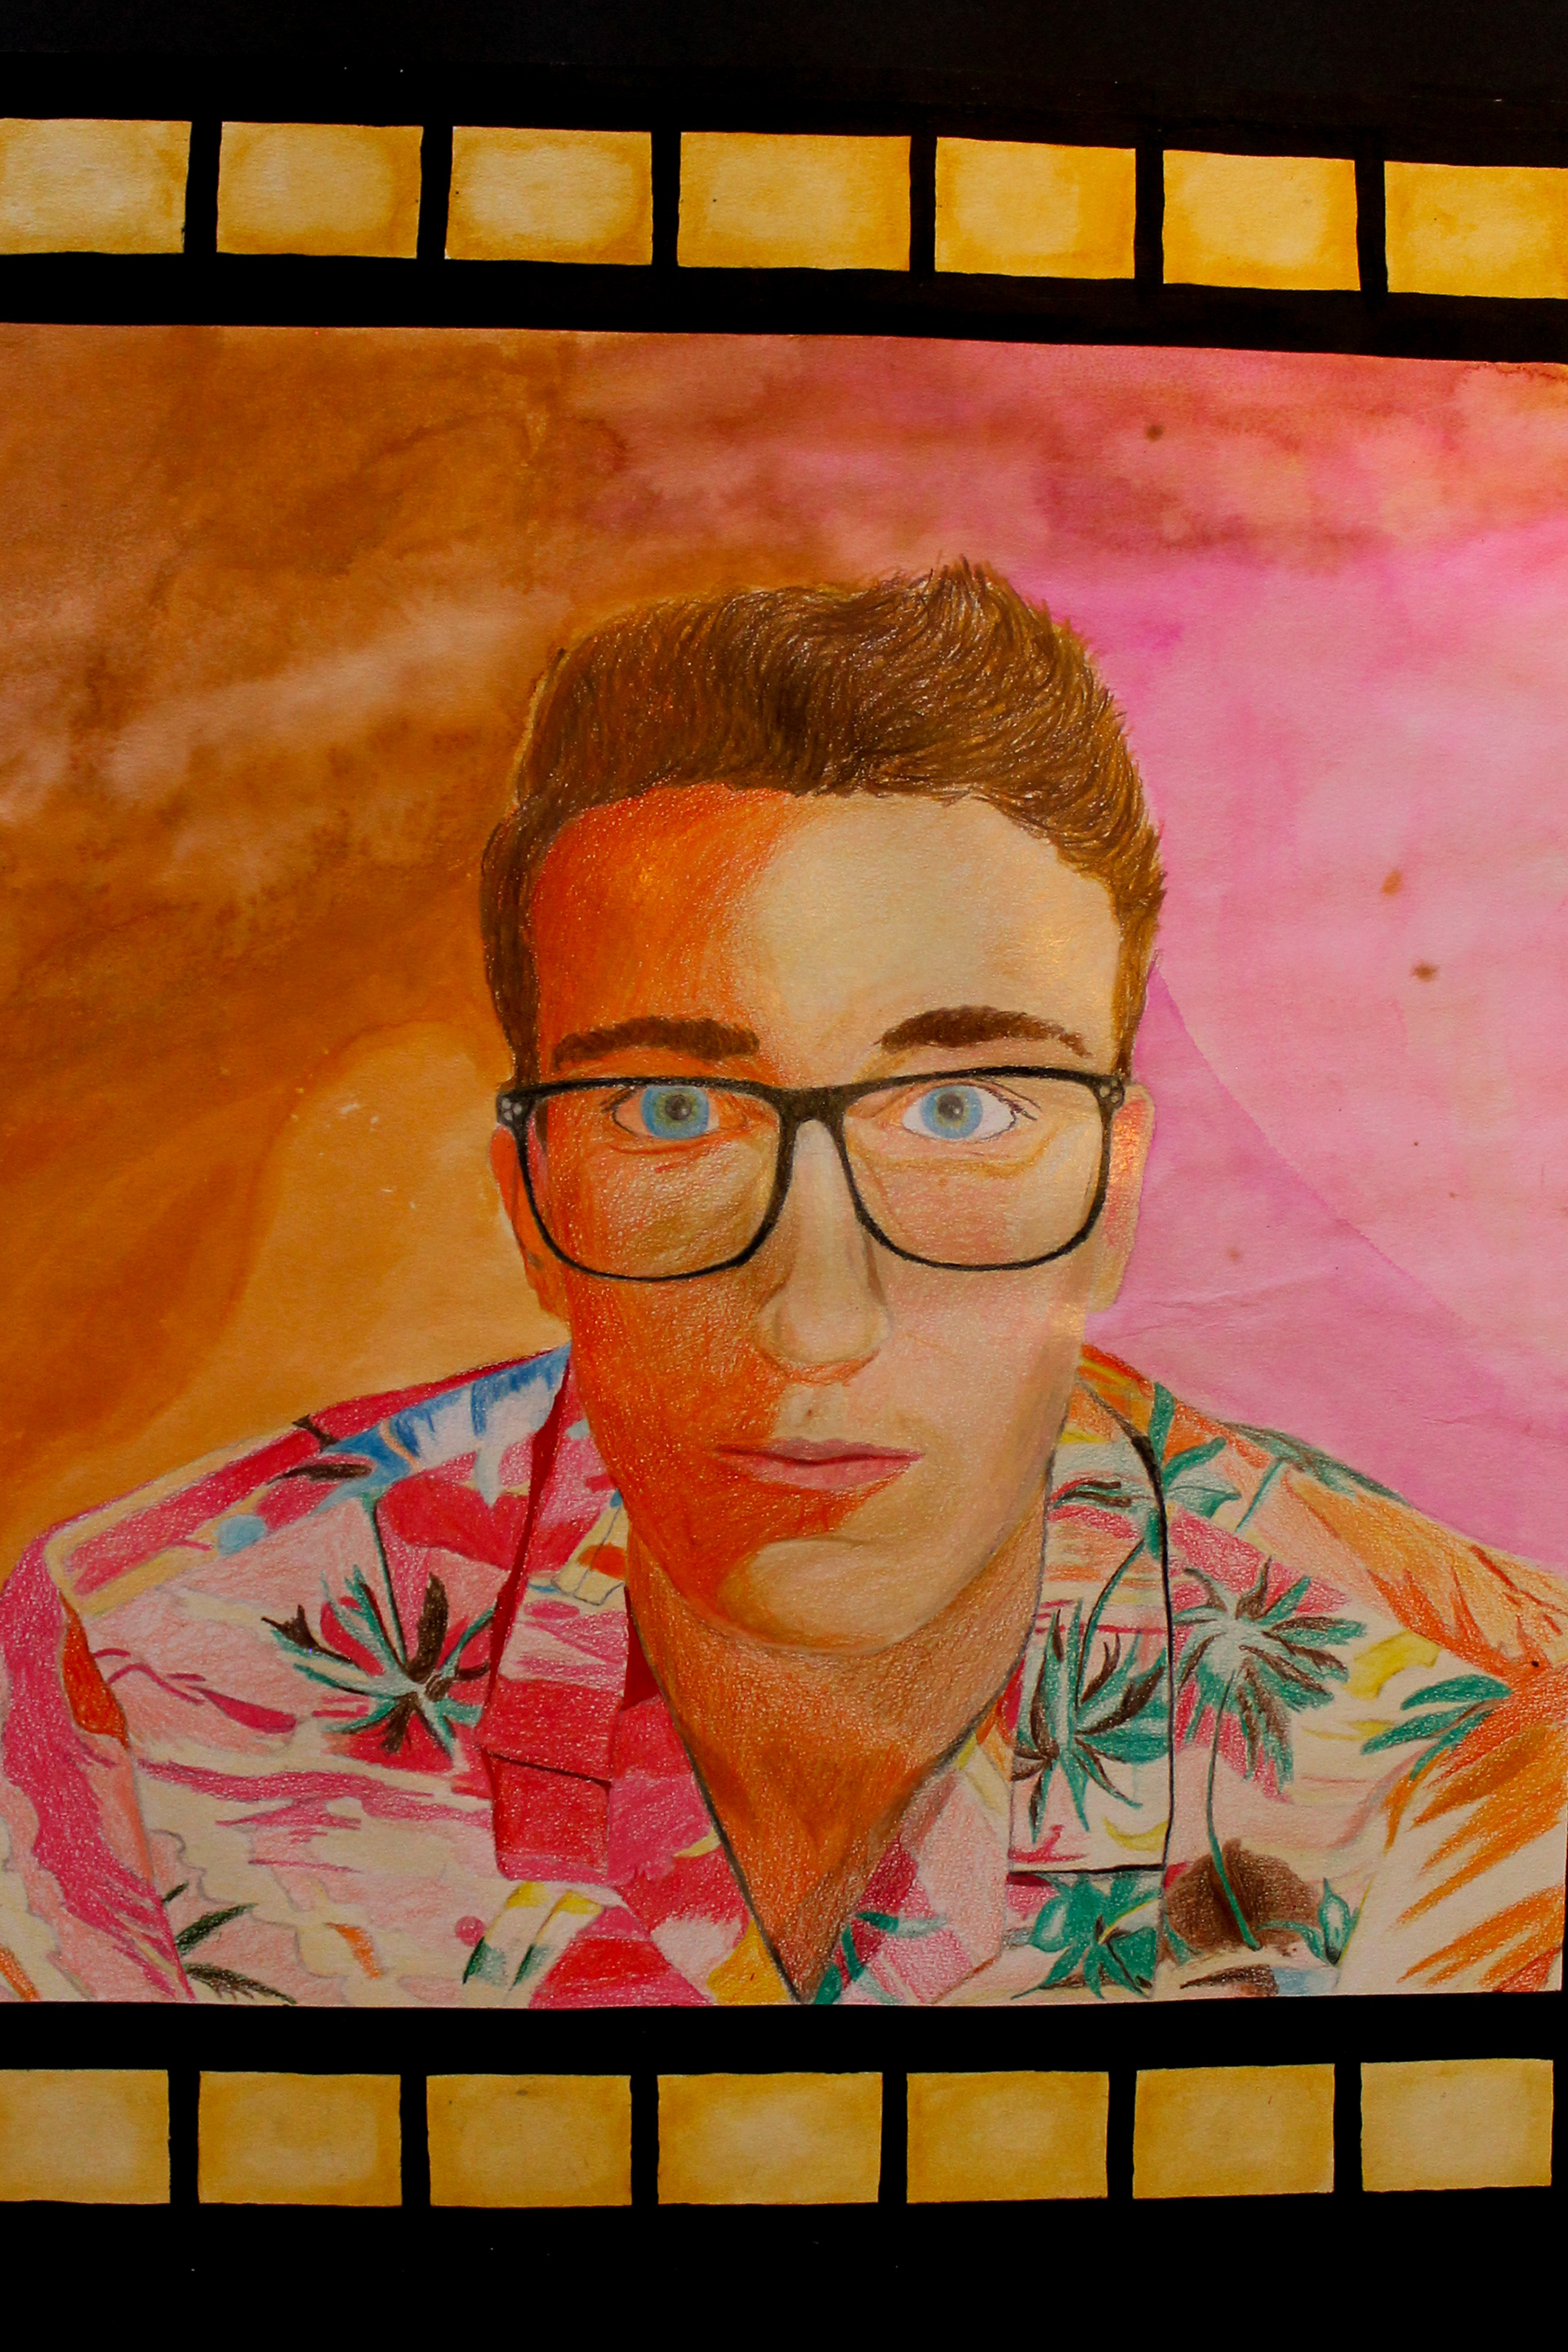
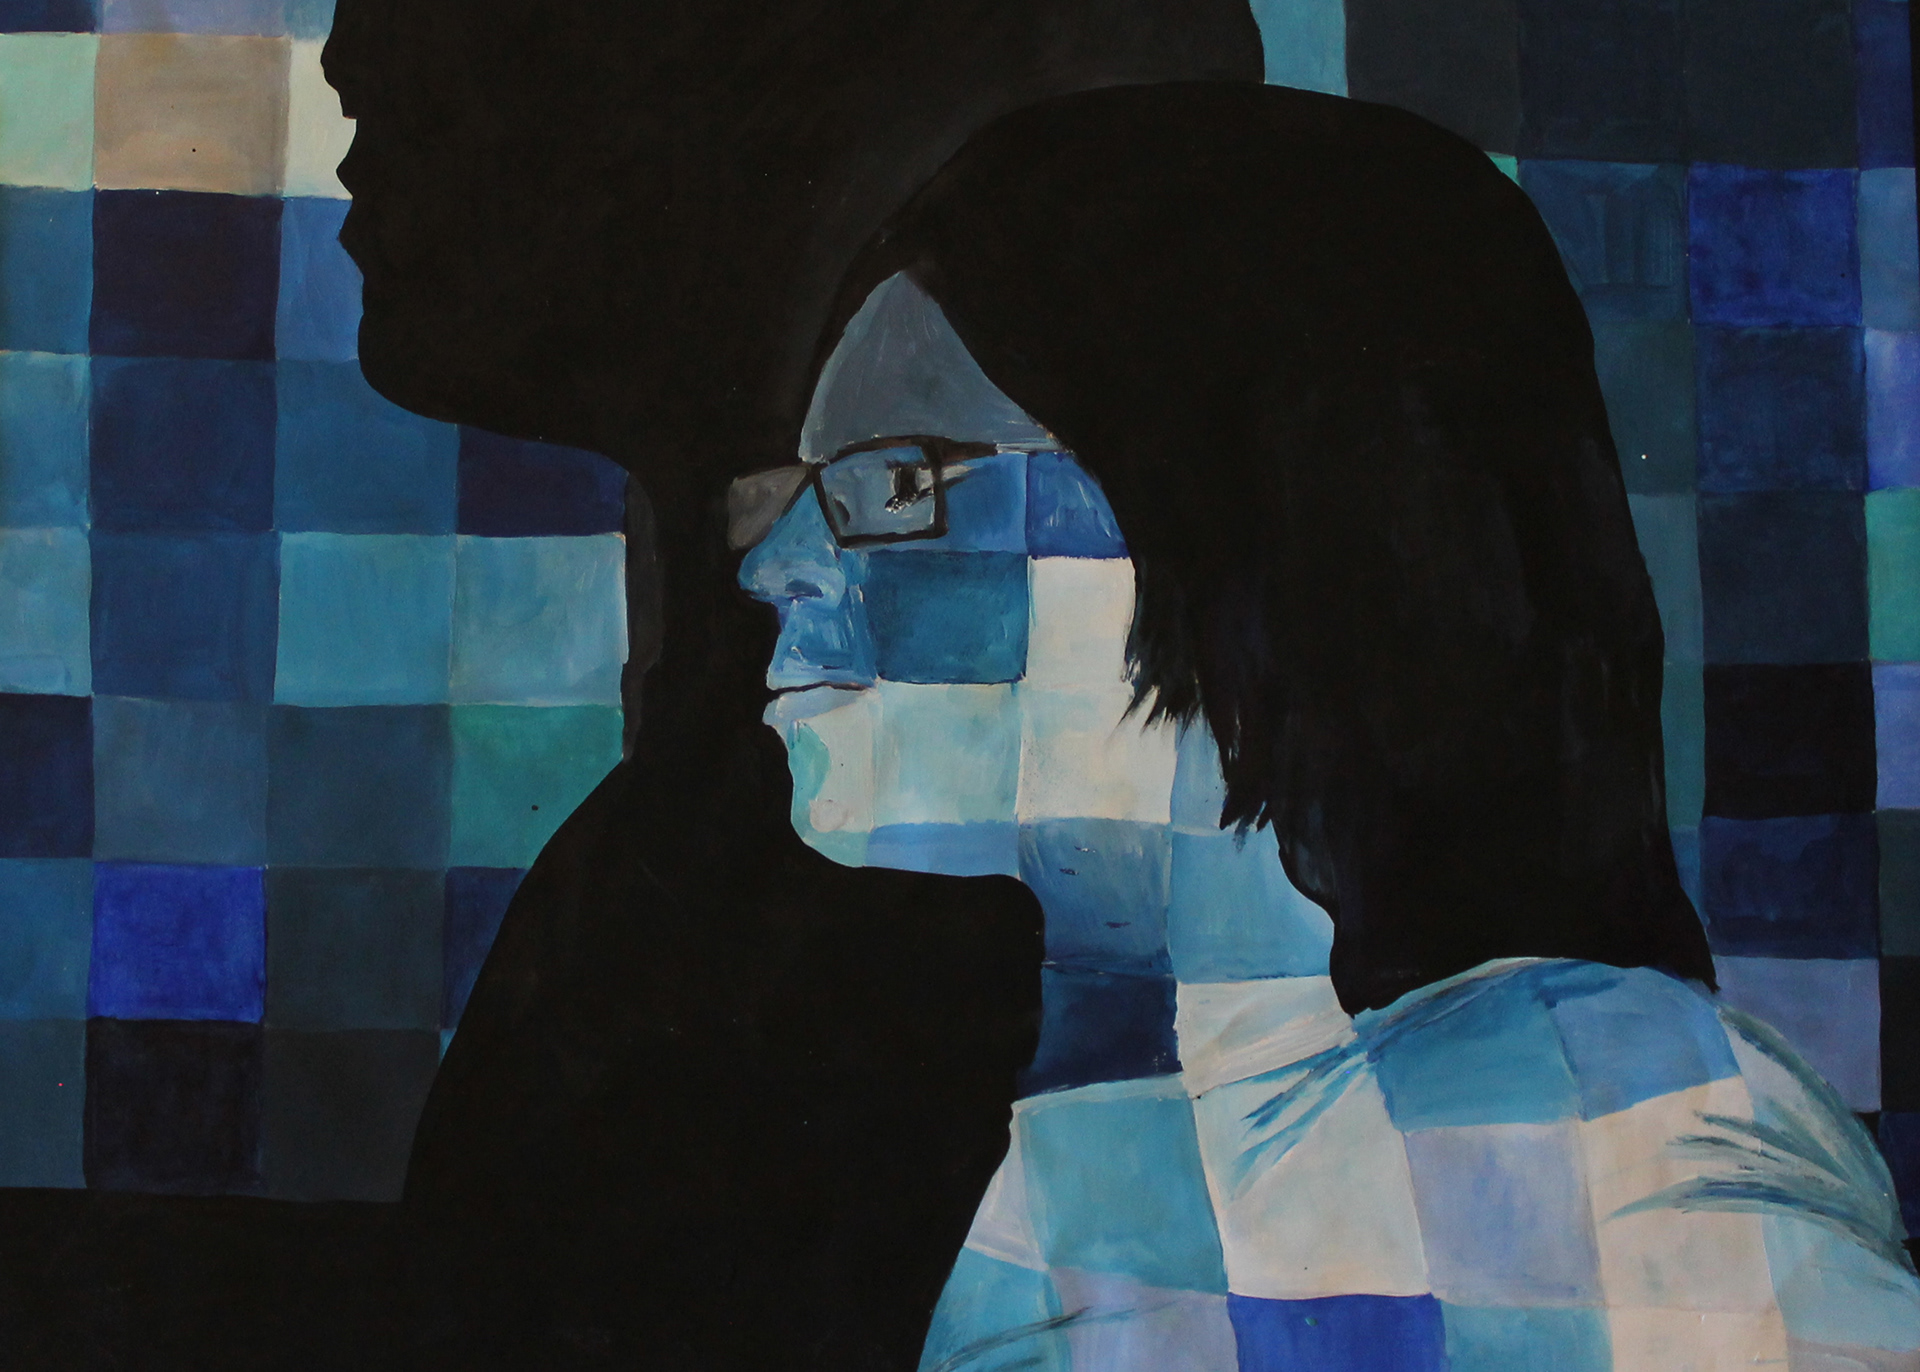
Projected Portrait
The students continued their practice with portraiture in a large-scale drawing using the medium of their choice. This lesson incorporated digital media through photography and expanded their concept of portraiture. Students collaborated with each other to complete this project. They set up the projector and photographed each other. In this lesson, students selected imagery to be projected onto the face, the individual was photographed and then the photograph was printed to use as a reference image for their artwork.
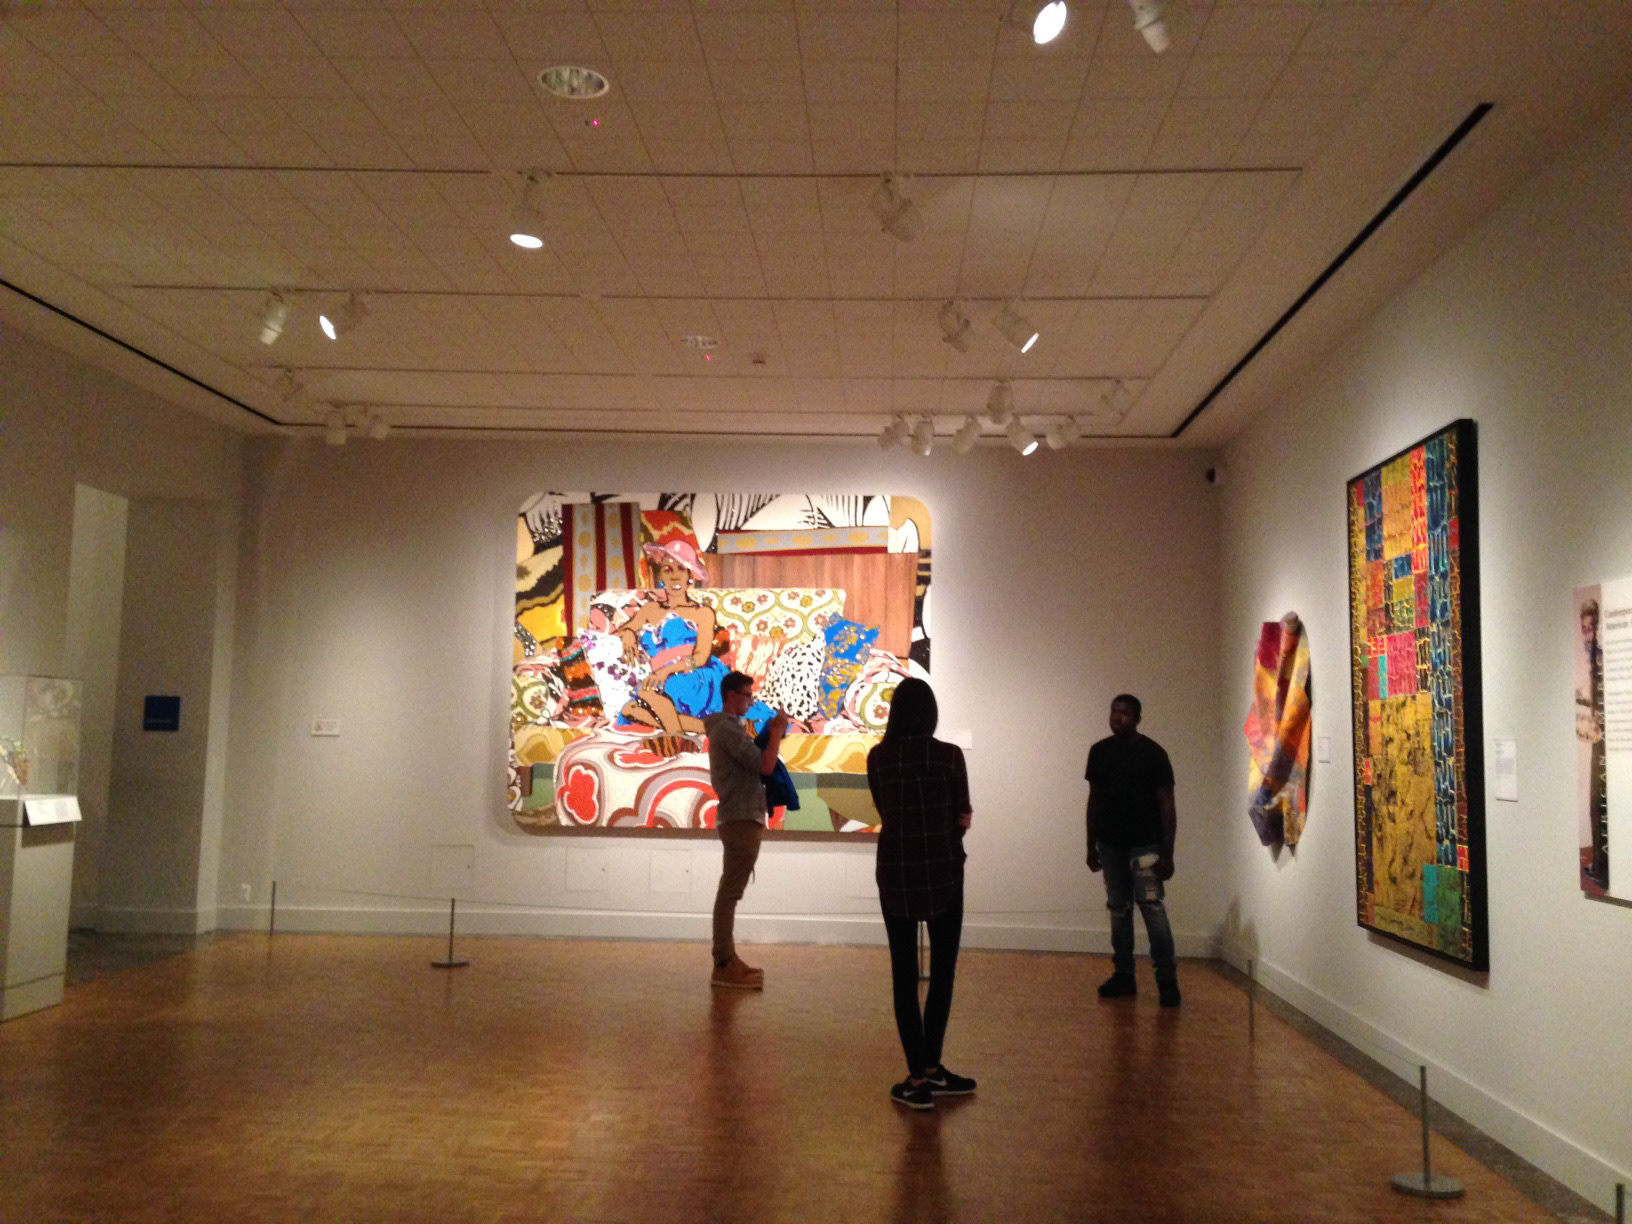
Visual Thinking Strategy - Detroit Institute of Arts
While on a field trip to the Detroit Institute of Arts, students had the choice between writing an art critique with set criteria or locating artworks that have been used in class with the visual thinking strategy. The students that found the VTS artwork took pictures of the work and had an even more in depth VTS with the students in their small group. The VTS exercise helps students to truly examine the artwork, synthesize their thoughts, express what they see in the artwork, and have an detailed conversation about what is going on in the artwork.